Prepare a Fruit and Matcha Layered Iced Cup With Two Separate Pours
A layered iced cup with a bright fruit base and a green matcha top looks striking but relies on a straightforward density difference rather than any special equipment. The fruit base needs to be thick and sweet enough to sit below the lighter matcha liquid, and the matcha needs to be poured slowly enough not to punch through. Getting both components ready before assembling the glass is the key to a clean visible layer.
Read the note ↓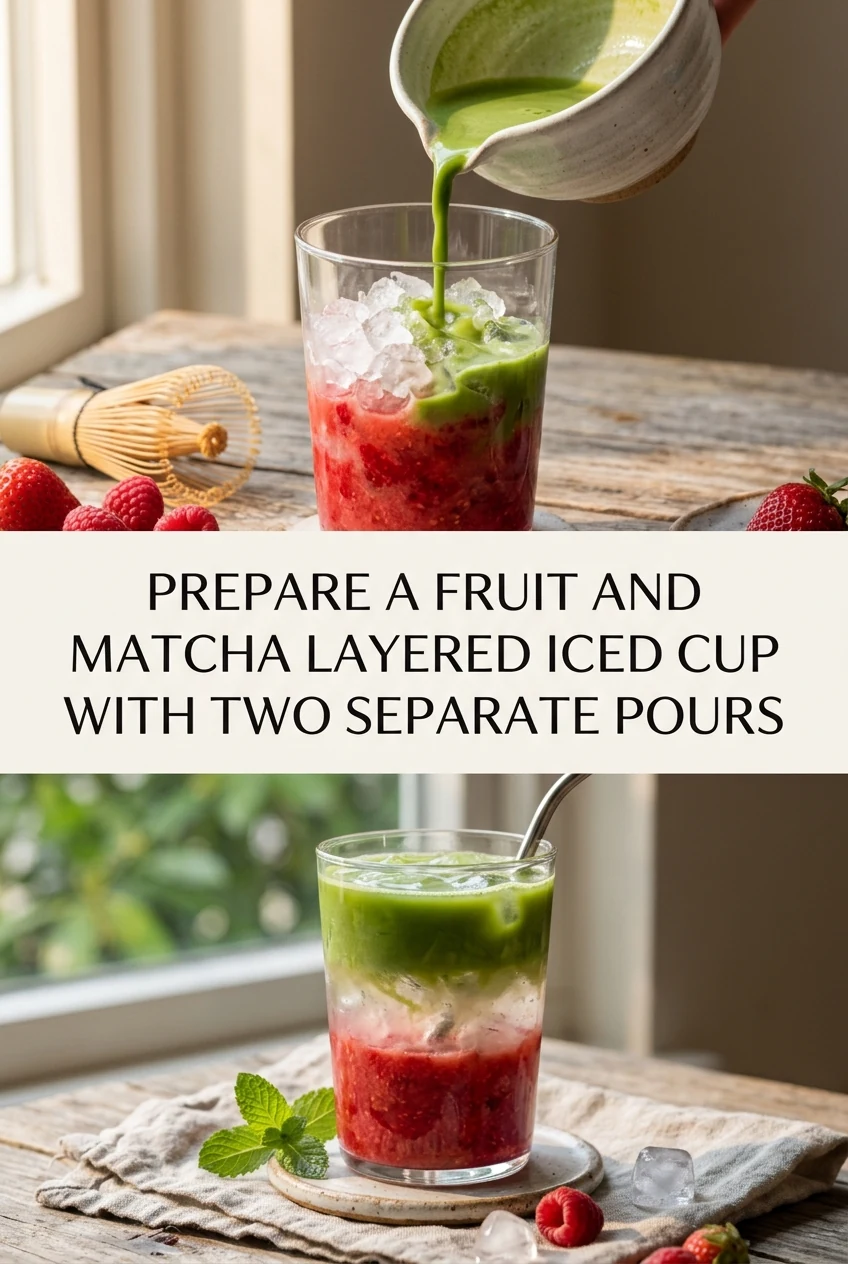
AI-generated editorial concept created for this article. The image is not a technical diagram or a tested result.
Choose and Prepare a Dense Fruit Base
A store-bought fruit jam, fruit compote, or a thick fruit puree works well as the base because its sugar content makes it denser than the matcha liquid above. Spoon two to three tablespoons of your chosen fruit base into the bottom of a clear 400 ml glass. Spread it gently with the back of the spoon so it covers the base evenly. Avoid thin fruit juices here; they will mix with the matcha rather than staying separate.
Whisk the Matcha to Remove Lumps Before Pouring
Sift one teaspoon of matcha powder into a small bowl or cup. Add approximately 60 ml of water heated to around 70 to 80 degrees Celsius, not boiling, and whisk briskly in a zigzag motion until no visible clumps remain. Then add 80 to 100 ml of cold water or cold milk and stir to combine. Whisking out lumps before the pour prevents green specks from sinking into the fruit layer and disrupting the visual boundary.
Add Ice Without Disturbing the Fruit Layer
Lower ice cubes carefully into the glass one or two at a time rather than dropping a full scoop from height. Dropping ice forcefully compresses and smears the fruit base, blurring the eventual layer boundary. Fill the glass to about two thirds with ice. At this point the fruit base should still be clearly visible at the bottom, undisturbed, with ice sitting above it.
Pour the Matcha Over a Spoon to Slow the Flow
Hold a large spoon, bowl side down with the convex back facing up, just above the ice surface and pour the prepared matcha liquid slowly onto the back of the spoon. The spoon disperses the liquid sideways across the ice rather than driving it straight down into the fruit layer. Pour in a thin, steady stream. The matcha will filter down through the ice and rest above the denser fruit base, creating the two-tone layer visible through the glass wall.
Serve Immediately and Communicate the Stir Step
The layers will remain distinct for several minutes but will begin to merge as the ice melts and the drink warms slightly. Serve the glass promptly and let the person drinking it stir the layers together themselves when ready. Telling them the layers are intentionally separate prevents them from thinking the drink is unfinished. Do not pre-assemble layered cups more than a few minutes before serving.
A little more
to know.
Why does my matcha sink into the fruit layer instead of floating above it?
The matcha liquid is likely too thin or the fruit base too loose. Use a thicker fruit jam rather than juice, and ensure the matcha is mixed with cold water or milk rather than poured warm. Warm liquid rapidly melts the ice and creates thermal convection currents that break down the boundary between the layers.
Can I use a fruit syrup instead of jam or compote?
A very thick, high-sugar syrup can work, but standard thin fruit syrups are often not dense enough to hold a clean boundary. If using syrup, choose one with a noticeably thick, almost gel-like consistency and use two to three tablespoons to build a visible base layer.
Original editorial guidance and recipe formulations, not independently kitchen-tested. Times are estimates and depend on equipment and product directions. Cooked bases need additional cooling and refrigeration before cold serving. Images are AI-generated illustrations; appearance and yield may vary. Check actual ingredient labels, allergens, and any certification you require. We do not certify products. Read our approach.
Save to Pinterest ↗ANOTHER IDEA FOR THE COUNTER