Weigh Sparkling Water Directly into Each Serving Glass
Measuring sparkling water by mass rather than by eye gives you a repeatable starting point for every glass of sparkling fruit drink you make. The method is straightforward: place the serving glass on a kitchen scale, tare the display to zero, and pour sparkling water straight from its commercial bottle into the glass. No intermediate jug, no decanting into a separate container, and no guesswork about how much fizzy water each portion contains. This article walks through the full approach, including how to prepare a noncarbonated fruit base beforehand and how to work through four glasses in one session.
Read the note ↓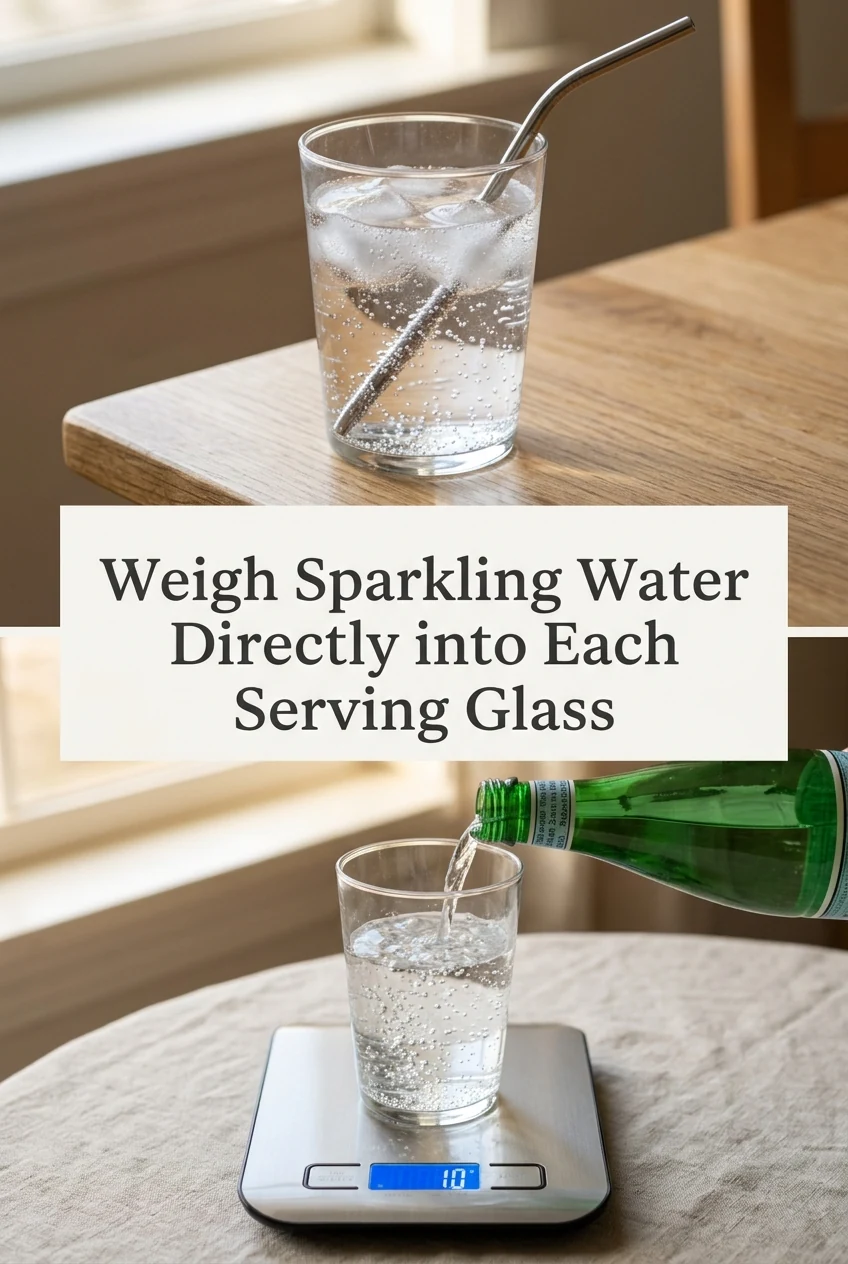
AI-generated editorial concept created for this article. The image is not a technical diagram or a tested result.
What You Need Before You Start
Gather your kitchen scale, your serving glasses, a commercial bottle of sparkling water, and your prepared noncarbonated fruit base. The fruit base might be a simple mixture of fresh citrus juice and a light sugar syrup, both made and cooled in advance so they are ready to receive the sparkling water without delay. Check that your scale can comfortably handle the combined weight of the glass plus the liquid you plan to add, staying within the maximum load stated in the scale's instructions. Set the scale on a stable, dry, level counter surface. Keep a clean cloth nearby in case of drips, and position it so that any splash lands on the cloth rather than on the scale itself, following whatever spill-protection guidance your scale's instructions provide.
Preparing the Noncarbonated Base First
Always finish the noncarbonated portion of each drink before you open the sparkling water bottle. For a simple sparkling citrus drink, you might stir together freshly squeezed orange juice and a cooled sugar syrup made from water and sugar dissolved over gentle heat. Pour the measured base into each glass and set the glasses aside. Doing this step first means that once you open the sparkling water, you can move through all four glasses promptly. The fruit base does not need to be ice-cold at this stage, but if you prefer a chilled drink, add ice to the glass before the base so that the glass and its contents are already at your preferred temperature when the sparkling water goes in.
Taring and Pouring One Glass at a Time
Place the first glass, already containing its fruit base, onto the scale platform. Press the tare button so the display reads zero, registering only new additions from this point. Open the sparkling water bottle according to the label instructions and pour slowly and steadily into the glass until the scale reads your chosen mass. In this worked example the target is 120 g of sparkling water per glass. Pour to that figure, then recap the bottle firmly before moving to the next glass. Lift the first glass off the scale, set it aside, and place the second glass on the platform. Tare again and repeat. The tare step matters each time because the glasses themselves may vary slightly in weight. This is an illustrative plan for how the process works; your own poured amounts will depend on your pouring pace and how you read the display.
Working Through Four Glasses
Following the same tare-and-pour sequence for each glass, four portions of 120 g each add up to 480 g of sparkling water drawn from the bottle across the session. That figure describes the total sparkling water added, not the total finished weight of four drinks, which also includes the fruit base and any ice. Recapping the bottle between each pour is practical rather than optional: it limits the time the bottle sits open and keeps the remaining contents under the pressure the manufacturer intended. Check the label for any guidance the maker provides about recapping and using the bottle. If the bottle feels difficult to recap cleanly, set it upright on the counter and take a moment to align the cap before pressing down and turning.
Keeping the Scale Safe During the Session
A kitchen scale is a measuring tool, not a drip tray. Pour close to the glass rim rather than from a height, and tilt the bottle gently to reduce splashing. If liquid does reach the scale platform, blot it immediately with your cloth rather than letting it sit. Do not exceed the load limit printed in your scale's instructions; if a large glass plus its contents approaches that limit, consider using a lighter glass or a smaller portion size. After the session, wipe the platform according to the cleaning guidance in the scale's manual. Storing the scale flat and away from damp areas between uses is good general practice, though your specific model's instructions should guide storage decisions.
A little more
to know.
Can I use any kitchen scale for this, or does it need a special setting?
Any kitchen scale that displays grams and has a tare function will work for this method. The important checks are that the scale's maximum load is high enough to hold your glass plus the liquid, and that the platform is large enough to support the base of your glass stably. Consult your scale's instructions for its load limit and any surface-protection recommendations before you begin.
Does 120 g of sparkling water equal exactly 120 ml?
Mass and volume are related but not identical for sparkling water, and the dissolved gas means the relationship is not a simple one-to-one conversion. This method uses mass consistently throughout rather than treating grams and milliliters as interchangeable. If a recipe you are following specifies milliliters, check whether the recipe also provides a gram equivalent, or use a measuring jug for that recipe instead of this scale-based approach.
Original editorial guidance and recipe formulations, not independently kitchen-tested. Times are estimates and depend on equipment and product directions. Cooked bases need additional cooling and refrigeration before cold serving. Images are AI-generated illustrations; appearance and yield may vary. Check actual ingredient labels, allergens, and any certification you require. We do not certify products. Read our approach.
Save to Pinterest ↗ANOTHER IDEA FOR THE COUNTER