Weigh Milk for Two Warm Café Cups Before Heating It
Estimating milk by eye before heating it for two café-style drinks is one of the most common causes of a saucepan that boils over or cups that end up unequally filled. Weighing the combined portion into a jug before the flame goes on takes under thirty seconds and confirms you have the right amount for both servings. This guide explains the weighing step, how to account for evaporation, and how to pour evenly once the milk is ready.
Read the note ↓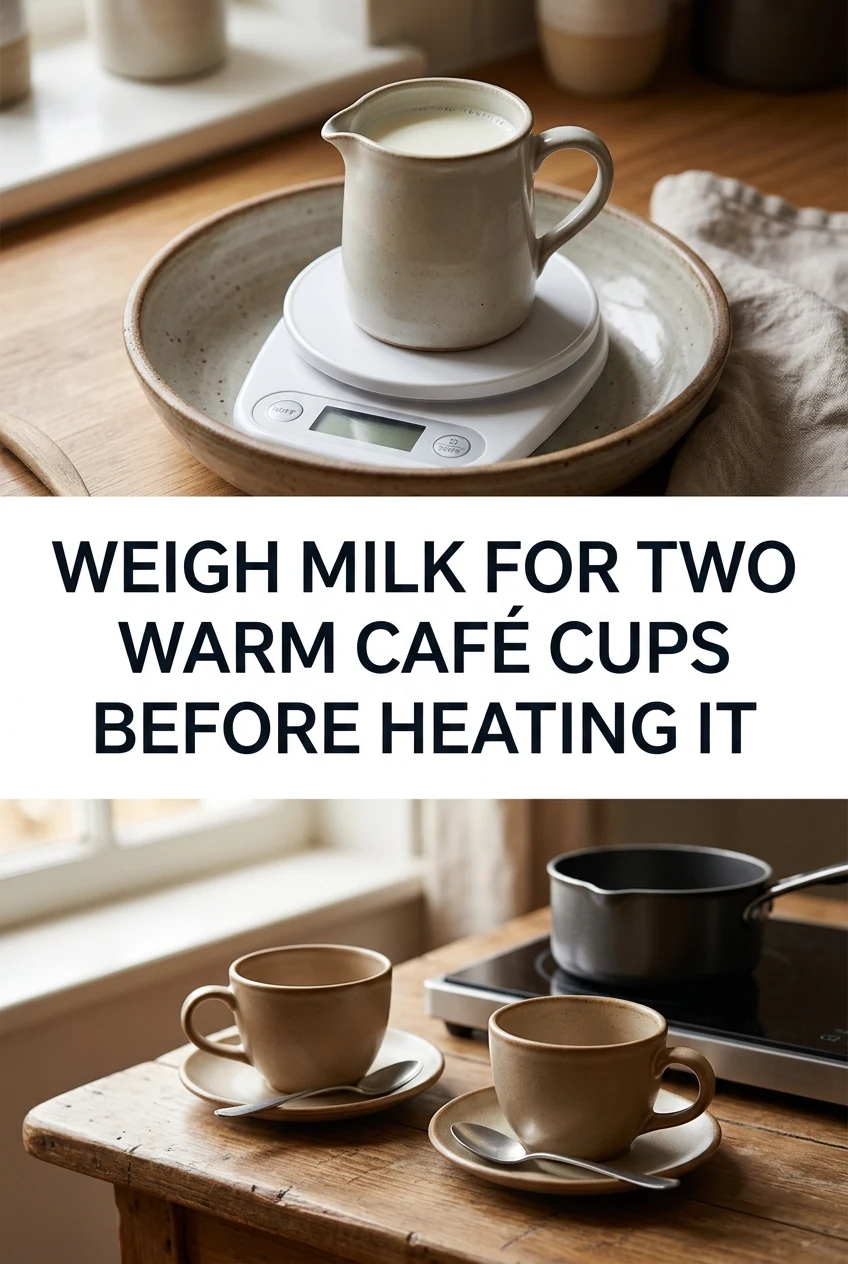
AI-generated editorial concept created for this article. The image is not a technical diagram or a tested result.
Establish Your Per-Cup Milk Target
Before touching the saucepan, decide how much milk each finished cup needs. A standard 240 ml café-style warm drink uses roughly 180 to 200 ml of milk, with the remaining space reserved for coffee concentrate, cocoa, or similar. Multiply your per-cup figure by two to get the combined target. As an illustrative example, two cups at 190 ml each gives a combined pre-heat target of 380 ml. Write this figure down before you start weighing.
Weigh Into a Jug, Not the Saucepan
Place a pouring jug on your kitchen scale and tare it to zero. Pour cold pasteurised milk slowly until the scale reads your combined target in grams. For practical purposes, one gram of whole milk equals approximately one millilitre, so 380 grams corresponds closely to 380 ml. Weighing into a jug rather than directly into the saucepan lets you correct an overpour by spooning a little back before any heat is applied.
Add a Small Evaporation Buffer
Gentle stovetop heating over a few minutes causes a small amount of evaporation. For most home heating sessions lasting under five minutes at low to medium heat, adding ten to fifteen millilitres above your combined target is a reasonable buffer. This is not a precise science figure; it is a practical allowance. If you are heating milk for a cocoa drink that requires a full cup of milk, the buffer ensures neither cup comes up short after pouring.
Heat Gently and Watch the Surface
Pour the weighed milk from the jug into a clean saucepan. Use low to medium heat and stir occasionally with a long spoon. Remove the saucepan from the heat when small bubbles form around the edges and steam rises steadily. Do not walk away during heating. Milk that reaches a rolling boil can overflow quickly and also develops a skin that affects texture. The jug you weighed into can be rinsed and used immediately for pouring.
Pour Evenly and Refrigerate Unused Milk
Return the hot milk to the rinsed pouring jug for control, then fill both cups to your target line. Pouring from a jug with a spout gives better accuracy than ladling from a saucepan. Any unused cold pasteurised milk left in the original container should remain refrigerated at 4 degrees Celsius or below. Do not return warm milk to the original bottle. Discard any heated milk not used within two hours.
A little more
to know.
Does the weighing method work the same way for plant-based milks?
The gram-to-millilitre relationship varies slightly across oat, soy, and almond milks, but the difference is small enough that the same weighing method gives a workable result for home café portions without needing separate conversion tables.
Should I weigh milk for a single cup using the same approach?
Yes. Weighing a single portion is actually easier because there is no division involved. Set your per-cup target, weigh directly, add your small evaporation buffer, and heat. The process is identical and equally useful for one cup.
Original editorial guidance and recipe formulations, not independently kitchen-tested. Times are estimates and depend on equipment and product directions. Cooked bases need additional cooling and refrigeration before cold serving. Images are AI-generated illustrations; appearance and yield may vary. Check actual ingredient labels, allergens, and any certification you require. We do not certify products. Read our approach.
Save to Pinterest ↗ANOTHER IDEA FOR THE COUNTER