Use a Removable Bookmark to Track a Multi-Step Drink Recipe
A printed or handwritten drink recipe card is easy to lose track of mid-preparation, especially when a recipe calls for a syrup addition, a steeping pause, and a separate water measurement in close sequence. Moving a small removable marker down the card after each completed step is a straightforward home-cafe habit that keeps your place visible at a glance and removes the guesswork about whether a particular addition has already been made.
Read the note ↓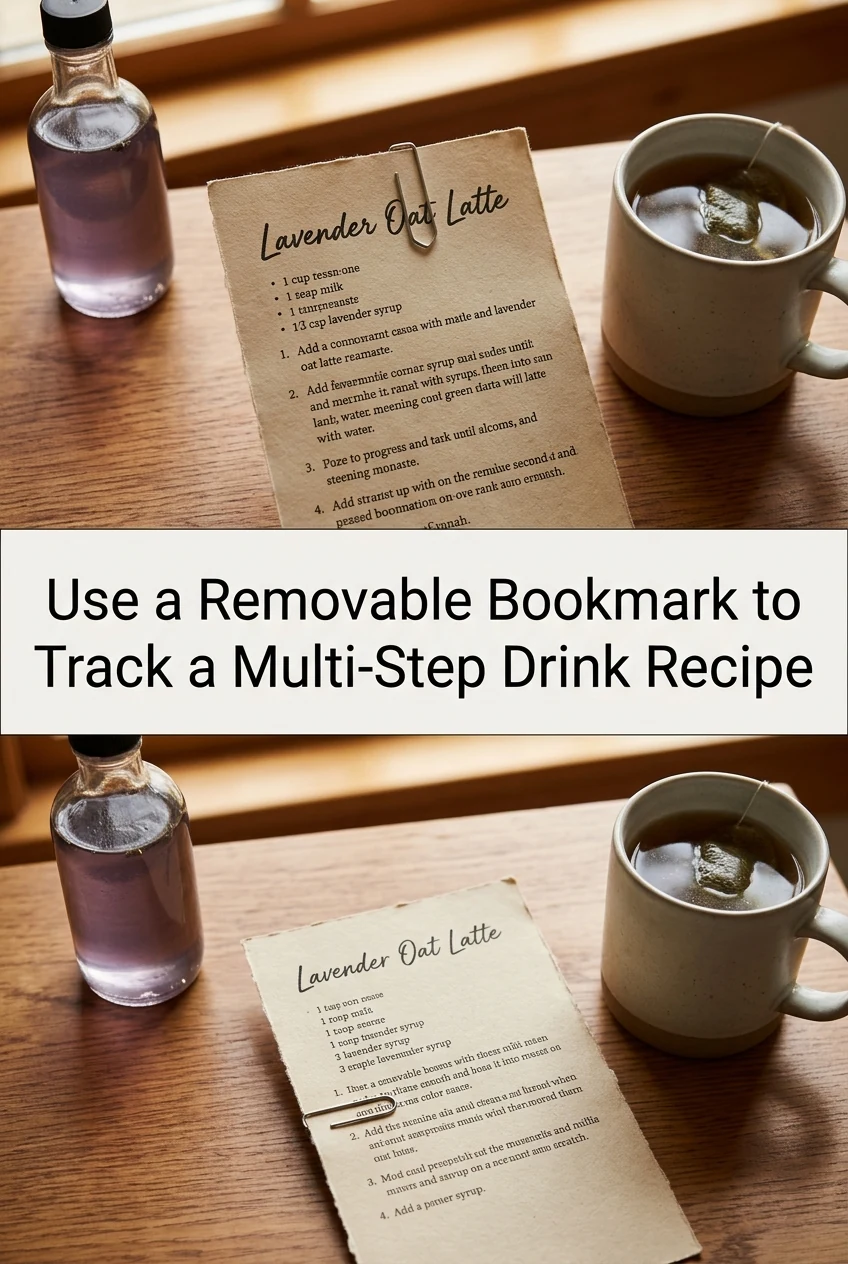
AI-generated editorial concept created for this article. The image is not a technical diagram or a tested result.
Why Step-Tracking Matters for Layered Drinks
Multi-step drinks such as a spiced oat milk tea latte involve several distinct actions: measuring and heating water to the temperature your tea maker specifies, steeping loose-leaf tea for the time shown on the packet, preparing a small batch of date syrup, and finally combining everything with steamed oat milk in a particular order. Each action looks similar enough that a brief interruption, such as answering a door or checking a timer on another appliance, can leave you uncertain whether the syrup went in before or after the tea was poured. Repeating a syrup addition doubles the sweetness unintentionally; skipping the steep entirely produces a weak cup. A visible marker eliminates both errors without requiring you to memorise the sequence.
Choosing and Setting Up Your Marker
A small self-adhesive repositionable note, a binder clip, or a simple strip of low-tack tape all work as markers because they can be moved cleanly without tearing a laminated or card-stock recipe sheet. Write or print your recipe with generous line spacing, at least one clear line between each numbered step, so the marker sits distinctly on one line at a time. Before you begin preparing anything, place the marker on step one. The rule is simple: you move the marker only after the step it is sitting on is fully finished. If you walk away mid-step, the marker stays put, telling you exactly where to resume.
A Worked Example: Spiced Date-Syrup Oat Milk Tea
The following is an illustrative plan rather than a kitchen-tested result, intended to show how the tracking habit fits a realistic recipe sequence. Step one: heat water to the temperature your tea packet recommends and steep the tea for the time stated on the packet. Move the marker to step two. Step two: while the tea steeps, combine two pitted dates with a small amount of warm water in a small saucepan, simmer gently until the dates soften, then blend or press through a sieve to produce a smooth syrup. Move the marker to step three. Step three: strain the steeped tea into your serving cup. Move the marker to step four. Step four: stir in the date syrup and a small measure of alcohol-free vanilla flavoring, checking the label confirms it contains no alcohol. Move the marker to step five. Step five: pour steamed or warmed oat milk over the top according to your preferred ratio. The marker now sits at the final step, confirming the drink is complete. If a phone call interrupted you between steps two and three, returning to the card shows the marker on step three, confirming the syrup is already prepared and the tea is ready to strain.
Handling Perishables Within the Sequence
Date syrup made at home is a perishable item. If your recipe produces more syrup than a single drink requires, transfer the remainder to a clean covered container and refrigerate it promptly once it has cooled slightly. Do not leave it at room temperature while you continue with other steps. Your recipe card can include a brief note beside the syrup step as a reminder, and your marker system keeps that note visible at the right moment rather than buried at the top of the card while you are working on a later step. Follow the same prompt-refrigeration principle for any prepared oat milk mixture you do not use immediately.
Adapting the System to Other Drink Recipes
The marker approach scales to any recipe with three or more sequential steps where an addition could be accidentally repeated. A cold-brew grain tea, a layered fruit and hibiscus iced drink, or a warm barley and ginger cup all benefit from the same card-and-marker setup. Print each recipe on a separate card and store the cards in a small desktop stand so the marker is always visible during preparation. If you share a kitchen with others, a brief note at the top of the card explaining the marker convention takes only a moment to add and prevents a second person from resetting the marker before the drink is finished.
A little more
to know.
What if I forget to move the marker after completing a step?
Review the step the marker is sitting on and check whether the physical evidence in front of you, such as an empty measuring spoon, a strained tea strainer, or a warm saucepan, confirms the step is done. If you are confident it is complete, move the marker forward. If you are not certain, it is safer to treat the step as incomplete and repeat only the parts that carry no risk of doubling, such as re-checking the steep time rather than adding syrup again.
Can I use this system with a recipe on a phone screen instead of a printed card?
A printed or laminated card works more reliably because a physical marker can rest on it without the screen locking or scrolling. If you prefer a screen, you can adapt the idea by highlighting the current step in a notes app and manually updating the highlight after each step, though this requires an extra tap each time and is easier to forget than moving a physical marker.
Original editorial guidance and recipe formulations, not independently kitchen-tested. Times are estimates and depend on equipment and product directions. Cooked bases need additional cooling and refrigeration before cold serving. Images are AI-generated illustrations; appearance and yield may vary. Check actual ingredient labels, allergens, and any certification you require. We do not certify products. Read our approach.
Save to Pinterest ↗ANOTHER IDEA FOR THE COUNTER