Set Up a Small Tray for Sparkling Fruit Drink Ingredients Before Opening the Soda Bottle
Sparkling water loses carbonation from the moment the bottle is opened, and fumbling for a glass, measuring syrup, or adding ice after opening wastes the fizz you are trying to preserve. Arranging every component on a small tray before you touch the bottle cap turns the pour into a single continuous action. This guide explains what to prepare, in what order, and how to pour to keep the drink as lively as possible without any special equipment.
Read the note ↓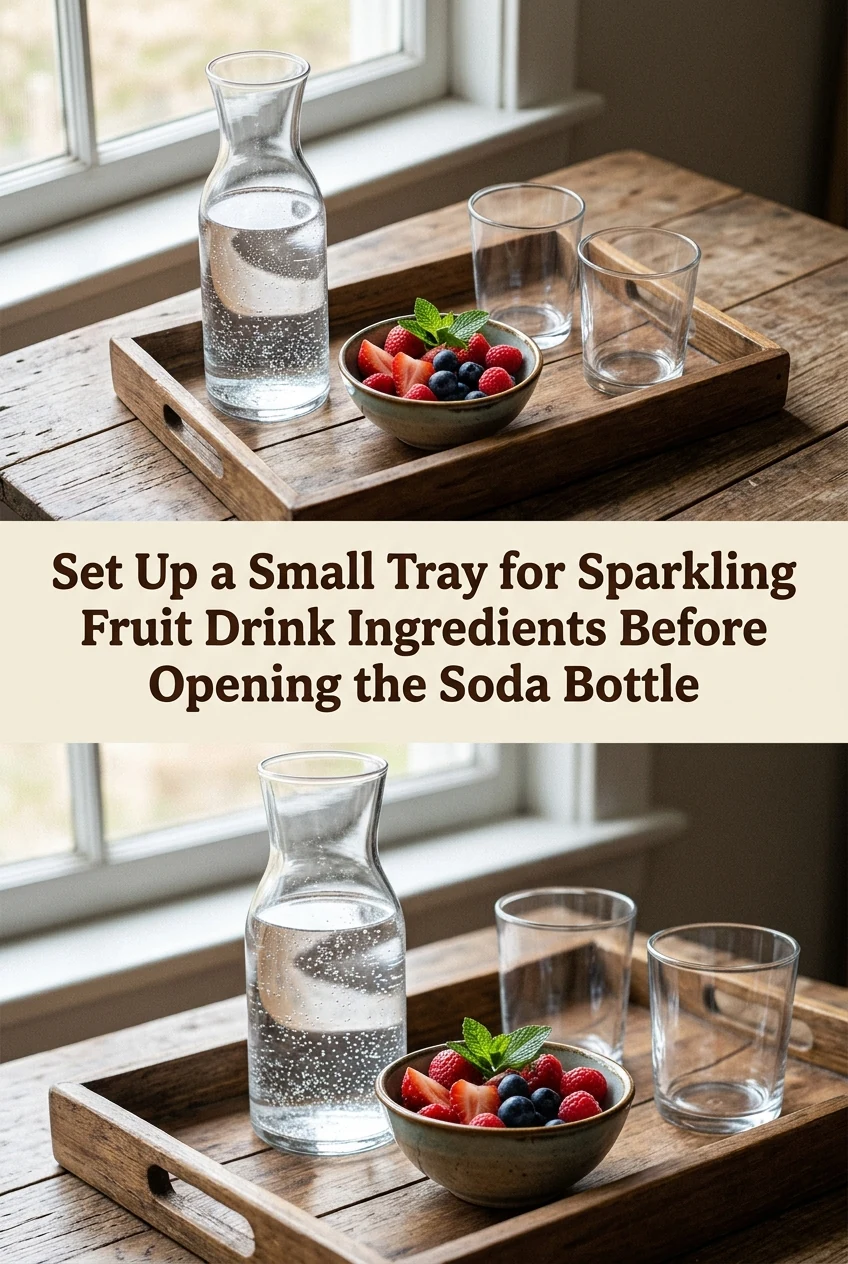
AI-generated editorial concept created for this article. The image is not a technical diagram or a tested result.
Identifying Everything the Drink Needs Before You Start
Read through your drink recipe completely and list every ingredient and tool: the glass, measured syrup or juice, ice, garnish, a long spoon, and the sparkling water bottle. Gathering these in advance sounds obvious but is easy to skip. The moment you open the bottle and then walk to the refrigerator for a forgotten ingredient, you are losing carbonation. A small tray or cleared section of counter large enough to hold all components side by side is all the infrastructure you need.
Measuring Syrup and Juice Into the Glass First
Pour your measured syrup or fruit juice into the serving glass before anything else. For a single 300 ml drink, a typical starting point is 30 to 45 ml of fruit syrup, though the right amount depends entirely on the syrup's concentration and your preference. Measuring into the glass first means the denser liquid sits at the bottom and the sparkling water will mix through it on the pour without needing aggressive stirring that would knock out carbonation.
Adding Ice to the Glass on the Tray
Add ice to the glass after the syrup and before opening the bottle. Cold ice chills the incoming sparkling water quickly, which helps it retain carbonation longer once poured. Fill the glass roughly two-thirds with ice rather than packing it completely, leaving room for the liquid volume. If your garnish is a citrus slice or a few fruit pieces, place it on the rim or beside the glass on the tray now so your hands are free during the pour.
Opening the Bottle and Pouring Without Pausing
With everything on the tray and the glass within arm's reach, open the sparkling water bottle and pour immediately. Tilt the glass slightly and pour the sparkling water down the inside wall rather than directly onto the ice, which reduces agitation and preserves more bubbles. Pour to your target volume, typically filling the glass to within 2 cm of the rim. Set the bottle down, cap it if any remains, and give the drink one slow stir from the bottom to integrate the syrup without deflating the top layer.
Serving and Managing Leftover Sparkling Water
Serve the drink immediately after the single stir. Sparkling drinks lose noticeable carbonation within a few minutes at room temperature, so there is no benefit to letting them sit. If the bottle has remaining sparkling water, seal it and return it to the refrigerator promptly. A bottle stored upright with its cap tight will retain reasonable carbonation for the next session, though some loss is inevitable and the exact duration depends on the bottle type and seal quality.
A little more
to know.
Does the temperature of the sparkling water bottle affect how much carbonation is lost during pouring?
Yes. A colder bottle releases carbonation more slowly when opened and poured. Keeping sparkling water refrigerated until the moment you pour it is one of the simplest ways to preserve fizz, alongside minimising the time between opening and serving.
Should the syrup go in before or after the ice if I want a layered visual effect?
For a layered look, add ice first, then pour syrup slowly over the back of a spoon onto the ice surface before adding sparkling water. The denser syrup will sink through the ice and sit below the water, creating visible separation until the drink is stirred.
Original editorial guidance and recipe formulations, not independently kitchen-tested. Times are estimates and depend on equipment and product directions. Cooked bases need additional cooling and refrigeration before cold serving. Images are AI-generated illustrations; appearance and yield may vary. Check actual ingredient labels, allergens, and any certification you require. We do not certify products. Read our approach.
Save to Pinterest ↗ANOTHER IDEA FOR THE COUNTER