Prepare Plain Yogurt Drop Biscuits Without Rolling Dough
Drop biscuits skip the rolling pin entirely. You spoon a soft, sticky dough straight from the bowl onto a lined baking sheet, and the oven does the shaping for you. Plain yogurt replaces buttermilk in this illustrative home-cafe plan, adding a gentle tang and enough moisture to hold the dough together without any kneading. The result is a rustic, tender biscuit with a slightly craggy top that pairs naturally with a warm cup of tea or coffee. This guide walks through one worked example yielding twelve biscuits, covering ingredients, mixing order, portioning, baking, and prompt handling of leftovers.
Read the note ↓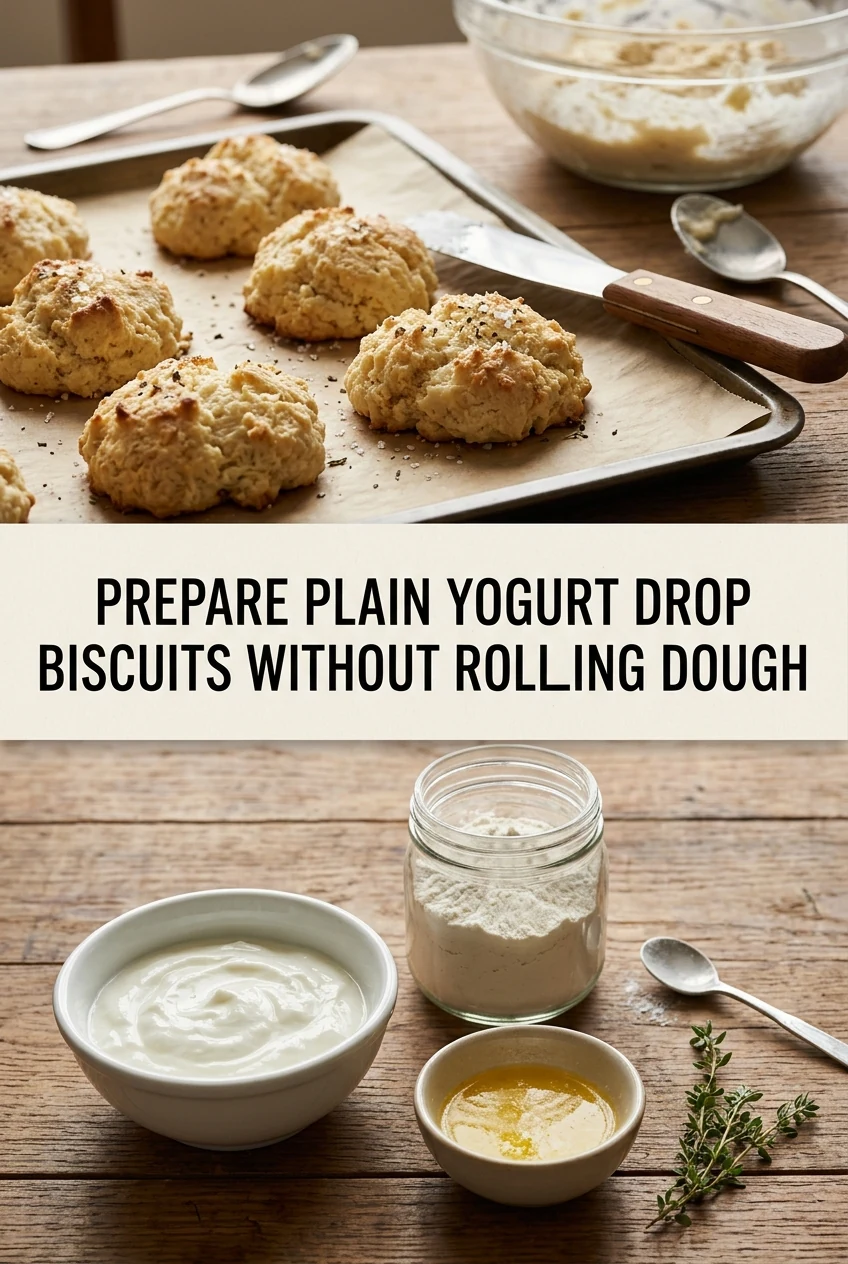
AI-generated editorial concept created for this article. The image is not a technical diagram or a tested result.
Gather Your Ingredients
For twelve drop biscuits, measure out two cups of all-purpose flour, one tablespoon of baking powder, half a teaspoon of fine salt, and one teaspoon of sugar. Cut six tablespoons of cold unsalted butter into small cubes and keep them refrigerated until needed. Measure three-quarters of a cup of plain full-fat yogurt and set it aside in the refrigerator. If you want a mild flavoring, use a few drops of alcohol-free vanilla flavoring, not an extract that lists alcohol in its ingredients. Check the label before purchasing to confirm it is alcohol-free. Have a large mixing bowl, a pastry cutter or two forks, a sturdy spoon, a baking sheet, and parchment paper ready before you begin.
Mix the Dry Ingredients and Work In the Butter
Whisk the flour, baking powder, salt, and sugar together in the large bowl until evenly combined. Add the cold butter cubes and use a pastry cutter or two forks to press and cut the butter into the flour. Work quickly so the butter stays cold. Continue until the mixture resembles coarse, uneven crumbs with some pea-sized pieces of butter still visible. Those small butter pieces are intentional; they create pockets of steam during baking that help the biscuits rise and stay tender. Avoid overworking the mixture at this stage. If your kitchen is warm, place the bowl in the refrigerator for five minutes before adding the yogurt.
Add the Yogurt and Form the Dough
Pour the cold plain yogurt into the flour-butter mixture. If you are using alcohol-free vanilla flavoring, add it now. Stir with a sturdy spoon just until no dry flour streaks remain. The dough will look shaggy and sticky rather than smooth, and that is expected for a drop biscuit. Do not stir further once the flour is incorporated, because overworking develops gluten and can make the biscuits tough. The dough should be soft enough to fall from a spoon in a rough mound but firm enough to hold a general shape on the baking sheet. If the dough seems too dry, add yogurt one teaspoon at a time.
Portion and Bake
Preheat your oven according to your specific oven's characteristics and the guidance your oven manufacturer provides; a common home range for drop biscuits is around 425 degrees Fahrenheit, but consult your oven's documentation and adjust as needed since ovens vary. Line a baking sheet with parchment paper. Use a large spoon or a quarter-cup measure to scoop the dough and drop mounds onto the prepared sheet, spacing them roughly two inches apart. This worked example portions the dough into twelve mounds. Do not press or smooth the tops; the irregular surface is part of the drop biscuit character. Place the sheet in the preheated oven and bake until the tops are golden and the bottoms feel set when you gently lift one with a spatula. Begin checking around the twelve-minute mark, though your actual bake time will depend on your oven. Remove the sheet and let the biscuits rest on it for a few minutes before serving.
Handle Leftovers Promptly
Because this recipe uses plain yogurt, a perishable dairy ingredient, any biscuits not eaten shortly after baking should be stored promptly. Place cooled biscuits in a covered container and refrigerate them. Do not leave them at room temperature for an extended period. Reheat refrigerated biscuits in your oven or toaster oven following your appliance's standard operation; avoid leaving them unattended during reheating. This plan does not assign a specific storage lifespan, because safe holding times depend on your refrigerator's actual temperature and conditions. Use your judgment and standard food-safety practice when deciding whether a refrigerated biscuit is still suitable to eat.
A little more
to know.
Can I use low-fat yogurt instead of full-fat yogurt in this recipe?
You can try low-fat plain yogurt, but the dough may be slightly wetter because low-fat yogurt often contains more liquid. If the dough feels too loose after stirring, add a small amount of additional flour, one tablespoon at a time, until the dough holds a rough mound shape when dropped from a spoon. This is an illustrative adjustment, not a tested substitution, so your result may differ from the full-fat version described here.
Why does this recipe ask me not to smooth the tops of the dough mounds before baking?
The uneven, craggy surface of a drop biscuit is a defining feature of the style. The irregular peaks and valleys brown at slightly different rates, creating a varied texture on top. Smoothing the mounds would change the character of the biscuit and bring it closer to a shaped or rolled product. Leaving the tops rough is part of what makes a drop biscuit distinct from a cut or rolled biscuit.
Original editorial guidance and recipe formulations, not independently kitchen-tested. Times are estimates and depend on equipment and product directions. Cooked bases need additional cooling and refrigeration before cold serving. Images are AI-generated illustrations; appearance and yield may vary. Check actual ingredient labels, allergens, and any certification you require. We do not certify products. Read our approach.
Save to Pinterest ↗ANOTHER IDEA FOR THE COUNTER