Prepare a Small Batch of Sesame Shortbread for a Warm Café Tray
Sesame shortbread works well alongside warm café drinks because its flavor is nutty and not overly sweet, and the texture stays crisp without being fragile. The key steps are toasting the sesame seeds before mixing, chilling the shaped dough log so it slices cleanly, and baking at a consistent moderate temperature. This guide covers a small batch of approximately 16 rounds using a standard home oven, a mixing bowl, and a lined baking tray, with no specialist equipment required.
Read the note ↓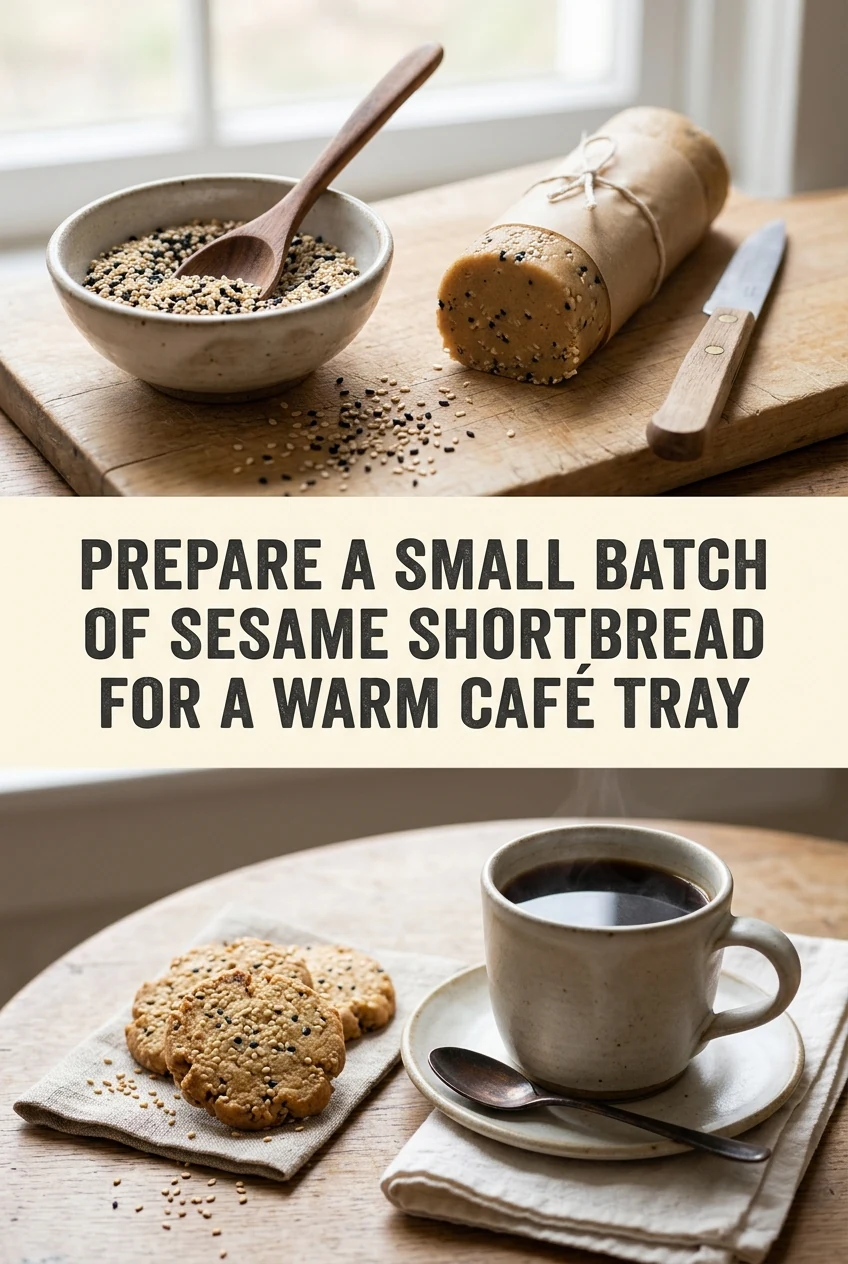
AI-generated editorial concept created for this article. The image is not a technical diagram or a tested result.
Toast the Sesame Seeds First
Place 3 tablespoons of raw white sesame seeds in a dry skillet over medium-low heat. Stir continuously for 2 to 3 minutes until the seeds turn a light golden color and release a nutty smell. Transfer them immediately to a plate to stop cooking; seeds left in the hot pan will continue to darken. Let them cool completely before adding to the dough. Untoasted seeds can be used but deliver a noticeably flatter flavor, which reduces the point of including them.
Mix the Shortbread Dough
In a bowl, combine 115 g of plain flour, 55 g of icing sugar, and a small pinch of fine salt. Add 85 g of cold unsalted butter cut into small cubes. Rub the butter into the flour mixture with your fingertips until it resembles coarse crumbs with no large butter pieces remaining. Add the cooled toasted sesame seeds and mix briefly. Add one tablespoon of cold water and press the dough together until it just holds. Overworking develops gluten and makes the shortbread tough rather than crumbly.
Shape and Chill the Log
Turn the dough onto a clean surface and shape it into a log roughly 4 cm in diameter and about 12 cm long. Wrap it tightly in cling film or place it in a sealed container and refrigerate for at least 45 minutes. Chilling firms the butter so the log slices cleanly without crumbling or distorting. If you slice the log while it is still soft, the rounds will be uneven and may spread unevenly during baking. A well-chilled log produces consistent thickness more reliably.
Slice and Arrange on the Tray
Preheat your oven to 160 degrees Celsius using your oven's own settings; actual internal temperatures vary by appliance, so check your oven's behavior with the recipes you use regularly. Line a baking tray with parchment paper. Slice the log into rounds approximately 7 mm thick using a sharp knife. Arrange them on the tray with about 2 cm of space between each. The rounds should hold their shape without spreading significantly if the dough was properly chilled and not overworked.
Bake and Cool Before Serving
Bake for 18 to 22 minutes until the edges are just beginning to turn a pale gold. The centers may look slightly underdone when you open the oven, but shortbread firms as it cools. Leave the rounds on the tray for 5 minutes before transferring to a wire rack. Serve once fully cooled. Store any remaining shortbread in an airtight container at room temperature and consume within 3 days for best texture. Do not stack them while still warm, as they can soften against each other.
A little more
to know.
Can I use salted butter instead of unsalted?
Yes, but omit the added pinch of salt in the dry ingredients. Salted butter varies in sodium content by brand, so the result may be slightly saltier than intended, which some people prefer with sesame.
Why did my shortbread spread flat during baking?
The most common cause is butter that was too warm when mixed, or dough that was not chilled long enough before slicing. Both allow the fat to melt too quickly in the oven before the structure sets, causing the rounds to flatten.
Original editorial guidance and recipe formulations, not independently kitchen-tested. Times are estimates and depend on equipment and product directions. Cooked bases need additional cooling and refrigeration before cold serving. Images are AI-generated illustrations; appearance and yield may vary. Check actual ingredient labels, allergens, and any certification you require. We do not certify products. Read our approach.
Save to Pinterest ↗ANOTHER IDEA FOR THE COUNTER