Portion Frozen Mango Into a Blender Jar Without Exceeding the Fill Line
Frozen mango chunks are irregular in shape and stack with air gaps, so a visual estimate of the jar level is unreliable before liquid is added. Placing the jar on a kitchen scale and zeroing it before adding fruit gives you a repeatable weight rather than a guess. This approach leaves a predictable gap for milk or yogurt and keeps the total fill below the maximum line marked on the jar.
Read the note ↓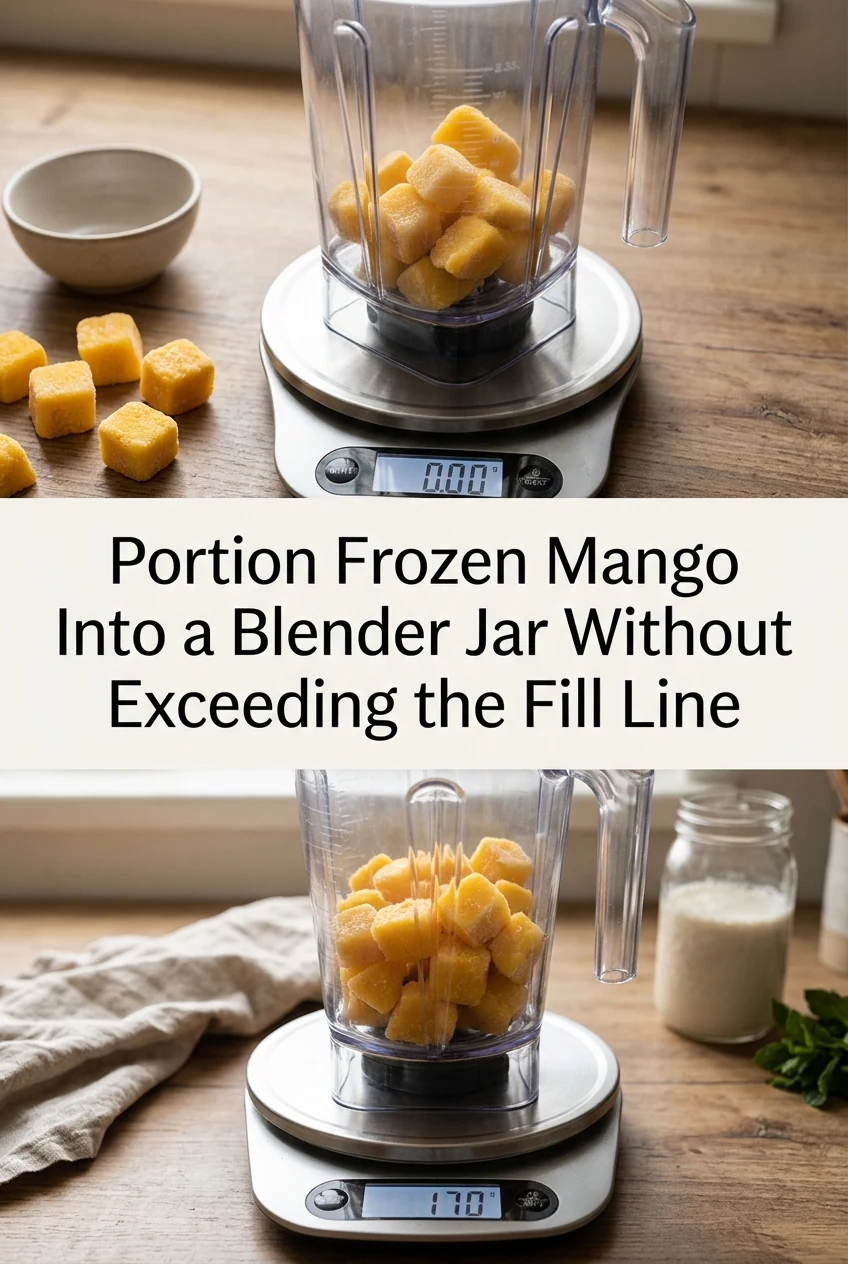
AI-generated editorial concept created for this article. The image is not a technical diagram or a tested result.
Understand why frozen chunks mislead the eye
A 200 g portion of frozen mango can occupy very different volumes depending on chunk size. Flat slices stack tightly and may look low in the jar, while rough cubes trap air and appear to reach the fill line while still under the target weight. Because the fill line exists to prevent pressure buildup and spillage during blending, trusting the visual level of irregular frozen fruit is the specific habit that causes overflow.
Set the jar on a scale before adding anything
Place the empty blender jar on a flat kitchen scale and press tare so the display reads zero. Add frozen mango chunks gradually, watching the weight rather than the jar level. For a single-serve smoothie using a 600 ml jar, a worked example would be stopping at 180 g of fruit, which typically leaves enough headroom for 200 ml of liquid while staying below a standard 400 ml fill line. Treat this as an illustrative starting point, not a universal rule.
Check the actual fill line after weighing
Once the fruit is in the jar, look at the fill line from eye level rather than from above. Frozen chunks may settle slightly as you transfer the jar from the scale to the counter, occasionally dropping the apparent level. If the fruit already sits at or above the marked line before any liquid is added, remove a small handful rather than compressing the chunks downward, which can crack some jar bases.
Add liquid along the jar wall, not over the fruit
Pour milk or yogurt slowly down the inside wall of the jar rather than directly onto the frozen pile. This technique lets liquid find the gaps between chunks without pushing them upward. Stop pouring when the liquid surface reaches roughly 2 cm below the fill line, accounting for the fact that blending creates momentary foam that can reach higher than the resting liquid level.
Secure the lid and confirm before starting
Press the lid firmly and, if your jar has a separate center cap, confirm it is seated before switching on. A jar loaded correctly by weight should show liquid and fruit sitting clearly below the fill line at rest. If the combined contents still look high after following the weight approach, blend in two shorter pulses first rather than running a full cycle immediately, giving foam a moment to settle between pulses.
A little more
to know.
Can I use the same weight target if I switch to a different blender jar?
No. Fill lines vary between jar models and sizes. Re-establish your fruit weight limit each time you use a different jar by checking where 180 g of fruit sits relative to that specific jar's marked line before adding liquid.
Does partially thawing the mango first change how much fits safely?
Yes. Thawed chunks collapse and pack more densely, so the same weight occupies less volume and may allow slightly more liquid. However, partially thawed fruit also blends faster and can affect texture, so adjust liquid quantity after observing the actual level.
Original editorial guidance and recipe formulations, not independently kitchen-tested. Times are estimates and depend on equipment and product directions. Cooked bases need additional cooling and refrigeration before cold serving. Images are AI-generated illustrations; appearance and yield may vary. Check actual ingredient labels, allergens, and any certification you require. We do not certify products. Read our approach.
Save to Pinterest ↗ANOTHER IDEA FOR THE COUNTER