Measure a Smoothie Portion Into the Glass Before Blending to Check Fit
A blender jar filled with ingredients that look reasonable before blending can produce a finished volume that overflows the serving glass or leaves it embarrassingly half-empty. Checking fit before you blend takes one extra step and helps avoid both outcomes. The method uses the serving glass itself as the measurement tool, which means no additional equipment and no guesswork about how much your specific glass actually holds compared to its labelled capacity.
Read the note ↓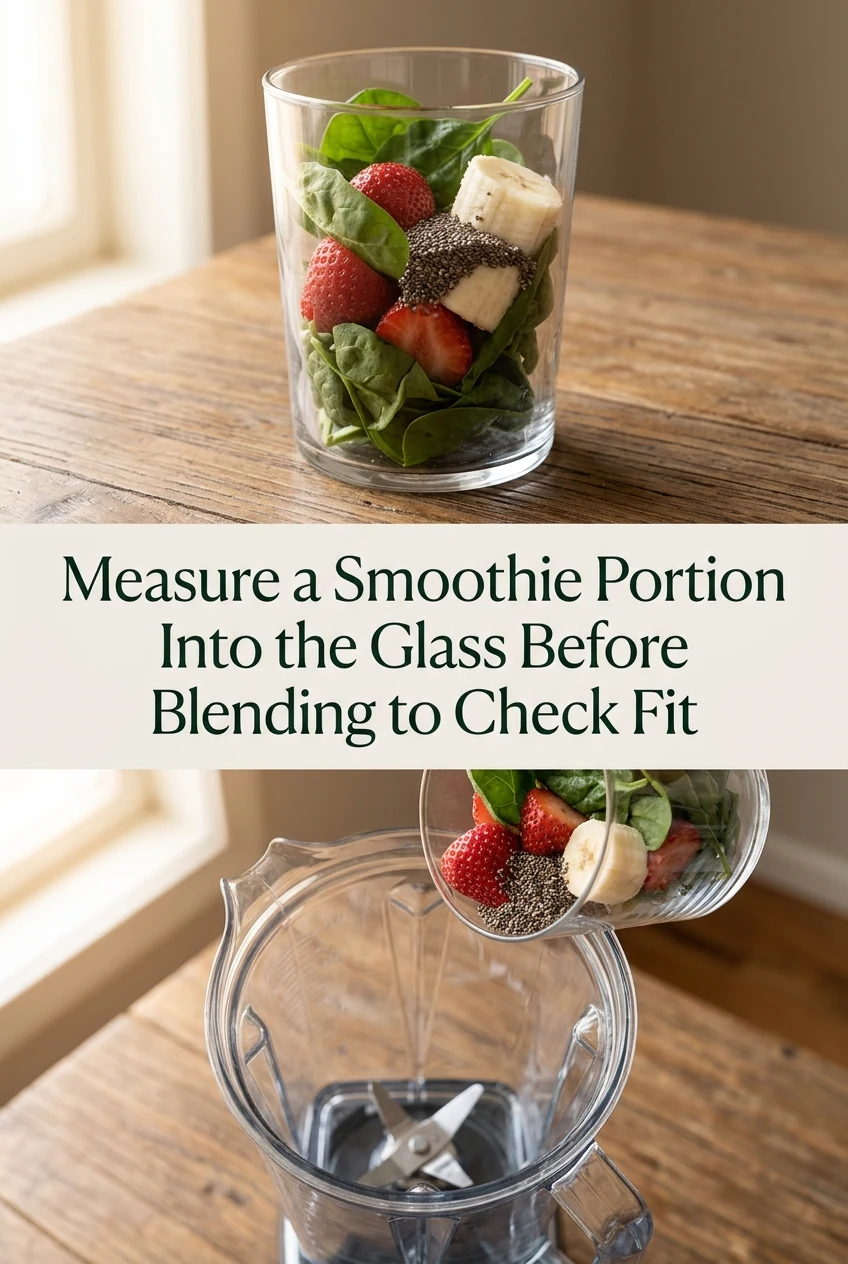
AI-generated editorial concept created for this article. The image is not a technical diagram or a tested result.
Fill the serving glass with water to your intended fill line
Decide how full you want the finished drink to appear in the glass, accounting for any foam that forms during blending. Pour cold water into the glass up to that line, not to the absolute rim. Most people leave one to two centimetres of headspace to prevent spills when carrying. The water in the glass now represents the maximum finished volume your drink should reach. This is your target, not a guaranteed output figure, since blending adds air and foam.
Pour the glass water into the blender jar and mark the level
Empty the water from the serving glass into the blender jar and note where the waterline sits against the jar's markings. If your blender jar has volume markings, record the number. If it does not, place a small piece of tape on the outside of the jar at the waterline. This mark shows the target finished volume for your drink once blending is complete, giving you a clear visual benchmark before pouring into the serving glass.
Account for volume changes during blending
Raw ingredients change volume during blending in different ways depending on their physical state. Bulky solid items like ice cubes, frozen fruit, and leafy greens contain significant void space between pieces; pureeing them eliminates these gaps, causing unblended volume to shrink noticeably. In contrast, liquid bases and ingredients like dairy or protein powders can aerate and expand under high blade speeds. Because recipes vary widely, use your target mark to assess the finished puree after an initial blend rather than relying on an arbitrary pre-blend fill percentage.
Check the blender jar maximum fill line
Every blender jar has a maximum fill line marked by the manufacturer, and this limit exists for safety and performance reasons. Before adding ingredients, confirm that your target volume sits below this line with adequate clearance. If your serving glass water volume already approaches the maximum fill line of your blender jar, you either need a larger blender jar, a smaller serving glass, or you need to blend in two smaller batches and combine them in a pitcher before serving.
Test pour after blending before committing to the glass
After blending, pour a small amount into the serving glass first to confirm the consistency and colour match your expectation before filling completely. If the blend is thinner than intended, you can return it to the jar and blend briefly with a small addition of a thickening ingredient. If it is thicker than intended, a splash of liquid blended in for a few seconds can adjust it. Tasting at this stage also lets you adjust sweetness before the drink is served.
A little more
to know.
Does this method work if I am making smoothies for two glasses at the same time?
Yes. Fill both serving glasses with water to your intended fill lines, pour both into the blender jar, and mark the combined level. Blend your ingredients, check whether the pureed drink aligns with your target mark, and make any necessary adjustments before dividing the finished volume equally between the two glasses.
What if my blender jar markings do not match the water volume I poured in?
Blender jar markings are sometimes approximate or measured differently by manufacturers. Trust the tape mark you placed during the water test over the printed jar markings when the two disagree. The tape mark reflects your actual serving glass capacity, which is the measurement that matters for your specific setup.
Original editorial guidance and recipe formulations, not independently kitchen-tested. Times are estimates and depend on equipment and product directions. Cooked bases need additional cooling and refrigeration before cold serving. Images are AI-generated illustrations; appearance and yield may vary. Check actual ingredient labels, allergens, and any certification you require. We do not certify products. Read our approach.
Save to Pinterest ↗ANOTHER IDEA FOR THE COUNTER