Measure a Recipe's Butter Portion Before Softening It
A small sequencing habit can make butter-based recipes noticeably easier to manage at home. Instead of softening an entire block and then trying to scoop out a rough amount, measure the exact quantity the recipe calls for while the butter is still cold and firm, then set that precise portion aside to soften. The cold block holds its shape cleanly, so a knife or the wrapper's printed markings give you a reliable cut. This article walks through the reasoning behind that order of operations and shows one illustrative plan for putting it into practice in a home-cafe setting.
Read the note ↓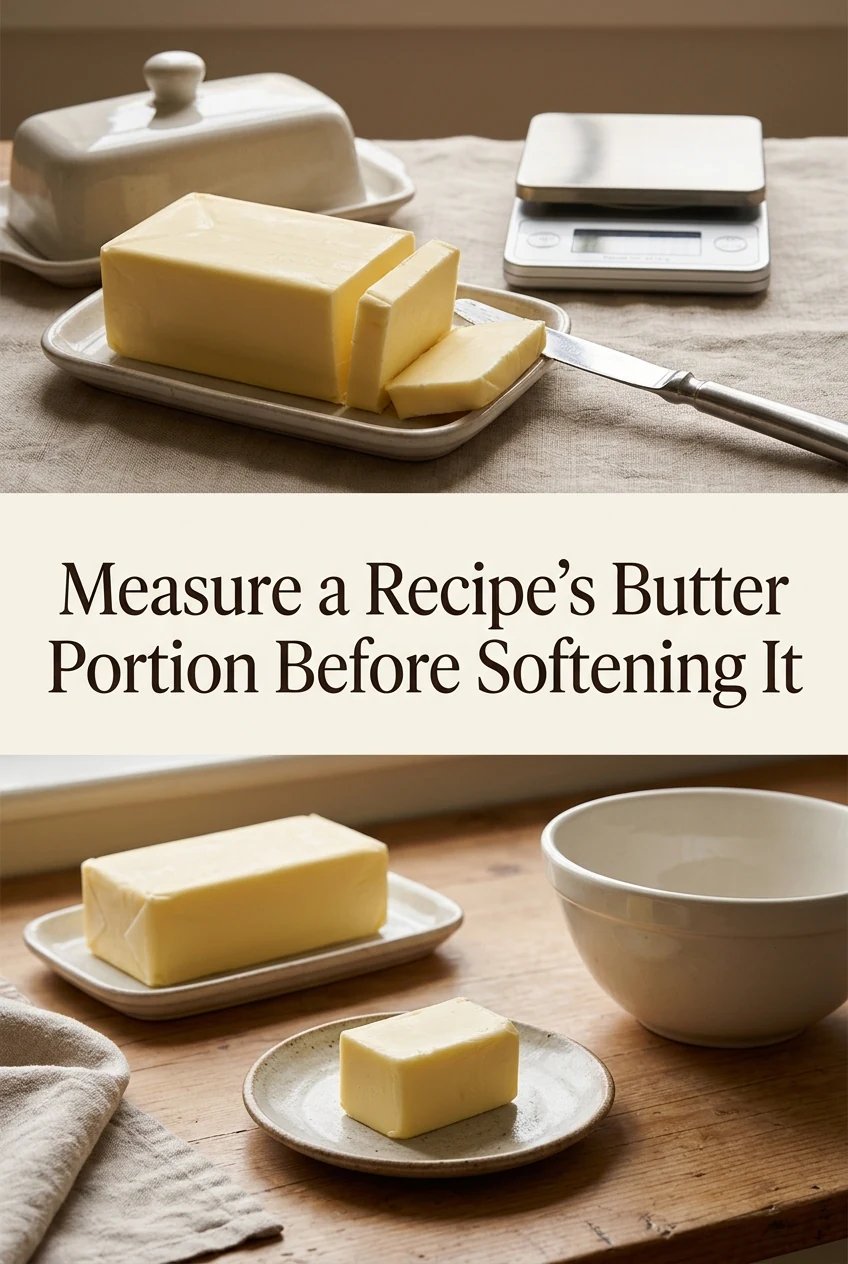
AI-generated editorial concept created for this article. The image is not a technical diagram or a tested result.
Why the Order of Measurement Matters
Softened butter spreads, clings to surfaces, and compresses unpredictably when you press it into a measuring cup. A cup that looks full can hold noticeably more or less butter depending on how firmly it was packed. Cold butter, by contrast, keeps its density consistent and can be sliced against the wrapper's pre-printed tablespoon or gram markings, or weighed on a kitchen scale, before any warmth changes its texture. Measuring first means the number on the scale or the line on the wrapper corresponds to what actually goes into the bowl, not to a rough estimate shaped by how the butter happened to sit in the cup.
Reading Wrapper Markings and Using a Scale
Most standard butter sticks sold in stick-based markets are 113 grams (4 ounces, or half a cup) and carry printed tablespoon lines along the wrapper, meaning a single full stick provides half a cup, while the halfway mark provides approximately 57 grams (one-quarter cup). If you are working from a half-pound (227-gram) block, dividing it in half yields that same 113-gram portion. For recipes that specify exact grams, place a small plate on a kitchen scale, zero it out, and cut slices from the cold block until the display reaches the target weight. Either approach gives you a defined, measurable portion rather than a softened estimate. Once cut, transfer only that measured piece to a clean plate or bowl and leave the remainder refrigerated promptly, following standard food-safety practice of keeping dairy cold when it is not actively being used.
Softening the Measured Portion Intentionally
With the correct amount already separated, softening becomes a deliberate step rather than a guessing game. Set the measured piece on a clean plate at room temperature, away from direct sunlight or a hot burner, and allow it to soften until it yields gently to a fingertip without melting or becoming shiny. The time this takes varies with your kitchen's ambient temperature, so check it periodically rather than setting a fixed timer. The goal described in most baking references is butter that holds its shape but indents easily, which allows it to cream with sugar or blend into a dough as the recipe directs. Because only the needed portion is out, there is no excess sitting at room temperature longer than necessary.
A Worked Illustrative Plan: Simple Butter Cake Batter
Consider a home-cafe plan for a small butter cake calling for 115 grams of unsalted butter, 150 grams of sugar, two eggs, 180 grams of plain flour, a teaspoon of baking powder, 60 milliliters of whole milk, and one teaspoon of alcohol-free vanilla flavoring. Before anything else, place a bowl on the scale, zero it, and cut cold butter slices until the display reads 115 grams. Move that portion to a small plate and return the remaining block to the refrigerator immediately. While the measured butter softens at room temperature, assemble and measure the remaining dry and wet ingredients. By the time the flour is sifted and the eggs are cracked into a separate bowl, the butter portion is typically approaching the right texture. Cream it with the sugar as the recipe directs, add the eggs one at a time, then alternate the flour mixture and milk, finishing with the alcohol-free vanilla. This sequence keeps the workflow moving without waiting for a large block to soften unevenly. This plan is illustrative; actual results depend on your specific recipe, oven, and ingredients.
Keeping the Remaining Butter Safe
Any butter not used in the current recipe should go back into the refrigerator in its original wrapper or a sealed container as soon as it is cut. Leaving a partial block at room temperature while you work through a long recipe is unnecessary once you have already separated the needed portion. Follow the storage guidance printed on your specific butter's packaging, as recommendations vary by brand and product type. Do not rely on invented general timelines. If the remaining butter has softened during the brief time it was out, it is still safe to refrigerate; it will firm again and can be measured accurately for a future recipe once cold.
A little more
to know.
Can I measure softened butter accurately if I have already left it out?
It is more difficult because softened butter compresses differently depending on how it is handled. If your butter has already softened, spooning it into a dry measuring cup and leveling the top is the most consistent approach available, though it is less precise than cutting a cold block. For future batches, measuring while cold will give you a cleaner starting point.
Does this approach work for clarified butter or ghee used in a recipe?
Clarified butter and ghee are different products with different textures and melting points, so the cold-cutting method described here applies specifically to standard solid butter. For clarified butter or ghee, follow the measurement method your specific recipe recommends, which may involve liquid measuring or weighing, depending on the product's consistency at your kitchen's temperature.
Original editorial guidance and recipe formulations, not independently kitchen-tested. Times are estimates and depend on equipment and product directions. Cooked bases need additional cooling and refrigeration before cold serving. Images are AI-generated illustrations; appearance and yield may vary. Check actual ingredient labels, allergens, and any certification you require. We do not certify products. Read our approach.
Save to Pinterest ↗ANOTHER IDEA FOR THE COUNTER