Make a Spoonable Apple Crumble in Two Small Baking Dishes
This home-cafe plan walks you through building a spoonable apple crumble divided between two small oven-safe ceramic or glass baking dishes, each holding roughly 300 ml. The filling and the crumble topping are measured and prepared separately before being layered and baked. What follows is an illustrative worked example, not a laboratory-tested result, so treat timings and quantities as a starting point and adjust to your own oven and dishes.
Read the note ↓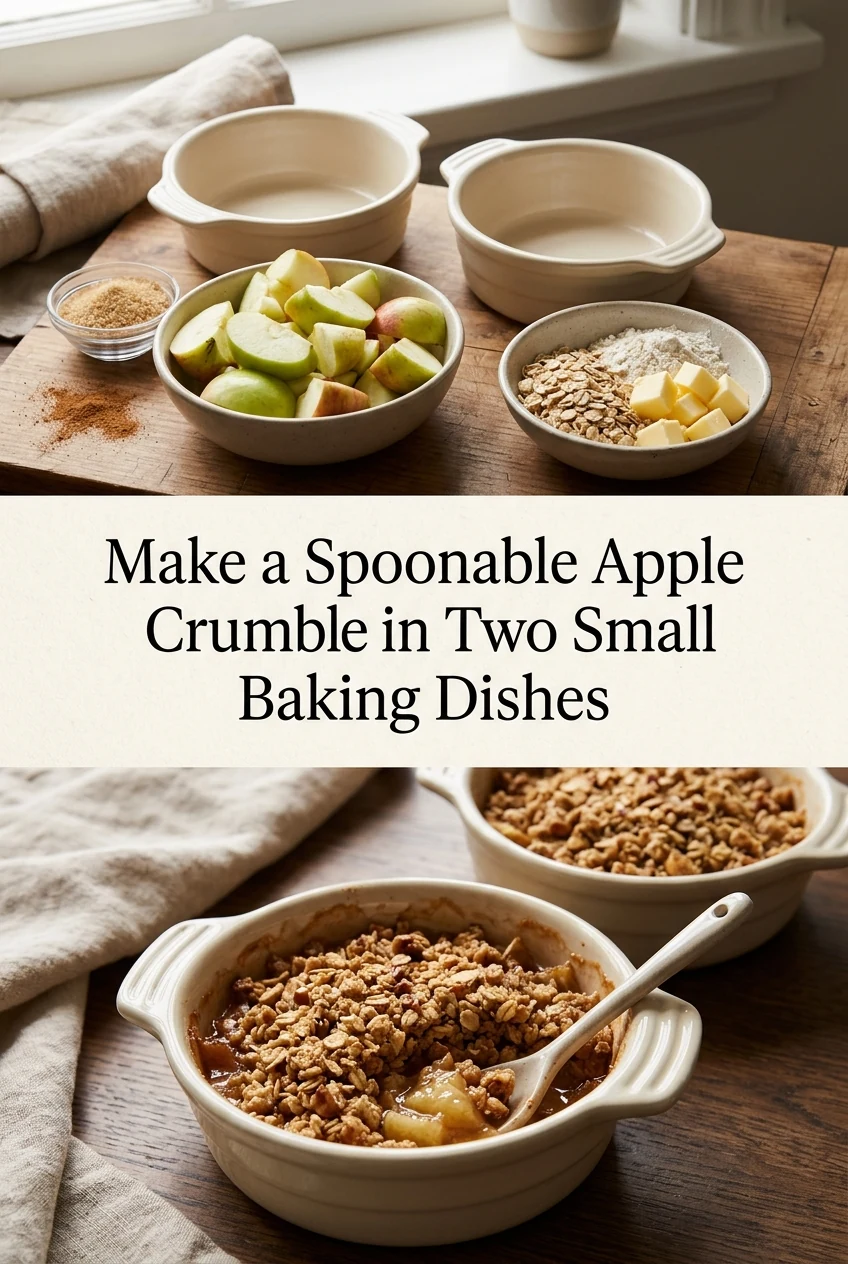
AI-generated editorial concept created for this article. The image is not a technical diagram or a tested result.
Choose Your Dishes and Understand the Fit
Select two oven-safe ceramic ramekins or small gratin dishes, each with an internal capacity of approximately 280 to 320 ml. Before you begin, check that both dishes carry an oven-safe marking from the manufacturer and follow any temperature limits stated on the base or packaging. Place them side by side on a small rimmed baking tray so they are easy to slide in and out of the oven together. The rimmed tray also catches any filling that bubbles over the edge during baking. Because dish depth varies, plan to fill each one no more than two-thirds full with apple filling before adding the crumble layer, leaving a small gap at the rim so the topping does not overflow.
Prepare the Apple Filling
Peel, core, and slice two medium apples, roughly 350 g combined weight after preparation. Cut the slices into pieces about 1.5 cm thick so they soften evenly. In a small saucepan over medium heat, combine the apple pieces with one tablespoon of caster sugar, half a teaspoon of ground cinnamon, and two tablespoons of water. Stir gently and cook for four to six minutes until the apples have just begun to soften but still hold their shape. Remove from heat. The filling should look glossy and lightly syrupy. Divide it equally between the two prepared dishes. Each dish should be roughly half to two-thirds full at this stage. Allow the filling to cool for five minutes before adding the topping so the crumble does not sink into very hot fruit.
Mix the Crumble Topping
In a medium bowl, combine 60 g of plain flour, 40 g of rolled oats, 35 g of cold unsalted butter cut into small cubes, and two tablespoons of light brown sugar. Using your fingertips, rub the butter into the dry ingredients until the mixture resembles coarse, uneven breadcrumbs with some pea-sized lumps remaining. Those larger pieces create the varied texture that makes a crumble spoonable rather than uniformly fine. If you prefer a nuttier flavour, stir in one tablespoon of finely chopped walnuts or flaked almonds at this stage. Divide the crumble mixture equally over the two dishes of apple filling, spreading it gently to cover the surface without pressing it down firmly. A loose layer bakes more evenly than a compacted one.
Bake and Check for Doneness
Preheat your oven according to the manufacturer's instructions for your specific model. A commonly used starting point for crumbles is around 180 degrees Celsius on a conventional setting, but your oven may run hotter or cooler, so use this only as a guide and adjust based on what you observe. Place the tray with both dishes on a middle shelf. After 20 minutes, check the topping colour through the oven door without opening it if possible. When the crumble is golden brown and you can see the filling bubbling gently at the edges, the dishes are likely ready. This typically takes between 22 and 30 minutes depending on your oven and dish material, but visual cues matter more than a fixed timer. Remove the tray carefully using oven gloves and set it on a heatproof surface.
Serve and Store Safely
Allow the dishes to rest for at least eight minutes before serving, as the filling stays very hot for longer than the surface suggests. Serve directly from the dish with a spoon, accompanied by a small pour of cold dairy cream or a scoop of plain vanilla ice cream made with alcohol-free vanilla flavouring. If you are not eating both portions immediately, cover the second dish loosely once it has cooled to room temperature and refrigerate it promptly. Reheat it in the oven following your oven manufacturer's guidance until the filling is hot throughout before serving. Do not leave cooked apple filling at room temperature for an extended period. Consume refrigerated portions within a timeframe that reflects your own food safety judgement and local guidance rather than any fixed shelf life stated here.
A little more
to know.
Can I use pears instead of apples in this plan?
Yes, ripe but firm pears work well as a substitute. Because pears soften faster than apples, reduce the pre-cooking time in the saucepan to about two to three minutes and watch the filling closely so the pieces do not break down completely before baking.
What if my dishes are slightly larger than 300 ml?
If your dishes hold closer to 400 ml each, scale the filling up by adding one more small apple and increase the crumble ingredients by roughly one quarter. The goal is still to fill each dish no more than two-thirds full with fruit before adding the topping layer, so adjust quantities to suit the actual capacity of your dishes rather than following the original amounts exactly.
Original editorial guidance and recipe formulations, not independently kitchen-tested. Times are estimates and depend on equipment and product directions. Cooked bases need additional cooling and refrigeration before cold serving. Images are AI-generated illustrations; appearance and yield may vary. Check actual ingredient labels, allergens, and any certification you require. We do not certify products. Read our approach.
Save to Pinterest ↗ANOTHER IDEA FOR THE COUNTER