Make a Small Oat and Brown Sugar Crumble Topping for Café Cups
A crumble topping made in a small quantity gives warm drinks a textured, café-style garnish without committing to a full baking project. The technique relies on cold butter rubbed into dry ingredients to form irregular clusters that bake into crisp, golden pieces. The challenge in a small batch is achieving that clustered texture rather than a uniform sandy powder, and baking it correctly on a lined tray so it crisps without burning in the short time a small quantity requires.
Read the note ↓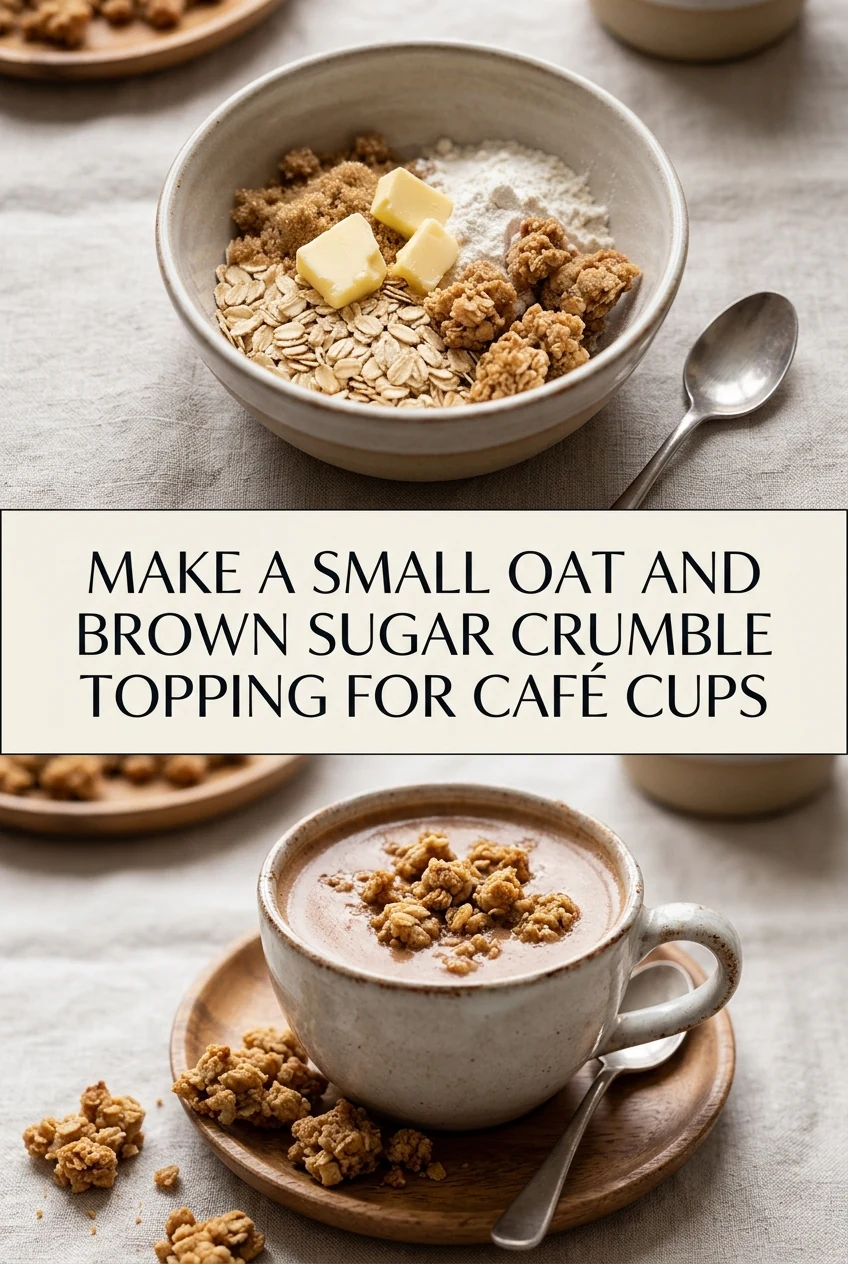
AI-generated editorial concept created for this article. The image is not a technical diagram or a tested result.
Measure a Small but Workable Batch
Combine 40 grams of rolled oats, 25 grams of plain flour, 30 grams of light brown sugar and a small pinch of fine salt in a bowl. This quantity produces enough topping to garnish four to six cups and is large enough to handle without the mixture drying out too quickly during rubbing. Using less than this makes it difficult to distribute butter evenly. Rolled oats rather than quick oats are important here because they retain individual texture after baking rather than absorbing butter and becoming paste-like.
Incorporate Cold Butter Using Your Fingertips
Cut 25 grams of cold unsalted butter into small cubes, roughly one centimetre each. Add them to the dry mixture and begin rubbing between your fingertips, pressing each cube flat and working it into the surrounding dry ingredients. The goal is irregular clusters ranging from pea-sized to roughly the size of a small grape, not a uniform crumb. Work quickly so the butter does not warm from hand heat. If the kitchen is warm, refrigerate the bowl for five minutes mid-way through rubbing.
Line the Tray and Spread Without Pressing
Line a small baking tray with baking parchment. Tip the crumble mixture onto the tray and spread it into a single, loosely distributed layer without pressing it flat or compacting it. Pressing removes the air pockets between clusters and produces a dense slab rather than separate crisp pieces. The clusters should have visible gaps between them. A tray approximately 20 by 15 centimetres is a practical size for this quantity, allowing even heat circulation around the pieces during baking.
Bake at the Correct Temperature for a Small Batch
Preheat your oven to 180 degrees Celsius, or 160 degrees Celsius if using a fan-assisted setting. Bake the crumble for ten to thirteen minutes, checking at the ten-minute mark. A small batch on a lined tray bakes faster than a large crumble topping on a deep dish, so the usual guidance for full crumble recipes does not apply directly here. The topping is ready when the edges are golden and the surface feels dry to a light touch. It will crisp further as it cools on the tray.
Cool Completely Before Using as a Garnish
Leave the baked crumble on the tray at room temperature until fully cooled, which takes approximately fifteen minutes. Do not transfer it to a container while warm because trapped steam softens the texture. Once cooled, break any large pieces apart gently with a fork. Spoon a small amount, roughly one to two teaspoons, over the surface of a warm drink just before serving. The crumble sits on the foam or cream surface and softens gradually, so garnish immediately before the cup reaches the table.
A little more
to know.
Can I add ground cinnamon or other spices to the crumble mixture?
Yes, half a teaspoon of ground cinnamon or a quarter teaspoon of ground ginger added to the dry ingredients before rubbing in the butter works well. Add spices to the dry mix first so they distribute evenly before the butter is incorporated, preventing uneven flavour pockets.
Why does my crumble come out sandy rather than forming clusters?
Sandy texture usually means the butter was too warm when rubbed in, or it was worked too long. Cold butter pressed quickly into the dry mix creates clusters because the fat coats the ingredients unevenly. If the mixture feels greasy before baking, refrigerate it for ten minutes before spreading on the tray.
Original editorial guidance and recipe formulations, not independently kitchen-tested. Times are estimates and depend on equipment and product directions. Cooked bases need additional cooling and refrigeration before cold serving. Images are AI-generated illustrations; appearance and yield may vary. Check actual ingredient labels, allergens, and any certification you require. We do not certify products. Read our approach.
Save to Pinterest ↗ANOTHER IDEA FOR THE COUNTER