Load a Blender Jar in the Right Order for a Thick Fruit and Yogurt Drink
Dropping frozen fruit directly onto a thick layer of yogurt wedges the blade against dense, immovable mass and forces the motor to strain or stop entirely. The sequence in which you add each ingredient determines whether the blender circulates freely from the first second. Getting that order right means a smooth, evenly blended drink without repeated lid-off interventions to push ingredients down manually.
Read the note ↓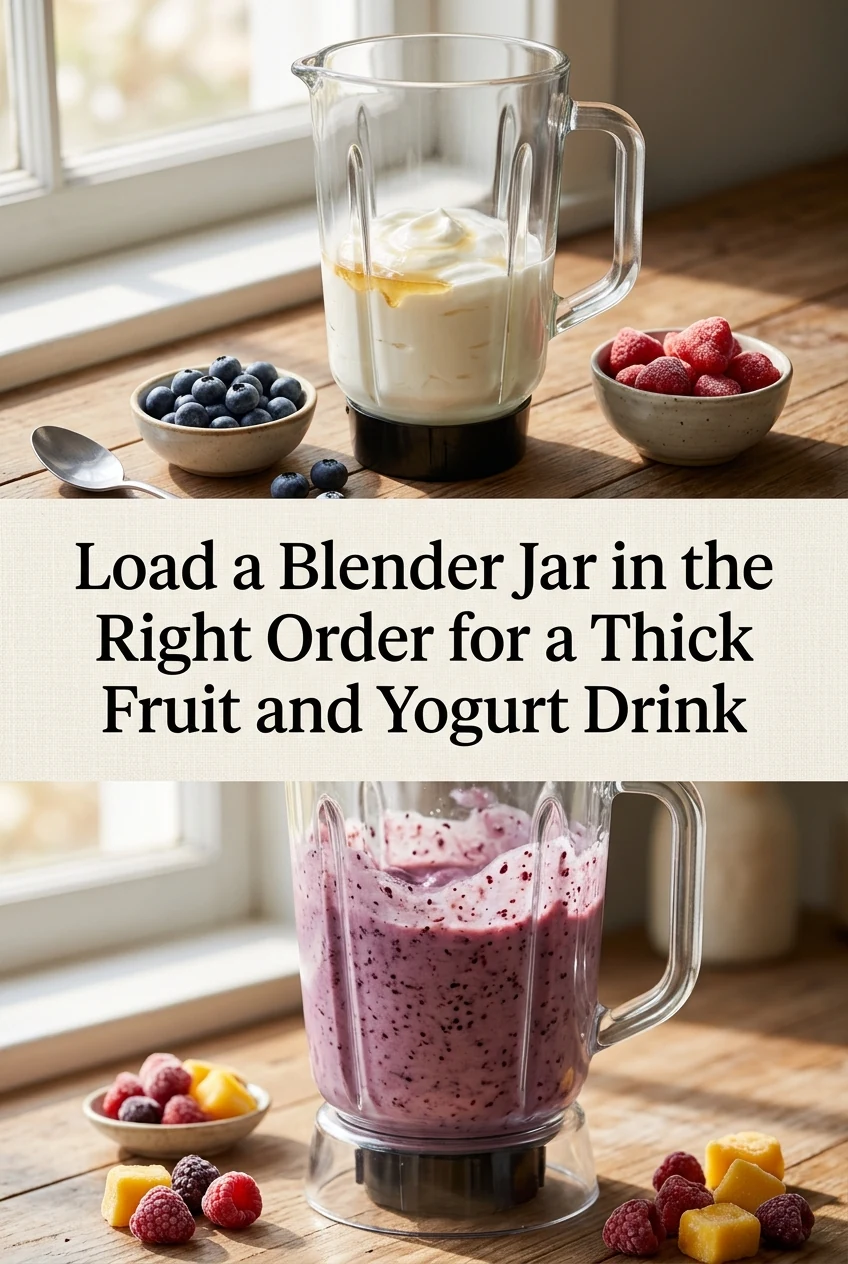
AI-generated editorial concept created for this article. The image is not a technical diagram or a tested result.
Start With Any Liquid at the Very Base
Liquid poured into the jar first surrounds the blade and creates immediate circulation the moment the motor starts. Use whatever liquid your drink calls for, such as pasteurized milk, a plant-based milk, or plain water, and pour it in before anything else. For a single serving drink of roughly 350 to 400 ml finished volume, starting with 80 to 120 ml of liquid at the base gives the blade enough fluid to pull ingredients downward from the start.
Add Soft or Room-Temperature Ingredients Next
Yogurt, fresh fruit, honey, or any soft ingredient goes in after the liquid. These items are pliable enough that the blade can begin working through them as soon as the liquid creates initial movement. Spoon yogurt on top of the liquid rather than pressing it against the jar wall, which keeps it centrally placed and easier to draw into the vortex. Pasteurized yogurt is the appropriate choice here for food safety.
Place Frozen Pieces on Top Last
Frozen fruit sits at the top of the load because it is the densest and hardest ingredient. As the blender runs, the circulating liquid and softened ingredients below gradually pull frozen pieces downward into the blade path rather than jamming them against it immediately. As an illustrative example, 100 g of frozen mango chunks placed on top of 90 ml of milk and 120 g of yogurt blends more smoothly than the same ingredients loaded in reverse order.
Choose a Starting Speed Before Increasing
Starting the blender at its lowest speed for the first few seconds allows the liquid at the base to begin circulating before the motor demands full power through frozen material. Once you can see or hear the ingredients moving freely, increase to high speed to finish blending. This two-step approach reduces the chance of the blade stalling and is gentler on the motor than starting at maximum speed against a cold, dense load.
Recognize When the Load Order Needs Adjusting
If the blender still stalls after following this sequence, the liquid volume may be too low for the amount of frozen fruit used. Add liquid in small increments, roughly 20 to 30 ml at a time, replace the lid securely, and try again rather than forcing the blender to run while stalled. Avoid removing the lid while the blade is moving. The correct load order reduces stalling significantly but does not eliminate the need for adequate liquid volume.
A little more
to know.
Does this loading order work the same way in a personal single-serve blender cup?
Single-serve cups are loaded upright and then inverted onto the motor base, which reverses the layer order. For those blenders, load frozen fruit into the cup first so it ends up at the top away from the blade once inverted. Add soft ingredients in the middle, and finish with your liquid on top so that it surrounds the blade assembly as soon as the cup is flipped onto the base.
Should I thaw frozen fruit slightly before adding it to reduce stalling?
Partial thawing does reduce blade resistance, but it also warms the finished drink and can make the texture thinner than intended. If stalling is a consistent problem, increasing liquid volume slightly is a more controlled adjustment than thawing the fruit.
Original editorial guidance and recipe formulations, not independently kitchen-tested. Times are estimates and depend on equipment and product directions. Cooked bases need additional cooling and refrigeration before cold serving. Images are AI-generated illustrations; appearance and yield may vary. Check actual ingredient labels, allergens, and any certification you require. We do not certify products. Read our approach.
Save to Pinterest ↗ANOTHER IDEA FOR THE COUNTER