Decide Whether to Whisk or Blend a Warm Spiced Oat Milk Drink for Two Cups
Ground spices do not dissolve in oat milk the way sugar does. They suspend, and how well they stay suspended depends on which tool you use and when you use it. For two cups of a warm spiced oat milk drink, the choice between a stovetop whisk and a countertop blender affects both texture and the evenness of spice distribution. Understanding what each method actually does to the liquid helps you make a deliberate decision rather than guessing.
Read the note ↓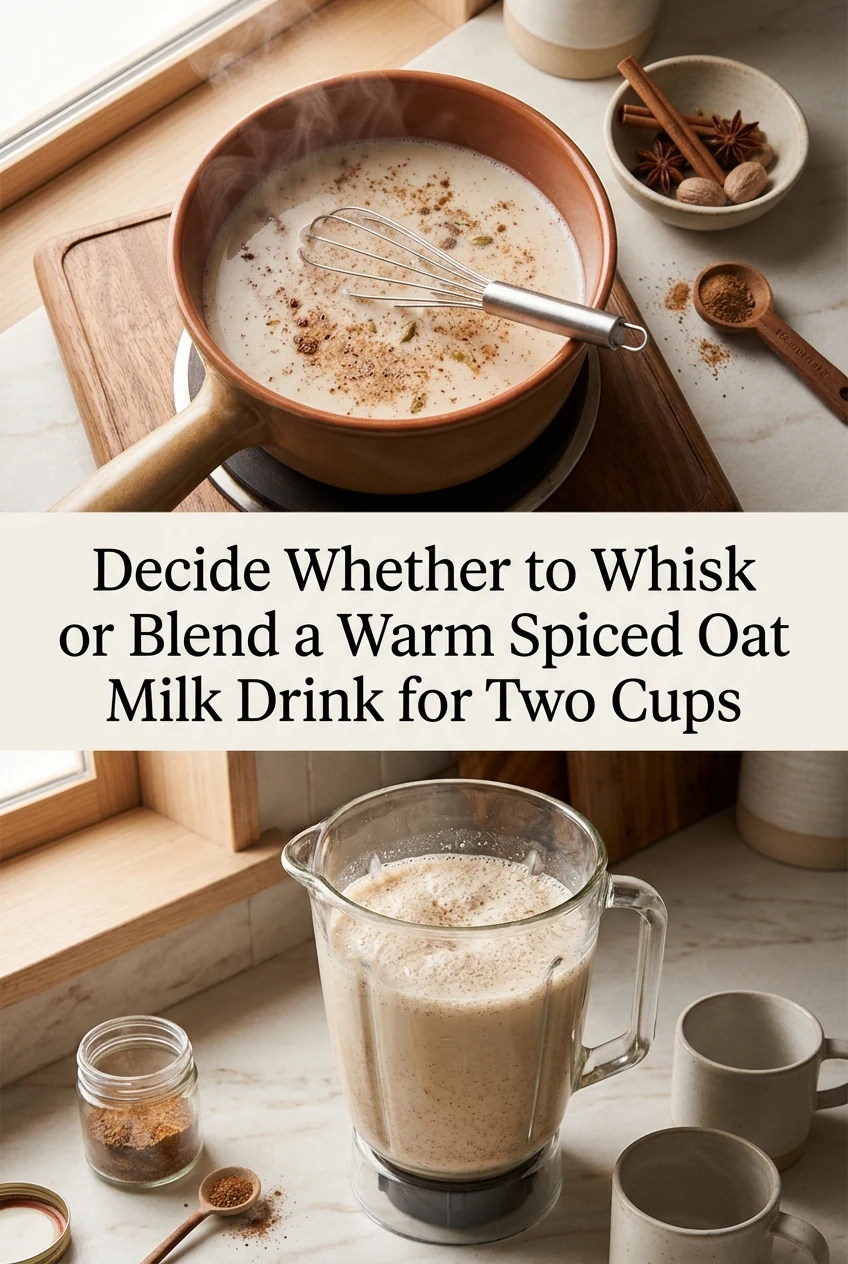
AI-generated editorial concept created for this article. The image is not a technical diagram or a tested result.
What a Whisk Does and Where It Falls Short
Whisking oat milk on the stovetop over medium-low heat creates a gentle circular current that keeps spice particles moving through the liquid while it warms. It works adequately for finely milled spices such as ground cinnamon or ground cardamom used in small amounts, roughly a quarter teaspoon per 300 ml of oat milk. Coarser grinds or larger quantities tend to settle at the bottom of the pan between strokes, producing uneven distribution in the finished cup.
What a Blender Adds That Whisking Cannot
A countertop blender running for thirty to forty-five seconds creates a much finer and more uniform suspension of spice particles throughout the liquid. This is particularly useful when using more than one spice or when the spices available are not very finely milled. The blender also incorporates a small amount of air, producing a slightly frothy texture that many people find appealing in a warm drink. Heat the oat milk first, then blend carefully.
Handling Hot Liquid in a Blender Safely
Blending hot liquid creates sudden steam pressure that can force the lid off the jar. Fill the blender jar no more than halfway, which for two cups means working with approximately 500 to 600 ml total. Remove the center cap or vent insert from the blender lid, cover the opening with a folded kitchen towel to allow steam to escape while catching splashes, hold the lid firmly in place, and start on the lowest speed setting before increasing. Check your blender manual for maximum safe temperature guidelines, particularly if your blender jar is plastic.
The Stovetop Whisk Workflow for Two Cups
Measure 300 ml of oat milk per cup into a small saucepan. Add spices directly to the cold milk before heating so they have maximum time to hydrate as temperature rises. Heat over medium-low, whisking continuously, until steam rises and small bubbles form at the edges, which indicates the milk is near serving temperature without boiling. Boiling oat milk can cause it to separate and develop a starchy texture. Pour immediately into warmed cups.
Choosing Based on Your Actual Situation
If your spices are finely milled, you are using a single spice, and you prefer a quieter workflow, the whisk is sufficient and produces less washing up. If you are combining multiple spices, want a frothier texture, or notice that previous whisked batches had visible spice sediment at the bottom of the cup, the blender produces a more consistent result. Neither method is universally superior; the decision depends on the spice type and the texture you want.
A little more
to know.
Can I use an immersion blender in the saucepan instead of a countertop blender?
Yes, an immersion blender used directly in the saucepan after heating is a practical middle option. Keep the head submerged before switching it on to avoid splashing hot liquid, and blend for twenty to thirty seconds for even spice distribution.
Why does oat milk sometimes turn slimy when heated?
Oat milk contains starch that can gelatinize if heated too aggressively or held at high temperature too long. Heating slowly over medium-low heat and removing from the burner as soon as steam rises helps avoid this texture change.
Original editorial guidance and recipe formulations, not independently kitchen-tested. Times are estimates and depend on equipment and product directions. Cooked bases need additional cooling and refrigeration before cold serving. Images are AI-generated illustrations; appearance and yield may vary. Check actual ingredient labels, allergens, and any certification you require. We do not certify products. Read our approach.
Save to Pinterest ↗ANOTHER IDEA FOR THE COUNTER