Decide How to Portion a Single Iced Coffee Brew Across Two Glass Sizes
Splitting one brewed batch of coffee between a tall glass and a short glass without measuring first almost always produces one drink that is too diluted and one that is too strong. When you pour without measuring, the two glasses often end up with mismatched ratios of coffee to ice. An unequal ratio means one glass can quickly melt its smaller ice portion while the other becomes watered down by excess ice melt relative to its coffee volume. Measuring each glass capacity before you pour lets you scale both the ice and coffee proportionally so both drinks stay balanced from first sip to last.
Read the note ↓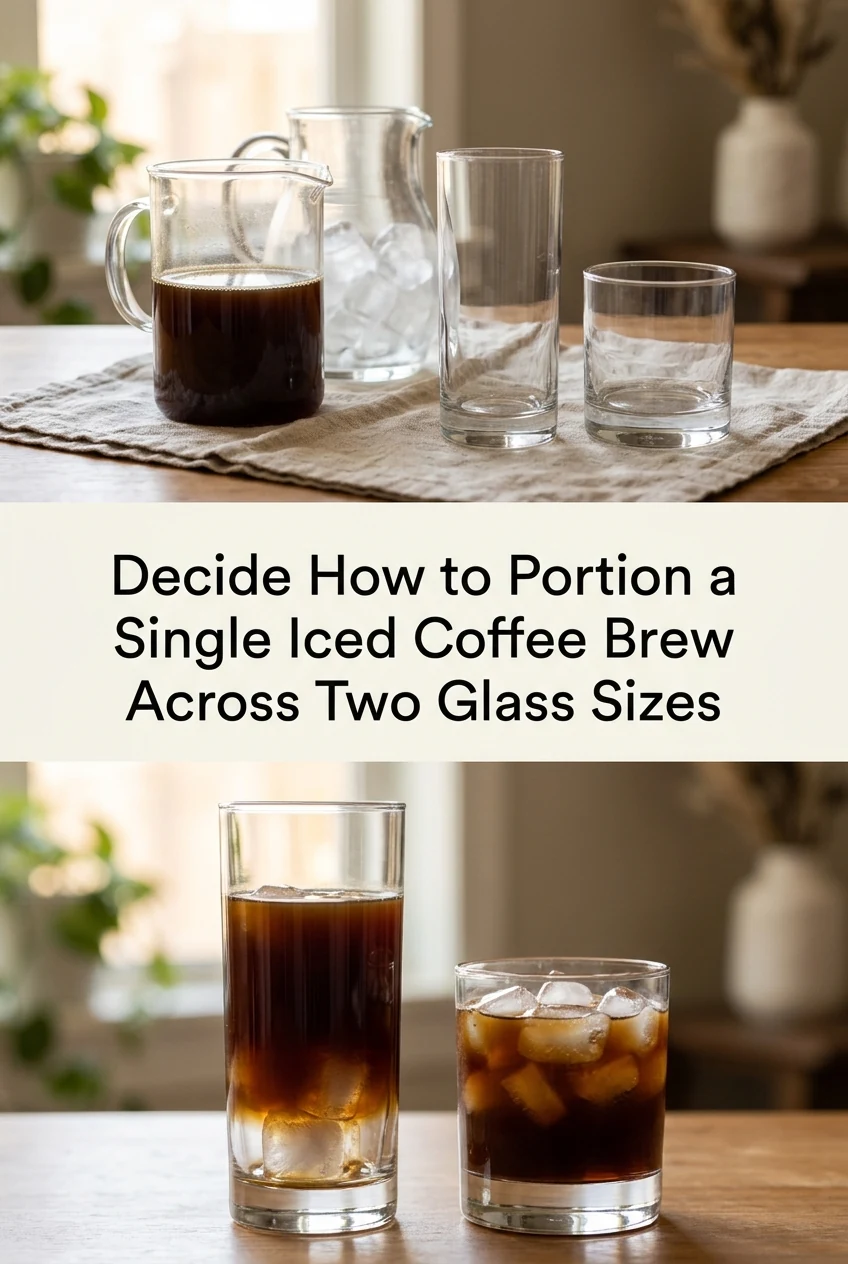
AI-generated editorial concept created for this article. The image is not a technical diagram or a tested result.
Measure Each Glass Capacity with Water First
Fill each glass to its intended serving level with plain water, then pour that water into a measuring jug. Record the volume for each glass. For example, a tall glass filled to 2 cm below the rim might hold 400 ml, while a short glass at the same fill line holds 250 ml. These are illustrative figures only; your actual glasses will differ. Knowing each capacity is the foundation for every calculation that follows, so do this step before brewing anything.
Calculate How Much Ice Each Glass Should Hold
A practical starting approach is to fill each glass roughly one third full of ice before adding coffee. For the 400 ml tall glass in the example above, one third is approximately 130 ml of ice by volume. For the 250 ml short glass, one third is roughly 80 ml. Measure ice by volume using a measuring cup rather than counting cubes, because cube sizes vary. This proportional method keeps the ice-to-liquid ratio consistent across both glasses rather than defaulting to the same number of cubes in each.
Divide the Brew to Match Each Glass After Ice
After placing ice in each glass, the remaining capacity determines how much coffee each glass receives. Subtract the ice volume from the total glass capacity to find the coffee volume for each. In the example, the tall glass takes roughly 270 ml of coffee and the short glass takes roughly 170 ml, totalling 440 ml of brew needed. Prepare or measure your brew to match that combined volume before you begin pouring. Pouring freehand without this step is where imbalance typically begins.
Pour Coffee Over Ice in a Single Steady Motion
Pour the measured coffee volume for each glass in one continuous pour rather than splitting it in two stages. Stopping mid-pour and resuming often results in misjudging the remaining volume and overfilling one glass. Hold the jug close to the ice surface to reduce splashing, which can displace ice and alter the final level. Once poured, do not stir unless you are intentionally blending in a syrup or milk addition, as stirring alone accelerates ice melt.
Serve Both Glasses Promptly to Limit Melt Variation
Even with identical ice ratios, a glass that sits on the counter for five minutes before being served will be more diluted than one served immediately. If you are preparing both glasses for two people at the same table, pour and serve together rather than preparing one and then the other. If a delay is unavoidable, keep the prepared glass in the refrigerator rather than on the counter, and note that refrigerator storage changes the drink temperature rather than preserving it exactly as poured.
A little more
to know.
Does the type of ice affect how quickly the coffee dilutes?
Yes. Crushed ice has more surface area than whole cubes and melts faster, diluting the coffee more quickly. If you use crushed ice, reduce the ice volume slightly or serve the drink immediately to limit dilution before the first sip.
Should I brew the coffee stronger to compensate for ice dilution?
Some people do brew at a higher concentration specifically for iced drinks, but brew strength is a separate decision from portioning. Adjust concentration based on your brewer and preference, then apply the same portioning method described here.
Original editorial guidance and recipe formulations, not independently kitchen-tested. Times are estimates and depend on equipment and product directions. Cooked bases need additional cooling and refrigeration before cold serving. Images are AI-generated illustrations; appearance and yield may vary. Check actual ingredient labels, allergens, and any certification you require. We do not certify products. Read our approach.
Save to Pinterest ↗ANOTHER IDEA FOR THE COUNTER