Decide How Much Sparkling Water to Keep Cold for a Fruit Drink Session
Warm sparkling water poured over a dense fruit syrup loses carbonation faster than cold water does, because dissolved carbon dioxide escapes more readily at higher temperatures. Planning your chilled volume before guests arrive means every glass gets the same lively fizz from the first pour to the last. This guide walks through a simple calculation so you chill exactly what you need without wasting refrigerator space or running short mid-session.
Read the note ↓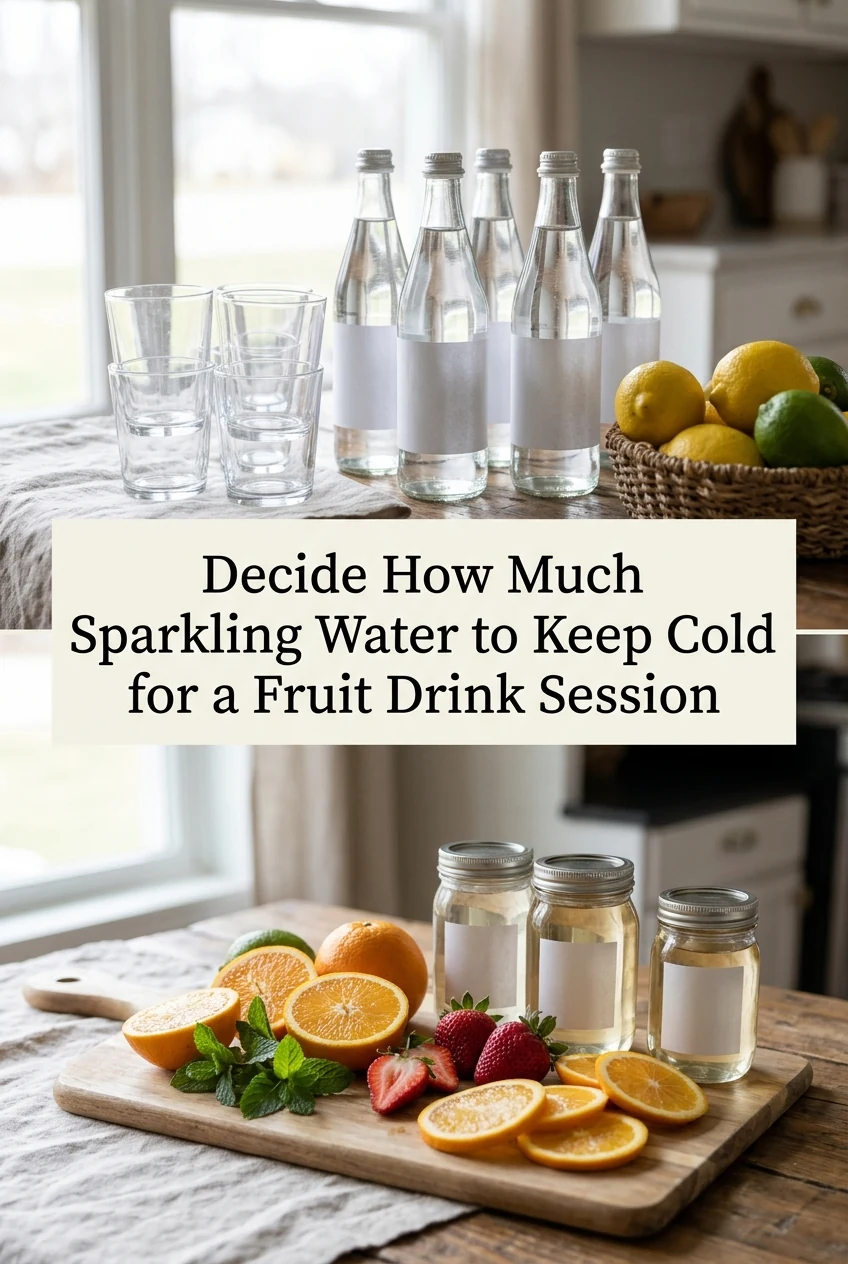
AI-generated editorial concept created for this article. The image is not a technical diagram or a tested result.
Count glasses and measure one serving first
Before chilling anything, fill one intended serving glass with water up to your planned fill line, then pour that water into a measuring jug. Note the millilitre mark. For a typical tall 400 ml glass filled to about three-quarters, you might find the sparkling water portion is roughly 200 to 250 ml after accounting for ice and syrup volume. That single measurement becomes your per-glass unit for the rest of the calculation.
Multiply by guest count and add a buffer
Multiply your per-glass sparkling water volume by the number of drinks you plan to serve. For an illustrative example only, eight drinks at 220 ml each gives 1,760 ml. Add roughly ten to fifteen percent extra to cover top-ups and any accidental over-pour. In that example, adding ten percent gives 1,936 ml, so chilling two one-litre bottles (2,000 ml total) provides a practical starting point with a comfortable 13.6 percent buffer. If you prefer a full fifteen percent buffer (around 2,025 ml), chill an extra small bottle or can alongside the two litres. Adjust the buffer up if your session runs longer than one hour.
Choose the right bottle size for your refrigerator shelf
Smaller 330 ml cans chill faster than 1.5-litre bottles because the liquid mass is lower and the surface-to-volume ratio is higher. If your refrigerator shelf is shallow, cans stored upright take less depth. However, once a can is opened it cannot be resealed, so cans suit sessions where each drink is assembled immediately. Larger bottles suit a slower, sequential service where you reseal between pours and keep the bottle cold throughout.
Time your chilling window accurately
A standard 500 ml plastic bottle moved from room temperature to a refrigerator set at 4 degrees Celsius typically reaches a well-chilled state in approximately two to three hours, though this varies by refrigerator model and how full the fridge is. Plan to load bottles the evening before or at minimum two hours ahead. Avoid placing warm bottles directly against already-cold bottles, as this raises the surrounding temperature and slows chilling for everything nearby.
Pour technique that protects carbonation at service
Tilt the glass slightly and pour sparkling water down the inside wall rather than directly onto the syrup sitting at the bottom. This reduces agitation and keeps more carbonation in the liquid. Pour slowly and stop before the foam reaches the rim. If you are pre-building glasses, add sparkling water last, immediately before serving, rather than letting built glasses sit. A glass left standing for five minutes after sparkling water is added will already show visible carbonation loss.
A little more
to know.
Does adding ice before the sparkling water help keep carbonation longer in the glass?
Yes, cold ice lowers the liquid temperature at the moment of pouring, which slows carbon dioxide escape. Add ice before pouring sparkling water, but note that melting ice will dilute the drink over time, so use larger cubes if dilution is a concern.
Can I chill sparkling water in the freezer to speed things up?
You can place a bottle in the freezer for no more than 20 to 30 minutes to accelerate chilling, but set a timer. A forgotten carbonated bottle in the freezer can expand and burst. Remove it while still liquid and transfer to the refrigerator.
Original editorial guidance and recipe formulations, not independently kitchen-tested. Times are estimates and depend on equipment and product directions. Cooked bases need additional cooling and refrigeration before cold serving. Images are AI-generated illustrations; appearance and yield may vary. Check actual ingredient labels, allergens, and any certification you require. We do not certify products. Read our approach.
Save to Pinterest ↗ANOTHER IDEA FOR THE COUNTER