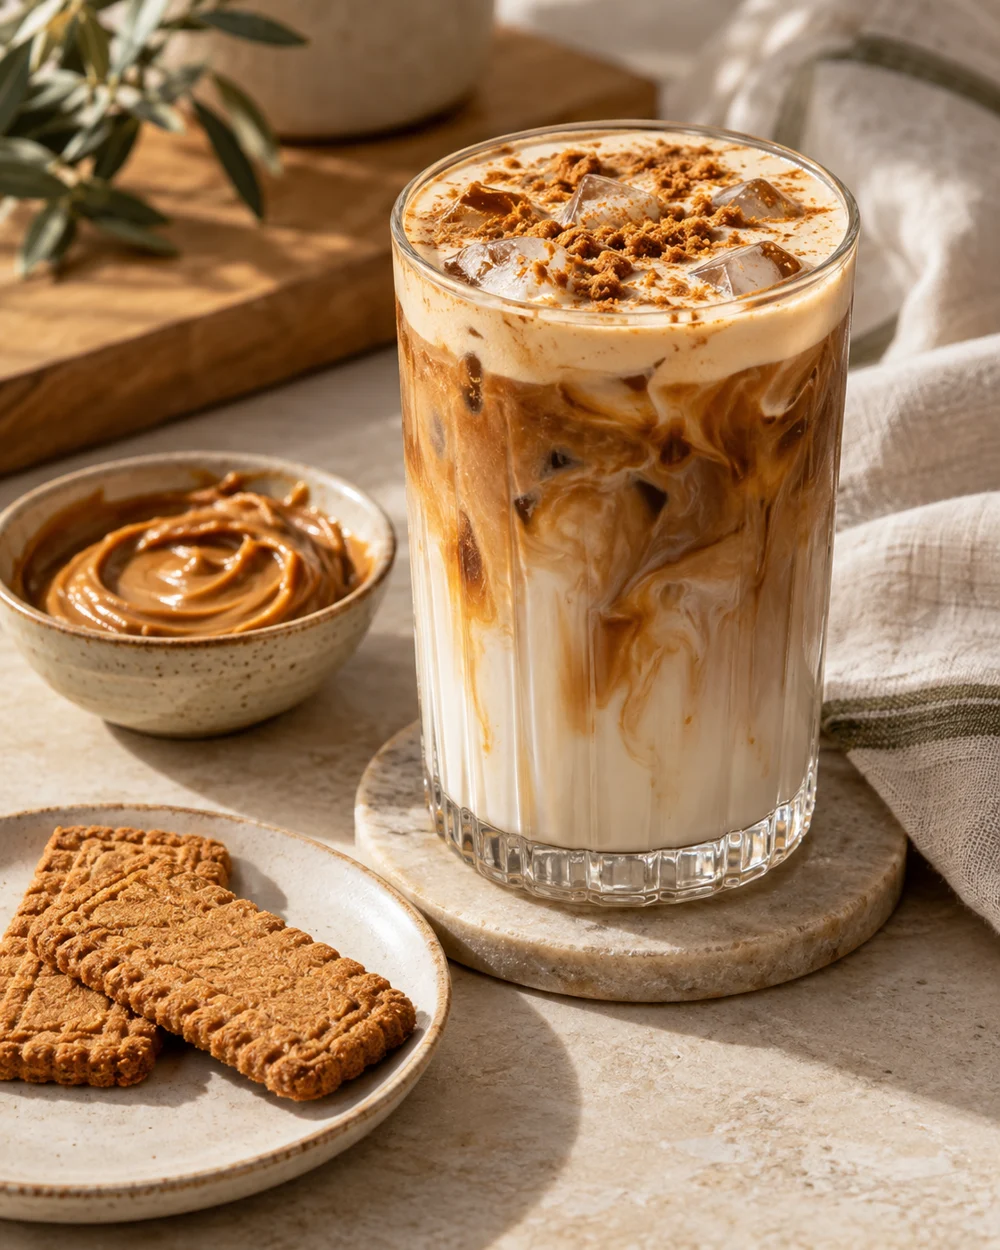
Cold Brew Oat Milk Latte With a Date Base
A cold brew oat milk latte becomes noticeably more interesting when a smooth date base sits at the bottom of the glass. The challenge most people run into is adding date paste directly to cold liquid: it clumps, sinks in sticky lumps, and never fully incorporates. The fix is straightforward. Blending pitted dates with a small amount of warm water creates a pourable paste, and once that paste is fully cooled, it layers cleanly under cold brew and oat milk. This article walks through that process as an illustrative plan, not a claim of tested or guaranteed results, so you can adjust quantities and timing to suit your own setup.
Read the note ↓
AI-generated editorial concept created for this article. The image is not a technical diagram or a tested result.
Understanding Why Date Paste Needs Warm Water First
Medjool or Deglet Noor dates are dense and fibrous at room temperature. When you drop a spoonful of raw date paste into cold liquid, the low temperature firms the paste further rather than loosening it, and you end up with sticky residue that a straw cannot reach. Blending dates with warm water — roughly 60 to 70 ml for every 4 to 5 pitted dates — softens the fibers and creates a cohesive, pourable consistency. The resulting paste is thin enough to pour from a spoon but thick enough to sit as a distinct layer before stirring. Cooling the blended paste completely before assembly is the key step: a warm base would warm the drink from the bottom and melt the ice faster than you might want.
Making the Date Base
Start with 5 pitted Medjool dates (approximately 85 g with pits removed). Place them in a small blender or personal blender cup. Add 65 ml of warm water — warm enough to soften the dates but not boiling. Blend on high for 30 to 45 seconds, scrape down the sides, then blend again until the mixture is smooth with no visible date chunks. Pass the paste through a fine-mesh strainer if you prefer a completely smooth texture; skip straining if you do not mind a slightly textured base. Transfer the paste to a small bowl or jar and refrigerate it uncovered until it reaches refrigerator temperature, which typically takes around 20 to 30 minutes depending on your refrigerator. Do not proceed to assembly until the paste feels cold to the touch, because a warm base will affect the temperature of the finished drink.
Preparing and Straining the Cold Brew
This article assumes you already have cold brew concentrate on hand, prepared according to your brewer's own instructions. If you are using a standard cold brew ratio of roughly 1 part coarse coffee to 4 parts cold water, a 12-hour to 18-hour steep in the refrigerator is a common starting range, though your specific brewer's guidance should take priority over any general figure. Before assembly, strain the cold brew through the filter your brewer specifies to remove grounds. For this worked example, measure out 120 ml of strained cold brew concentrate. If your concentrate is strong, you may want to dilute it with an equal amount of cold water before layering; that decision depends on your own taste preference and concentrate strength.
Layering the Drink
Spoon the cooled date paste into the bottom of a tall glass before adding ice — the full batch from 5 dates works as a moderately sweet base for one large drink, or you can use half and store the remainder covered in the refrigerator for another use within a day or two. Gently add a generous handful of ice cubes over the date layer. Pour 120 ml of cold, unsweetened oat milk over the ice; its higher density allows it to sit cleanly above the date paste without mixing prematurely. Finally, pour 120 ml of strained cold brew concentrate slowly over the back of a spoon held just above the liquid surface. Because cold brew is less dense than oat milk, it floats on top of the milk rather than sinking. You will see three distinct visible layers: date base at the bottom, creamy oat milk in the middle, and dark cold brew on top. Stir before drinking to combine everything, or sip through a wide straw and let the layers mix gradually.
Adjusting Sweetness and Texture
Five Medjool dates produce a noticeably sweet base. If you prefer less sweetness, start with 3 dates and the same 65 ml of warm water, then taste the paste before cooling it. The paste will be thinner with fewer dates, which means it may blend more readily into the oat milk layer rather than holding a distinct base — that is a trade-off worth knowing before you build the drink. For a richer texture, full-fat oat milk or a barista-style oat milk provides greater body and supports the floating cold brew layer longer than a thinner variety. Alcohol-free vanilla flavoring, labeled as such on the bottle, can be blended directly into the date paste at the blending stage — a small amount, around a quarter teaspoon, is enough to notice without overpowering the date flavor.
A little more
to know.
Can I make the date paste the night before?
You can prepare the blended date paste ahead of time and keep it covered in the refrigerator. Use it within a day or two and give it a brief stir before spooning it into the glass, since the paste may thicken slightly as it sits. This is an illustrative suggestion rather than a tested storage guarantee, so use your own judgment about freshness and appearance before using it.
What type of oat milk works best for layering?
Barista-style oat milk contains added fats and emulsifiers that give it greater body, helping it remain a distinct middle layer while cold brew is floated on top. Standard oat milk is thinner, so cold brew poured above it may diffuse more quickly into the milk layer. Either option works well once stirred; the difference is mainly how sharply defined the layers appear before drinking.
Original editorial guidance and recipe formulations, not independently kitchen-tested. Times are estimates and depend on equipment and product directions. Cooked bases need additional cooling and refrigeration before cold serving. Images are AI-generated illustrations; appearance and yield may vary. Check actual ingredient labels, allergens, and any certification you require. We do not certify products. Read our approach.
Save to Pinterest ↗ANOTHER IDEA FOR THE COUNTER