Build a Sparkling Hibiscus and Citrus Drink With Measured Layers
Hibiscus concentrate and fresh citrus juice behave differently when poured over ice, and adding sparkling water without a plan collapses the visual layering and dilutes the drink unevenly. Understanding the order of addition and the role of ice as a buffer lets you build a drink that looks clear and tastes proportionate from the first sip to the last. This guide covers making a simple hibiscus concentrate, the pouring sequence, and how to serve the drink before carbonation fades.
Read the note ↓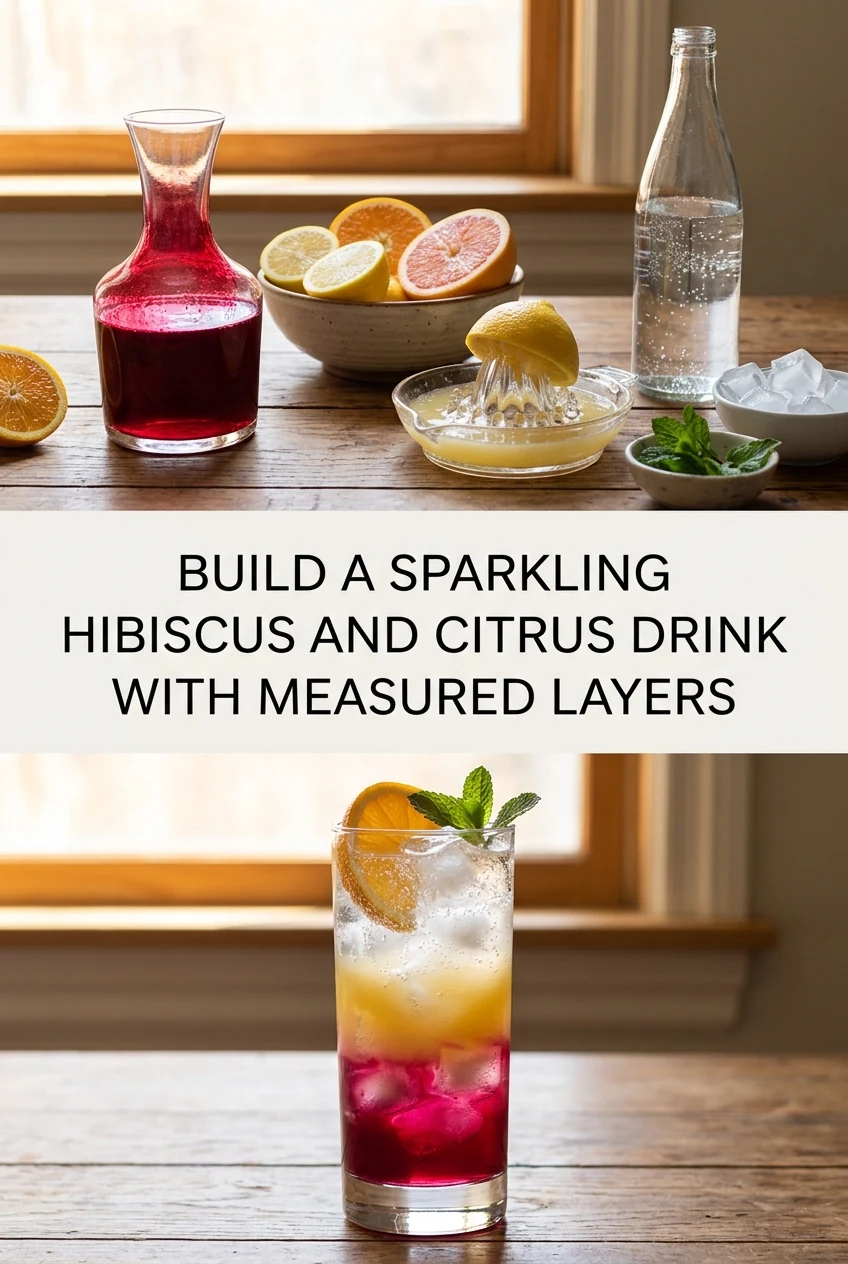
AI-generated editorial concept created for this article. The image is not a technical diagram or a tested result.
Make a Simple Hibiscus Concentrate
Steep 10 g of dried hibiscus flowers in 200 ml of just-boiled water for eight minutes. Strain through a fine sieve and discard the flowers. Stir in 60 g of caster sugar while the liquid is still warm until fully dissolved. Allow to cool completely before using. This produces a sweet, dense, deeply coloured concentrate that sits reliably at the base of layered drinks. Refrigerate promptly after cooling and use within three days. Do not use concentrate that has been left at room temperature for more than two hours.
Prepare the Glass and Ice Before Pouring
Fill a tall glass with ice cubes to within 2 cm of the rim. Compacted ice slows the mixing of layers and gives you time to pour deliberately. Crushed ice melts faster and causes faster dilution, so whole cubes are preferable here. Have your measured ingredients ready beside the glass before you begin pouring. Working quickly once you start matters because ice begins melting as soon as the first liquid is added.
Pour in the Correct Order
Pour 80 ml of chilled hibiscus concentrate into the glass over the ice first, so the densest, sweetest layer rests at the base. Next, gently pour 60 ml of fresh citrus juice—such as orange, grapefruit, or lime—slowly over the back of a spoon onto the ice above the hibiscus. The ice baffles the pour so the lighter citrus rests above the red base rather than mixing into it immediately. These illustrative volumes suit a tall 450 to 500 ml glass filled with ice; scale down proportionally if using smaller glassware.
Add Sparkling Water as the Final Step
Pour 120 ml of chilled sparkling water gently over the back of a spoon held just above the surface of the drink. This slows the pour and preserves carbonation while preventing the layers from mixing violently. Do not stir. The sparkling water sits above the other layers and gradually integrates as the drinker stirs or sips. Serve immediately after adding the sparkling water, as carbonation dissipates within a few minutes once the bottle is opened and poured.
Serve and Set Expectations for the Drinker
Place a long spoon alongside the glass and let the person drinking decide when to stir. Mention that the layers will blend as they stir, shifting the colour from deep red at the bottom to a lighter pink-orange at the top. A thin citrus slice rested on the rim adds a visual cue without requiring the drinker to move it before sipping. Avoid adding garnish that sits inside the drink, as it disrupts the layers before serving.
A little more
to know.
Can I make the concentrate a day ahead and store it?
Yes. Store cooled hibiscus concentrate in a sealed container in the refrigerator at 4 degrees Celsius or below and use within three days. Stir briefly before using as the sugar can settle slightly. Do not freeze concentrate intended for layered drinks, as texture may change.
Why does my drink look murky rather than showing clear layers?
Murky results usually happen when upper layers are poured too forcefully or when unstrained citrus pulp clouds the boundary. Pour each layer slowly over the back of a spoon onto whole ice cubes rather than dumping liquid directly into the centre, and use whole cubes rather than crushed ice to prevent premature dilution and mixing.
Original editorial guidance and recipe formulations, not independently kitchen-tested. Times are estimates and depend on equipment and product directions. Cooked bases need additional cooling and refrigeration before cold serving. Images are AI-generated illustrations; appearance and yield may vary. Check actual ingredient labels, allergens, and any certification you require. We do not certify products. Read our approach.
Save to Pinterest ↗ANOTHER IDEA FOR THE COUNTER