Arrange a Small Mise en Place Bowl Set Before Making a Fruit and Yogurt Smoothie
Loading a blender jar directly from bags and tubs makes it easy to overfill or misjudge proportions before the lid goes on. Measuring each component into a separate small bowl first gives you a visual check of total volume against the blender's maximum fill line, and lets you swap or reduce any ingredient before blending begins. This guide explains how to set up that bowl arrangement efficiently for a single or double smoothie portion.
Read the note ↓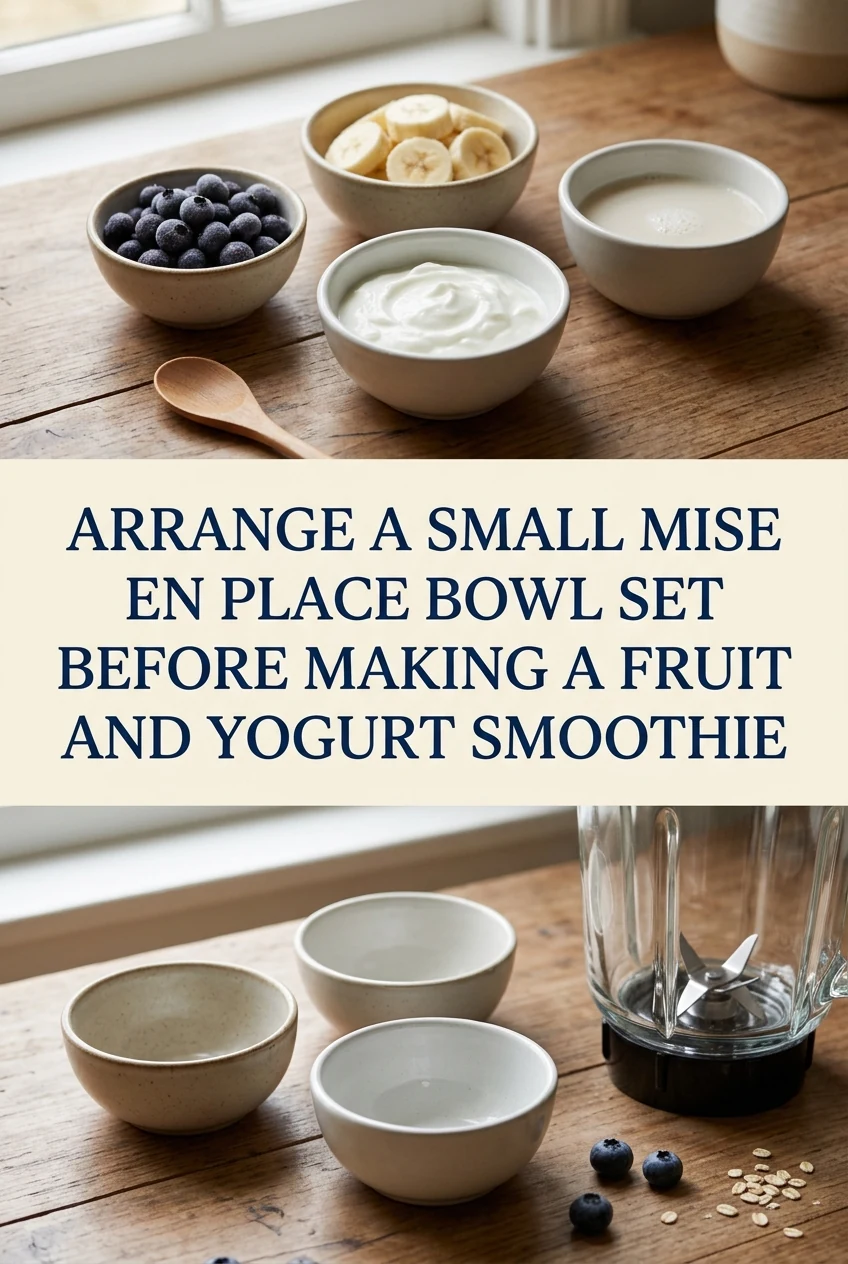
AI-generated editorial concept created for this article. The image is not a technical diagram or a tested result.
Identify Your Blender Fill Line First
Before measuring anything, check your blender jar and owner manual for the designated maximum fill marking. Fill lines vary depending on the container design and whether ingredients are cold or warm, and loading past the manufacturer's indicated line risks ingredient overflow around the lid during blending. Note the millilitre indicator on the jar. This figure serves as your ceiling when estimating the combined volume in your prep bowls.
Measure Fruit Into the First Bowl
For a single 350 ml finished smoothie, weigh 150 g of prepared fruit into a small bowl. Fresh or fully thawed frozen fruit both work; if using frozen, measure it while still cold so it does not release extra liquid into your count. Banana, mango and strawberry are common choices that blend smoothly without leaving fibrous strands. Remove any pips, stones or tough cores before weighing so the bowl weight reflects only what will enter the jar.
Measure Yogurt and Liquid Into Separate Bowls
Spoon 100 g of plain pasteurised full-fat or low-fat yogurt into a second small bowl. Pour 80 ml of cold milk or cold water into a third bowl. Keeping these separate lets you see the ratio clearly before combining. The liquid bowl is also where you can make a quick adjustment: if the fruit is very ripe and soft, reduce the liquid by 20 ml to avoid a thin result. Total estimated volume here is roughly 330 ml, leaving ample headroom below the jar's fill limit.
Check Proportions Against the Fill Line
Hold each bowl over the blender jar and estimate the combined volume visually, or use the measuring jug you already have on the counter. If the total looks close to or above the fill line, remove 20 to 30 ml of liquid from the liquid bowl before loading. This step is especially important when adding ice, which occupies volume before it melts. Adjusting in the bowl costs nothing; adjusting after loading risks overflow or a messy re-pour.
Load in the Correct Order and Blend
Add liquid first, then yogurt, then fruit on top. This sequence places fluid around the blade assembly right away to facilitate smooth circulation without creating an air pocket around the cutter. Fasten the lid securely according to the blender manufacturer's instructions. Operate the machine using the speed settings or pulse intervals recommended in your specific model manual until the mixture is uniform. Pour into a glass and serve promptly, storing any extra portion covered in the refrigerator.
A little more
to know.
Does the bowl method work for larger batch smoothies?
Yes, but scale each bowl up proportionally and recheck against the fill line. For a double batch, use a medium bowl for fruit and a small jug for liquid so the volumes remain easy to read before loading.
What if I want to add a sweetener like honey?
Measure honey into a very small bowl or ramekin separately. Add it with the liquid at the bottom of the jar so it does not stick to the sides above the blade, which would leave unmixed streaks in the finished smoothie.
Original editorial guidance and recipe formulations, not independently kitchen-tested. Times are estimates and depend on equipment and product directions. Cooked bases need additional cooling and refrigeration before cold serving. Images are AI-generated illustrations; appearance and yield may vary. Check actual ingredient labels, allergens, and any certification you require. We do not certify products. Read our approach.
Save to Pinterest ↗ANOTHER IDEA FOR THE COUNTER