Write a Simple Ingredient Checklist Before Starting a Cold Brew Straining Session
Cold brew straining is a short, time-sensitive task that goes wrong in a specific way: you begin pouring and then realise the receiving jar is still dirty, the filter is missing, or the funnel is the wrong size for the jar mouth. Stopping mid-pour means either holding a heavy jar of coffee-saturated grounds or setting it down and losing control of the drip. A short written checklist prepared before you start helps prevent these interruptions. This guide explains what to include and how to structure it.
Read the note ↓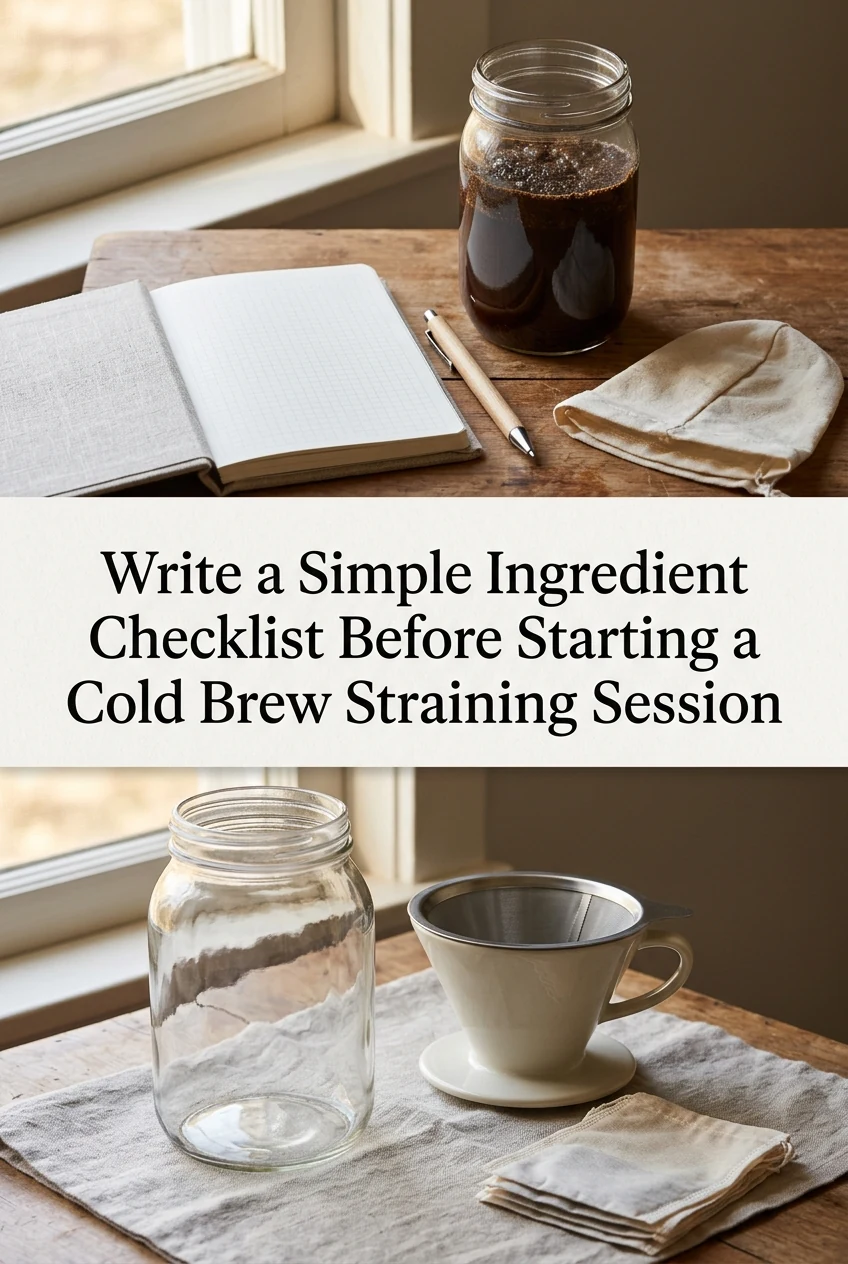
AI-generated editorial concept created for this article. The image is not a technical diagram or a tested result.
Identify the Four Items That Must Be Confirmed Before Pouring
The four items that cause mid-session interruptions are the filter, the funnel, the receiving jar, and the work surface. The filter must be the correct type for your method, whether paper, fine mesh, or cloth, and it must be clean and dry or pre-wetted according to your filter's instructions. The funnel must fit the mouth of the receiving jar. The jar must be clean and large enough to hold the full strained volume. The surface must be stable and clear of anything that could tip the setup.
Write the Checklist by Hand the Night Before
Writing the checklist the night before, rather than the morning of the session, gives you time to notice if something needs washing or is missing from the kitchen. A simple four-line list on a notepad placed next to the cold brew jar works well. Each line names one item and has a small box to tick when confirmed. An example line reads: Filter, clean and in place. Writing it down rather than relying on memory takes only a moment and helps streamline the morning routine.
Check Jar Capacity Against Your Brew Volume
A common oversight is using a receiving jar that is too small. If your cold brew batch is 700 ml of liquid, the receiving jar needs to hold at least that volume with a small margin, ideally 800 to 900 ml capacity, to allow for the filter and funnel sitting above the opening without the liquid backing up. Measure your brew volume the first time you make a batch and note it on the checklist template so you do not need to estimate each time.
Confirm Filter Placement Before the First Pour
Place the filter inside the funnel and set the funnel on the receiving jar before you move the cold brew container to the pouring position. If using a paper filter, follow the filter manufacturer's instructions for pre-wetting if applicable. Confirm the filter sits flat against the funnel walls with no gaps at the edges where grounds could bypass it. Do this confirmation step as the final checklist item, immediately before lifting the cold brew jar, so the setup is not disturbed between checking and pouring.
Add a Refrigeration Reminder as the Final Line
The last line of the checklist should prompt you to refrigerate the strained cold brew promptly. Strained cold brew should be kept chilled once separated from the grounds. Transfer it to a sealed container in the refrigerator at 4 degrees Celsius or below soon after straining is complete. Adding this as a written checklist item rather than relying on habit helps ensure it is stored properly instead of left sitting on the counter during a busy morning.
A little more
to know.
Should the checklist change if I switch from a mesh filter to a paper filter?
Yes. Paper filters may require pre-wetting per the manufacturer's instructions, which adds a step and a small amount of time before pouring. Update the filter line on your checklist to reflect the specific filter type in use so the pre-wetting step is not skipped.
What if I do not have a funnel that fits my receiving jar?
Note the jar mouth diameter and funnel diameter on your checklist as a reference. If they do not match, a wide-mouth jar is often easier to fit standard funnels. Resolve the equipment mismatch before the session rather than improvising during the pour.
Original editorial guidance and recipe formulations, not independently kitchen-tested. Times are estimates and depend on equipment and product directions. Cooked bases need additional cooling and refrigeration before cold serving. Images are AI-generated illustrations; appearance and yield may vary. Check actual ingredient labels, allergens, and any certification you require. We do not certify products. Read our approach.
Save to Pinterest ↗ANOTHER IDEA FOR THE COUNTER