Make a Useful One-Drink Prep Tray
A one-drink tray can make preparation clearer when it carries only what the next recipe needs. Start with the actual steps rather than arranging a display of every ingredient.
Read the note ↓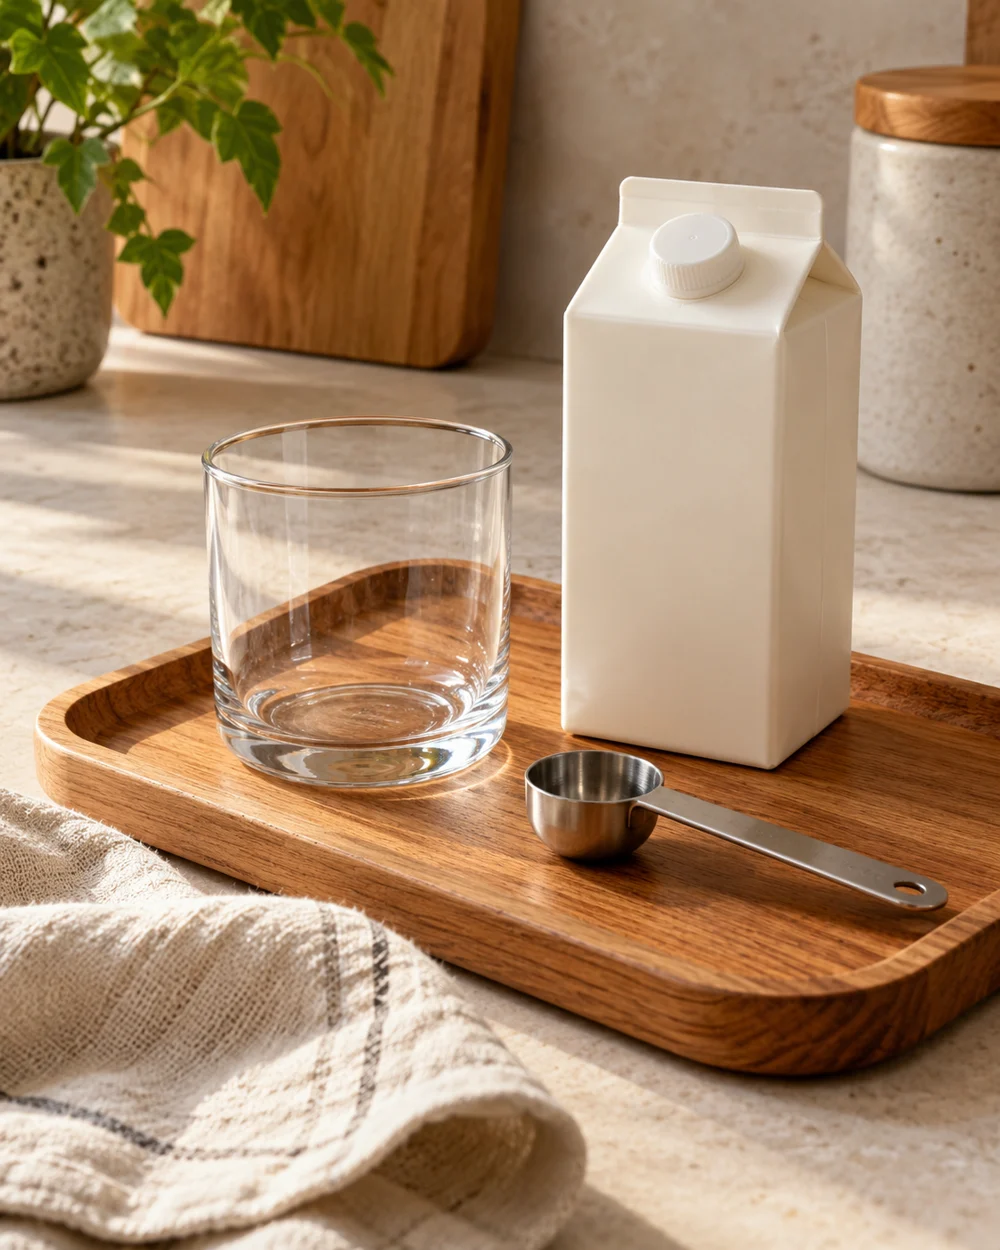
Establish the actual setup
Read the full recipe and identify which ingredients must stay refrigerated until needed. Choose a clean stable tray that suits the counter, with enough space to lift objects independently.
Make the first arrangement
Set out the glass, suitable measuring tools, and only the nonperishable items needed for the immediate task. Keep packaged identities and allergen information available rather than replacing them with decorative guesses.
Check the practical details
Bring cold ingredients out when you are ready to measure them, then return unused portions promptly. A tray is a movement and organization aid, not a chilled storage area.
Keep a useful routine
After the drink is made, follow each tool and surface’s cleaning directions. Keep the next tray smaller if the first arrangement crowded the working area or mixed clean and used utensils.
A little more
to know.
What is the key point to keep?
Prepare for one actual recipe instead of keeping a permanent collection of open ingredients on a tray.
Where should I start?
Read the full recipe and identify which ingredients must stay refrigerated until needed. Choose a clean stable tray that suits the counter, with enough space to lift objects independently.
Original editorial guidance and recipe formulations, not independently kitchen-tested. Times are estimates and depend on equipment and product directions. Cooked bases need additional cooling and refrigeration before cold serving. Images are AI-generated illustrations; appearance and yield may vary. Check actual ingredient labels, allergens, and any certification you require. We do not certify products. Read our approach.
Save to Pinterest ↗ANOTHER IDEA FOR THE COUNTER