Write a One-Page Prep Sheet for a Four-Drink Home Café Session
Serving four different drinks to guests from a home kitchen is manageable when you have a single written reference that covers quantities, equipment, brew order and refrigeration steps. Without one, it is easy to forget to chill a component, brew drinks in an inefficient order or run short of an ingredient mid-session. This guide explains how to build a practical one-page prep sheet from scratch, using a worked example of four common drinks as illustration.
Read the note ↓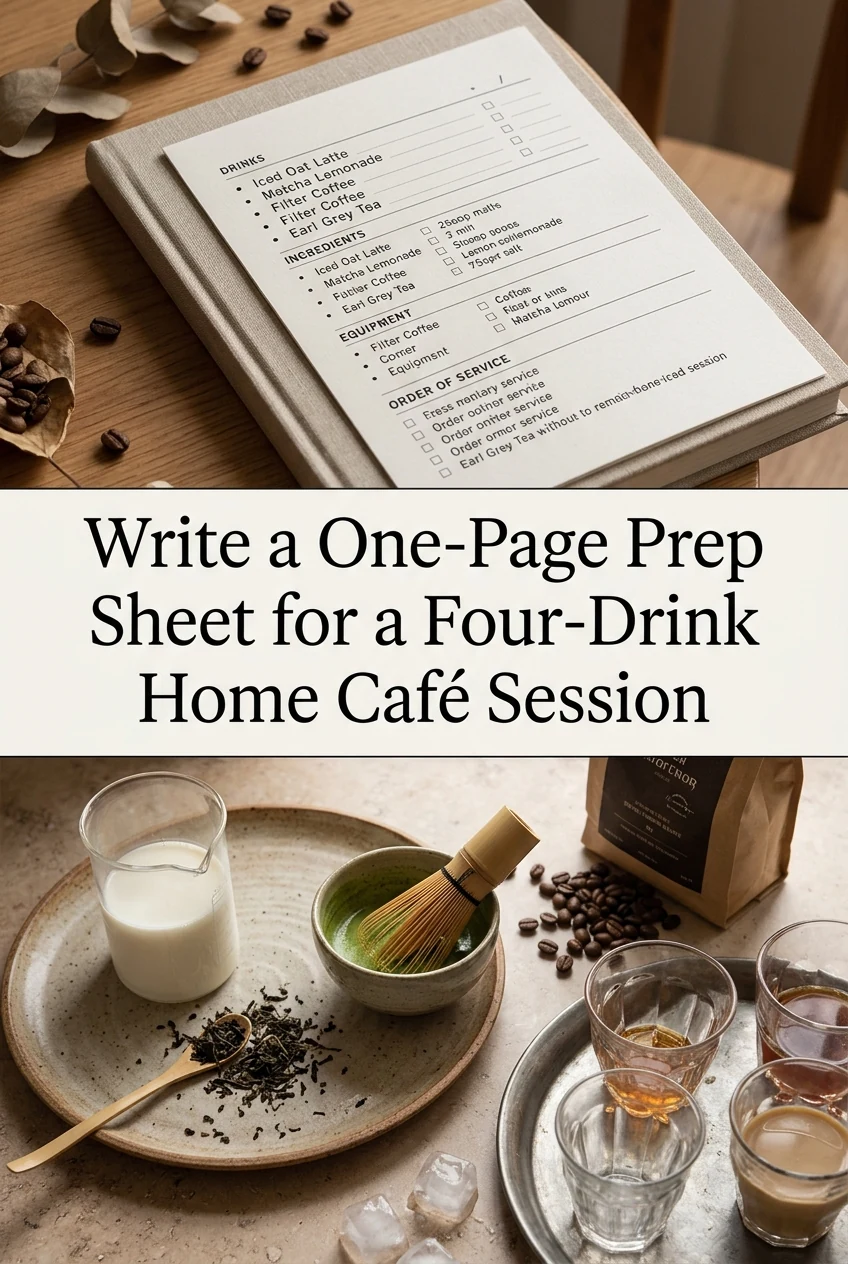
AI-generated editorial concept created for this article. The image is not a technical diagram or a tested result.
List Every Drink and Its Core Components First
Write each drink name as a heading down the left side of a single sheet of paper or a notes app screen. Under each name, list only the components that require measuring or preparation: not equipment, not serving vessels, just ingredients and their quantities. For example, an iced matcha latte might read: 30 ml matcha concentrate, 180 ml oat milk, ice. Keep each entry to one line. This forces you to be specific and reveals immediately if any two drinks share an ingredient that needs to be prepared in a larger batch.
Add an Equipment Column Beside Each Drink
Draw a second column next to your ingredient list and write the specific equipment each drink requires: a particular saucepan, a whisk, a strainer or a specific jug. Note where two drinks share the same piece of equipment so you can plan the order of use. In the worked example, if both the cocoa drink and the lemon ginger warm drink require the same small saucepan, schedule them back to back with a quick rinse between, rather than alternating with cold drink preparation.
Write a Numbered Brew Order Down the Right Side
On the right side of the sheet, number the preparation steps in the order that makes physical sense in your kitchen. Start with anything that needs refrigerating or cooling, such as a syrup or concentrate, so it has maximum time to chill before serving. In the worked example, the sequence might be: 1. Make lemon ginger syrup and refrigerate. 2. Whisk matcha concentrate and refrigerate. 3. Brew tea and cool. 4. Prepare cocoa to order just before serving. Numbering prevents you from starting a slow step last.
Add a Refrigeration Checkpoint Row at the Bottom
Below your drink list and brew order, add a short row labelled Refrigeration. Write every perishable component that must be chilled before serving, the container it goes into and the latest time it must be in the refrigerator. For example: matcha concentrate, sealed jar, in fridge by 8 pm. Lemon syrup, sealed jar, in fridge by 8:15 pm. Brewed tea, covered jug, in fridge by 8:30 pm. This row acts as a checklist you tick off as you go, so nothing is left on the counter.
Keep the Sheet Visible and Update It After the Session
Tape or prop the sheet at eye level near your main preparation area before you start. Do not fold it away in a drawer. After the session, note any quantity that ran short, any step that took longer than expected or any equipment conflict you did not anticipate. These notes take two minutes to write and turn the sheet into a more accurate reference for the next time you host. A prep sheet that is never updated stays a rough draft; one that is annotated becomes a reliable personal workflow document.
A little more
to know.
How do I handle a drink that one guest wants hot and another wants cold from the same base?
Note it on the sheet as a split serve: prepare the base once, divide it into two portions and finish each separately. Write the split point explicitly, such as divide syrup at step 3, so you do not accidentally use the full batch for one version and have nothing left for the other.
Should I include serving vessel sizes on the prep sheet?
Yes, if vessel size affects how much of a component you prepare. A 300 ml glass needs more ice and liquid than a 200 ml cup. Writing the vessel size next to each drink prevents you from preparing the right flavour in the wrong quantity for the glass you intend to use.
Original editorial guidance and recipe formulations, not independently kitchen-tested. Times are estimates and depend on equipment and product directions. Cooked bases need additional cooling and refrigeration before cold serving. Images are AI-generated illustrations; appearance and yield may vary. Check actual ingredient labels, allergens, and any certification you require. We do not certify products. Read our approach.
Save to Pinterest ↗ANOTHER IDEA FOR THE COUNTER