Temper Melted Chocolate Into Hot Milk for Velvety Cocoa
Making rich hot cocoa from real chocolate bars rather than dry cocoa powder frequently leads to an unappealing oily sheen or granular separation in the saucepan. When high-fat chocolate is added directly to a large volume of hot milk without proper emulsification, the cocoa butter can break away from the dairy suspension, leaving greasy droplets floating over thin liquid. Employing a traditional culinary tempering technique—gently melting the chocolate first, then gradually whisking hot milk into the melted base—builds a stable, glossy emulsion that keeps the entire pot smooth, homogeneous, and velvety.
Read the note ↓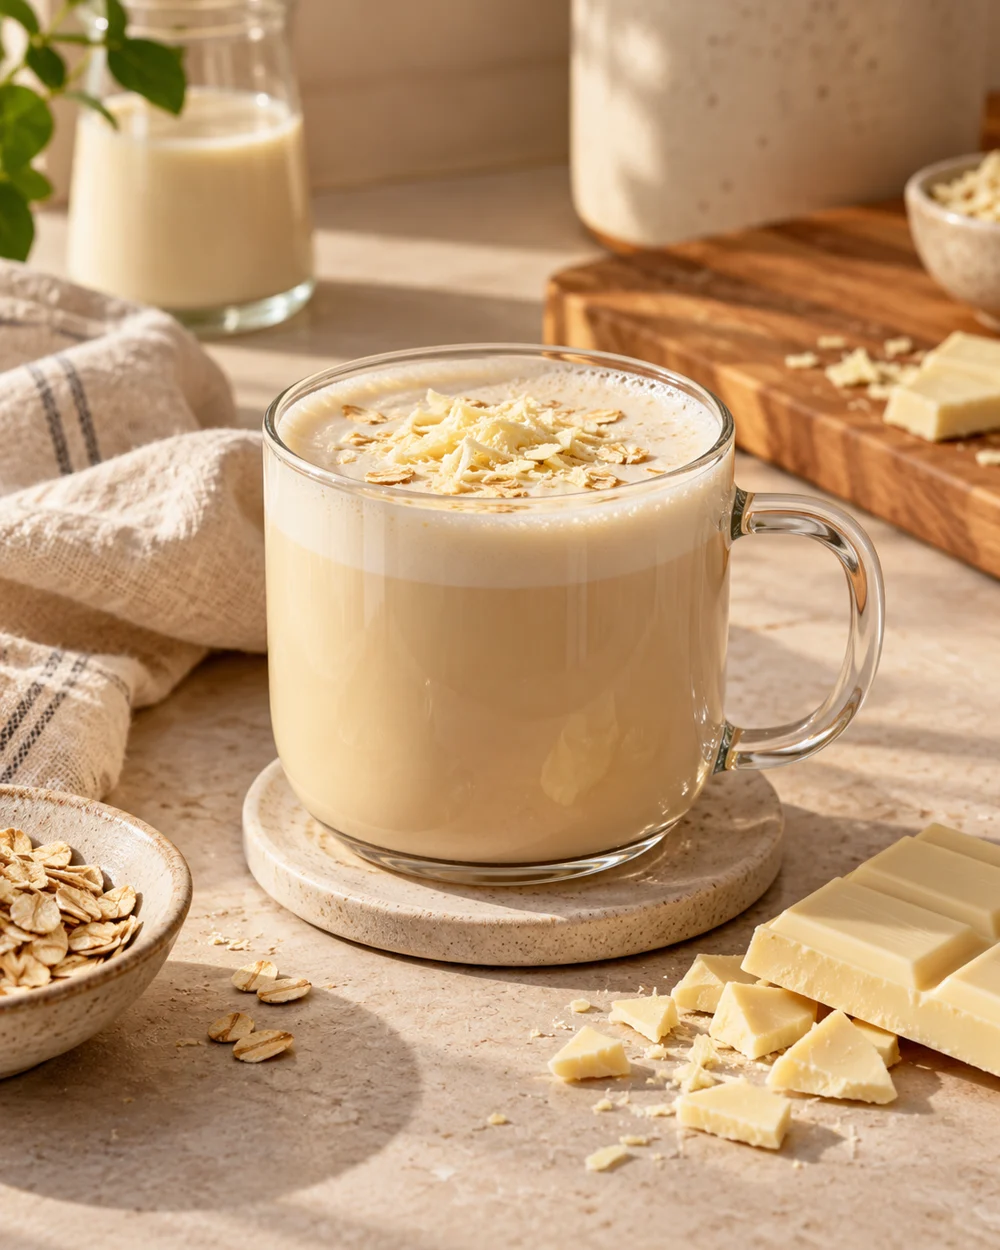
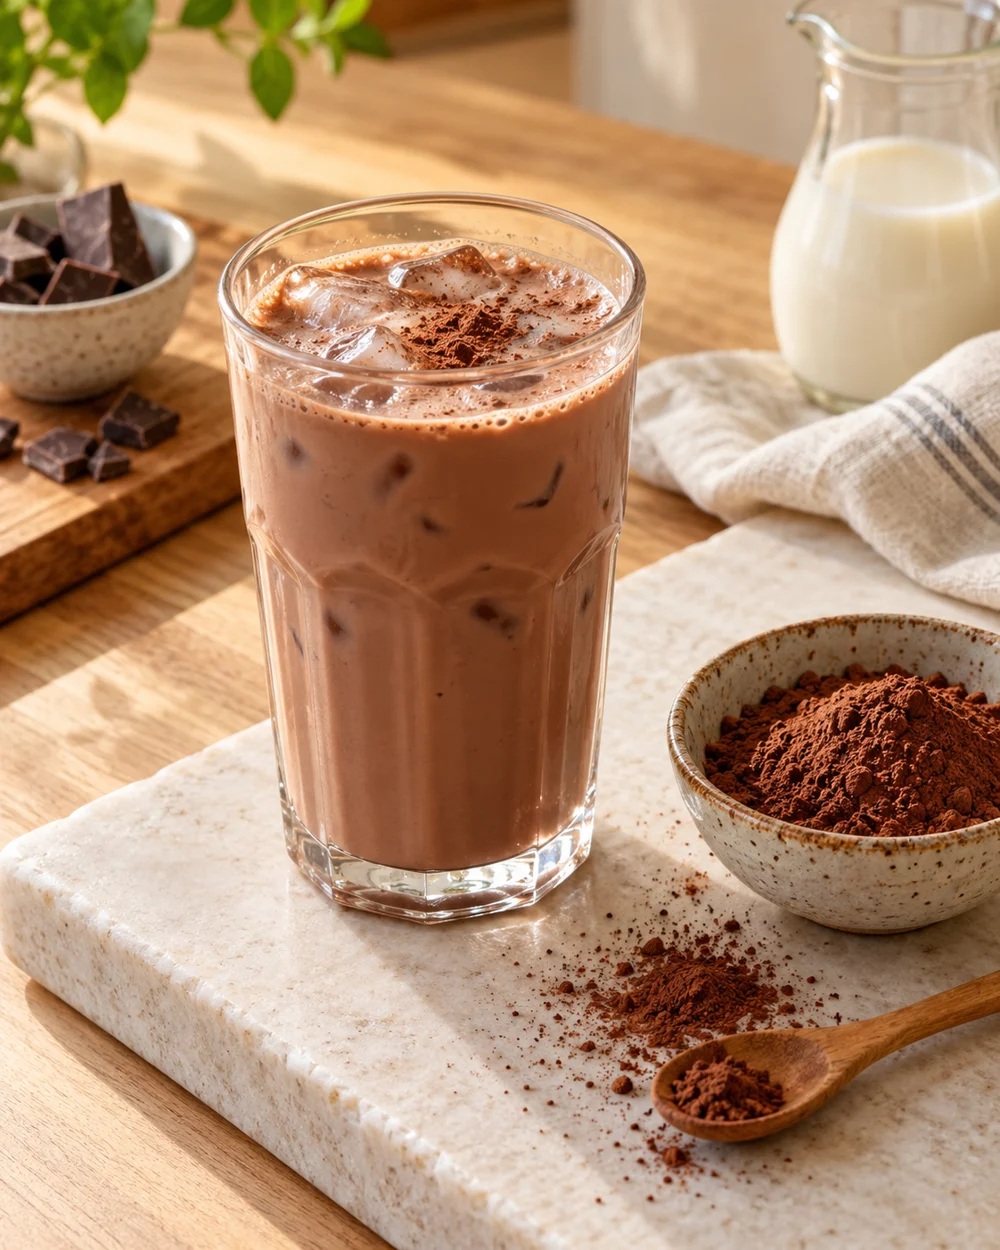
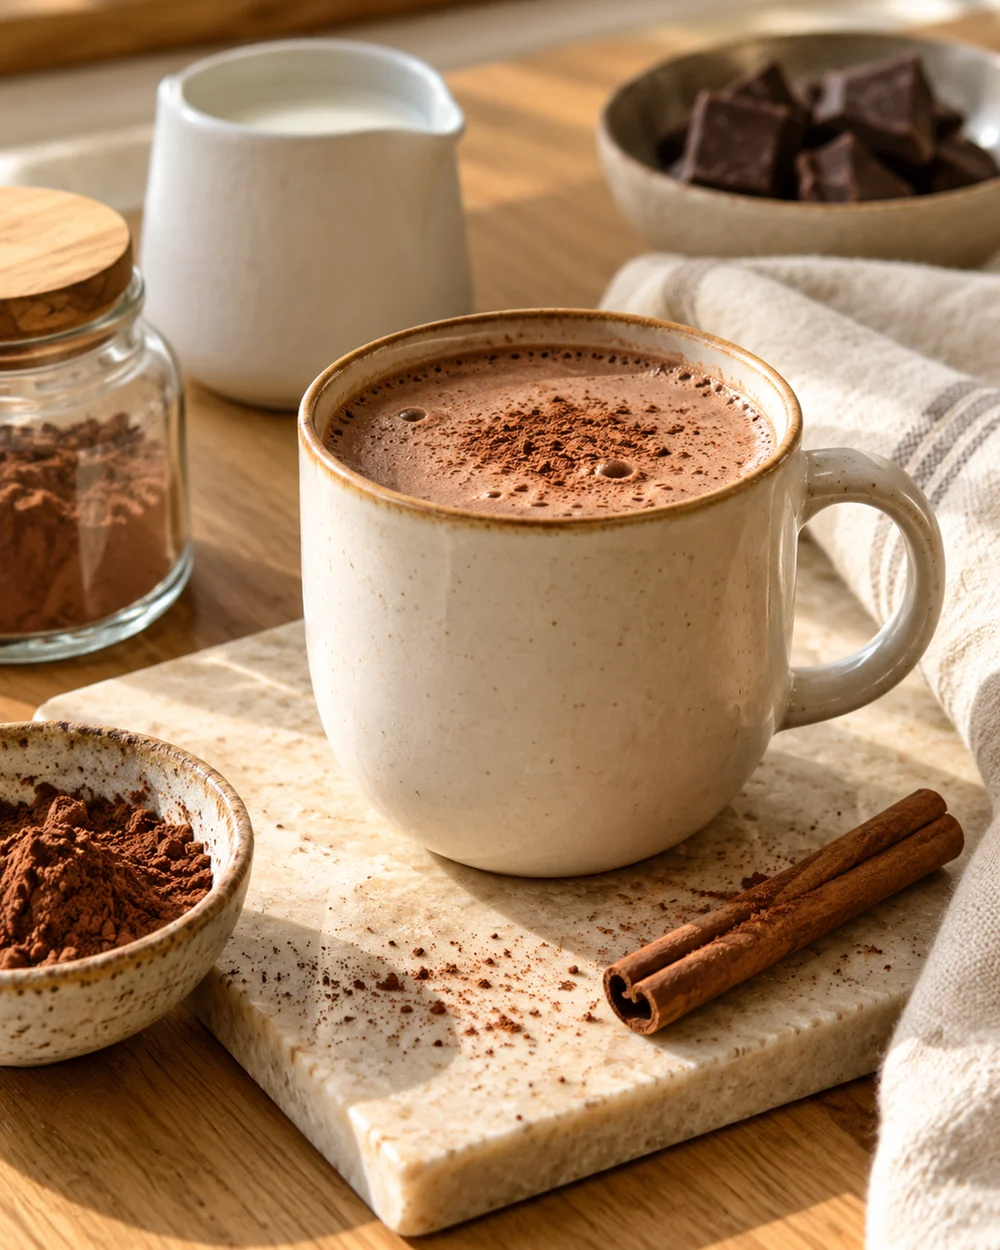
Representative category illustration reused from our editorial library; it does not depict this specific project or a tested result.
Melting the Chocolate Base Gently
Even melting requires gentle, controlled heat to avoid scorching the cocoa solids. Finely chop 60 g of dark chocolate containing 60 to 70 percent cocoa solids and transfer it into a dry, heatproof bowl. Set the bowl over a small pot of simmering water, ensuring the bottom of the bowl does not touch the water. Stir slowly with a heatproof silicone spatula until the chocolate is fully melted and smooth, reaching between 40C and 45C. Remove the bowl from the heat and set it beside your cooking surface.
Heating the Dairy Component Safely
Measure 240 ml of pasteurized whole milk into a small saucepan and place it over medium-low heat. Bring the milk to a steady steam, targeting approximately 65C to 70C where tiny bubbles form along the interior pan edge. Do not boil the milk, as excessive heat destabilizes whey proteins and creates burnt notes. Turn off the heat immediately once steam rises steadily. This temperature provides sufficient thermal energy to blend with the melted chocolate without scalding the dairy emulsion.
Creating the Initial Core Emulsion
Do not pour the melted chocolate directly into the full saucepan of hot milk, as the large volume can cause thermal shock and fat separation. Instead, ladle approximately 60 ml of hot milk into the bowl containing the 60 g of melted chocolate. Whisk vigorously from the center outward in tight circles. The mixture will initially look glossy and thick, resembling a smooth ganache. This step establishes a stable fat-in-water emulsion before adding the remaining bulk liquid.
Uniting the Emulsion in the Saucepan
Whisk a second 60 ml portion of hot milk into the bowl until the chocolate mixture becomes a pourable, glossy fluid. Now, pour the entire tempered chocolate blend back into the saucepan containing the remaining 120 ml of hot milk. Return the saucepan to low heat and whisk continuously for sixty seconds. The two phases unite seamlessly into a velvety, cohesive beverage with zero surface oil separation and a rich, uniform mouthfeel from the first sip to the last.
Cooling and Handling Leftover Portions
Pour the finished hot cocoa immediately into pre-warmed ceramic mugs for service. If preparing a larger batch with surplus portions, observe standard dairy food safety protocols. Do not leave the warm saucepan sitting on the stove for extended periods. Pour unserved portions into a clean, covered container and refrigerate at 4C or below within two hours of preparation, or within one hour if ambient room temperature exceeds 32C, reheating gently over low heat when serving.
A little more
to know.
Can I use commercial oat or almond milk with this tempering technique?
Yes. Commercial pasteurized oat and almond milks contain food-grade stabilizers that emulsify well with melted chocolate when combined slowly using the exact two-stage tempering ratio described above.
What should I do if my cocoa mixture breaks and looks greasy?
Remove the pan from the heat, add 15 ml of cold pasteurized milk, and whisk vigorously for thirty seconds. The rapid temperature drop and fresh dairy proteins help pull separated cocoa fats back into suspension.
Original editorial guidance and recipe formulations, not independently kitchen-tested. Times are estimates and depend on equipment and product directions. Cooked bases need additional cooling and refrigeration before cold serving. Images are AI-generated illustrations; appearance and yield may vary. Check actual ingredient labels, allergens, and any certification you require. We do not certify products. Read our approach.
Save to Pinterest ↗ANOTHER IDEA FOR THE COUNTER