Small-Batch Roasted Hazelnut Syrup for Warm Drinks
A nut-forward hazelnut syrup made without alcohol-based extracts starts with one straightforward technique: dry-roasting whole hazelnuts until their natural oils rise to the surface, then simmering those toasted nuts directly in a measured sugar-water base. The result is a syrup that carries genuine roasted depth rather than an artificial flavoring note. This article walks through one illustrative small-batch plan covering roasting, simmering, straining, and storing, so you can adapt the approach to your own kitchen setup and taste preferences.
Read the note ↓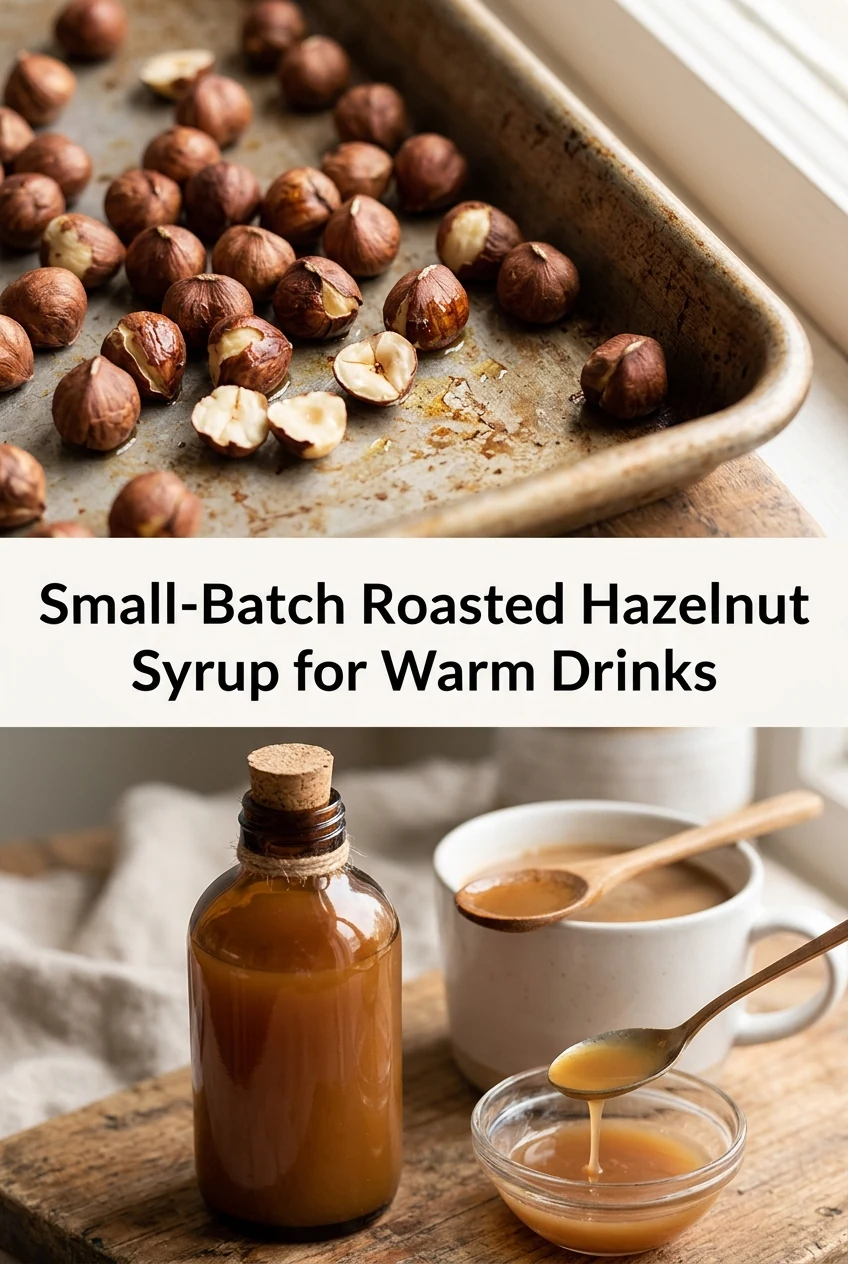
AI-generated editorial concept created for this article. The image is not a technical diagram or a tested result.
Choosing and Preparing Your Hazelnuts
Start with raw, skin-on whole hazelnuts. Skin-on nuts contribute a slightly bitter, toasty complexity that balances the sweetness of the finished syrup. For a small batch, 120 grams of raw hazelnuts is a practical working quantity. Spread them in a single layer on a dry, ungreased baking sheet. Roast in an oven preheated to around 170 degrees Celsius, checking every five minutes and stirring once, until the skins begin to crack and the nut flesh underneath turns a light golden brown. Exact timing will vary with your oven, so use visual and aromatic cues rather than a fixed minute count. Once roasted, tip the nuts onto a clean kitchen towel, fold the towel over them, and rub firmly to loosen most of the papery skins. Some skin will remain, and that is fine. Allow the nuts to cool before the next step so they are comfortable and safe to handle.
Building the Sugar-Water Base
A one-to-one ratio by weight of granulated sugar to water is a reliable starting point for a pourable syrup that is sweet but not cloying. For this illustrative batch, combine 200 grams of white granulated sugar with 200 millilitres of cold water in a small, heavy-bottomed saucepan. Stir over medium-low heat until the sugar is fully dissolved before the liquid reaches a full simmer. Dissolving the sugar first, before adding the hazelnuts, helps prevent the mixture from becoming grainy later. Once the liquid is clear and the sugar is dissolved, add the cooled roasted hazelnuts directly to the pan. Keep the heat at a gentle simmer rather than a rolling boil. A vigorous boil can cause the syrup to reduce too quickly and may make straining more difficult.
Simmering for Flavour Extraction
With the hazelnuts in the pan, maintain a steady, gentle simmer for approximately 20 minutes. During this time the liquid will take on a warm amber tone and a pronounced roasted-nut aroma. Stir occasionally to keep the nuts moving and to check that the liquid is not reducing too aggressively. If the level drops noticeably before the 20-minute mark, lower the heat slightly. At the end of simmering, remove the pan from the heat and allow the mixture to cool in the pan for at least 30 minutes before straining. Cooling the mixture before straining makes handling safer and also allows the hazelnuts a little extra time in contact with the syrup, which can deepen the flavour in this illustrative plan. This is not a tested performance claim but a reasonable working approach based on how infusion generally behaves.
Straining and Finishing the Syrup
Set a fine-mesh strainer over a clean bowl or jug. Line the strainer with a single layer of fine muslin cloth or a nut-milk bag. Pour the cooled hazelnut syrup slowly through the lined strainer. Allow gravity to do the work rather than pressing the solids, which can push fine particles through and cloud the syrup. Once the main flow stops, you may gently gather the cloth and give it one light squeeze to recover the last of the liquid. Discard the spent hazelnuts and any collected solids. The finished syrup in this illustrative batch should yield roughly 220 to 260 millilitres, accounting for absorption by the nuts and normal evaporation during simmering. Actual yield will vary. Taste the cooled syrup and note the roasted character; if you prefer a stronger flavour in a future batch, you could increase the nut quantity or extend the simmer slightly.
Storing in a Labelled Jar
Pour the finished syrup into a clean glass jar with a tight-fitting lid. Label the jar clearly with the contents and the date it was made. Store the jar in the refrigerator. Because this syrup contains no preservatives or alcohol-based components, it should be treated as a fresh preparation and used within a short period. Check the syrup before each use for any changes in appearance, aroma, or texture, and discard it if anything seems off. Keep the jar refrigerated rather than storing it at room temperature. To use, stir one to two tablespoons into a warm drink such as coffee, tea, or steamed milk, adjusting the amount to your preference. The syrup will settle slightly in the jar between uses, so give it a gentle swirl before pouring.
A little more
to know.
Can I use blanched hazelnuts instead of skin-on ones?
You can, and the syrup will have a milder, cleaner flavour without the slight bitterness that the skins contribute. Skin-on nuts are suggested in this plan specifically because that bitterness adds complexity and a more pronounced roasted character. If you prefer a gentler, sweeter result, blanched hazelnuts are a reasonable alternative to try in your own batch.
Is it necessary to use muslin cloth, or will a paper coffee filter work?
A paper coffee filter will strain the syrup but the process will be considerably slower because the filter restricts flow more than muslin does. If you use a paper filter, place it in a strainer over a bowl and allow extra time for the syrup to drip through completely. Avoid pressing the filter, as it can tear. Muslin or a dedicated nut-milk bag is the more practical choice for this quantity of syrup.
Original editorial guidance and recipe formulations, not independently kitchen-tested. Times are estimates and depend on equipment and product directions. Cooked bases need additional cooling and refrigeration before cold serving. Images are AI-generated illustrations; appearance and yield may vary. Check actual ingredient labels, allergens, and any certification you require. We do not certify products. Read our approach.
Save to Pinterest ↗ANOTHER IDEA FOR THE COUNTER