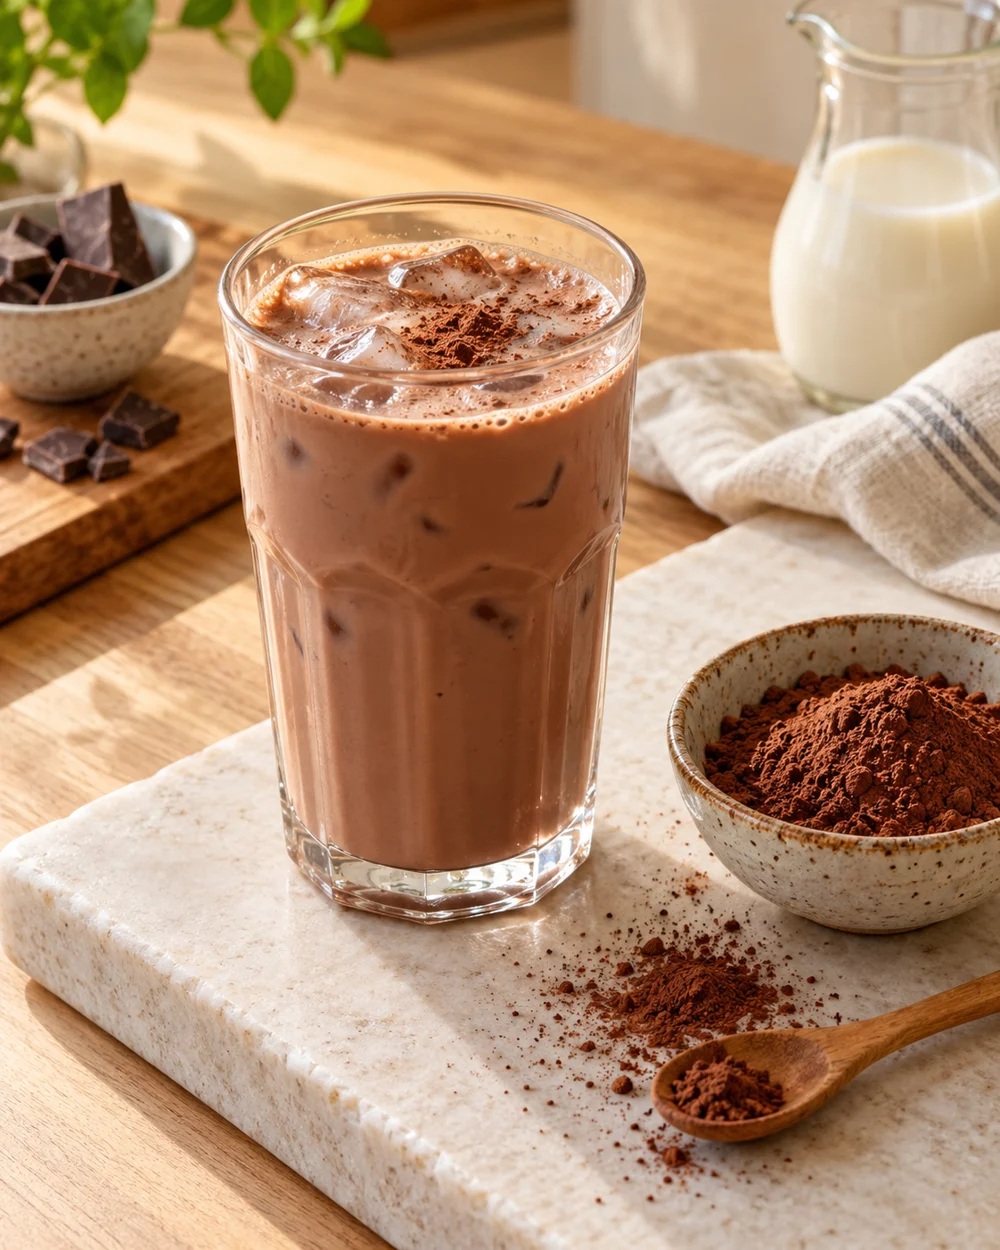
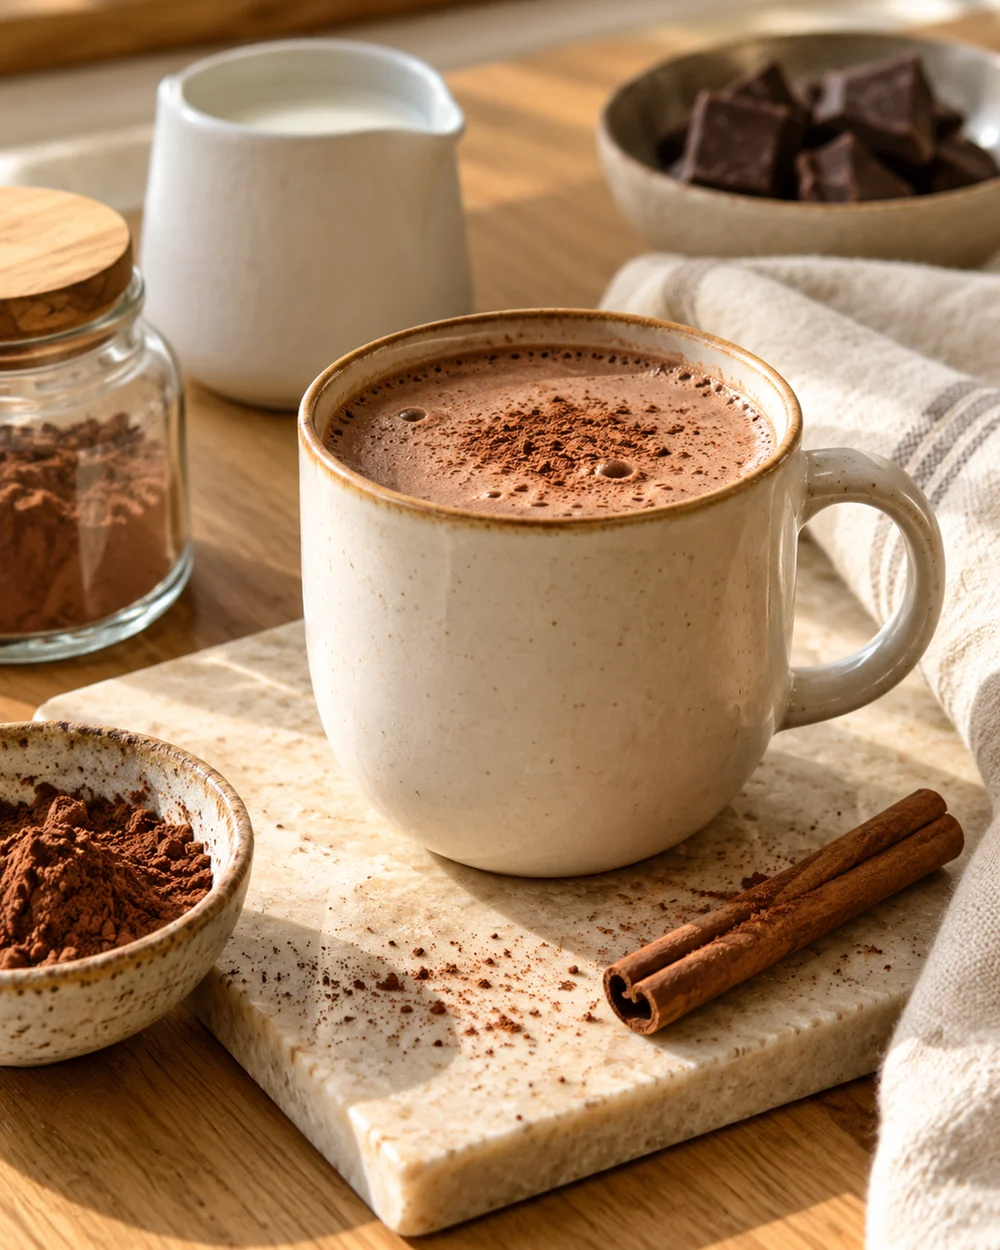
Sift Cocoa Powder Into a Warm Milk Jug Before Stirring to Avoid Dry Lumps
Cocoa powder compacts in its container and arrives in the jug as dense clusters that resist stirring. Passing it through a small fine-mesh sieve directly into warm milk breaks those clusters into loose particles before any liquid contact, giving the stirring step a real chance to work. This single change removes the most common cause of gritty or streaky hot cocoa without requiring any additional equipment beyond a sieve you likely already own.
Read the note ↓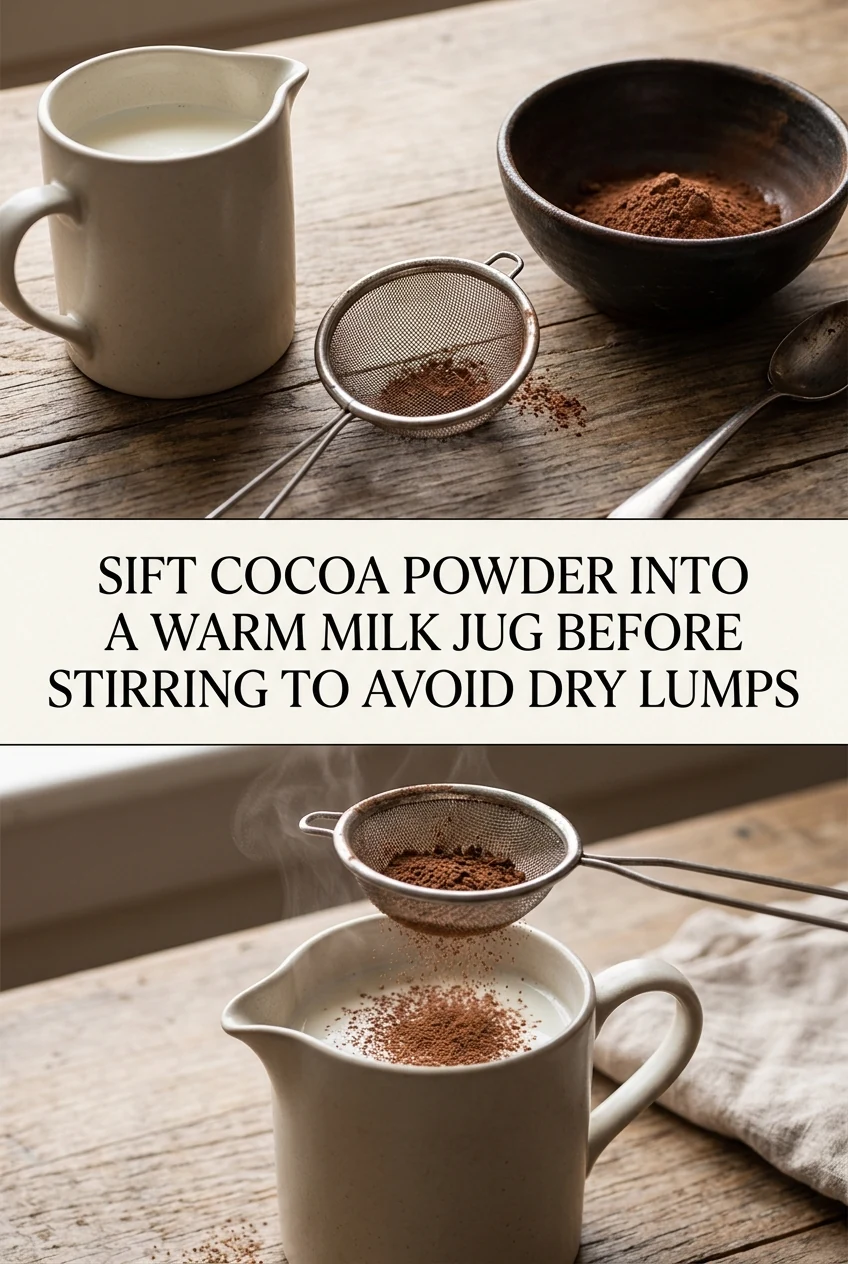
AI-generated editorial concept created for this article. The image is not a technical diagram or a tested result.
Warm the Milk to the Right Point First
Heat your milk in a small saucepan over medium-low heat until it is steaming gently and you can see movement at the edges, but not boiling. Boiling milk can form a skin and alter texture. For a single serving, 200 to 240 milliliters is a practical range. Remove the pan from heat before sifting. Sifting into actively boiling liquid risks splatter, and sifting into cold milk means the cocoa will not dissolve as readily.
Choose a Sieve That Fits Over Your Jug
A small fine-mesh sieve with a diameter of roughly 8 to 10 centimeters sits comfortably over most standard milk jugs or mugs. If your sieve is too large to balance, hold it steady with one hand while spooning cocoa in with the other. Avoid using a coarse strainer; the gaps are too wide to break up compacted cocoa effectively. A tea strainer works in a pinch for single servings of 10 to 15 grams of cocoa.
Measure Cocoa Into the Sieve, Not the Jug
Spoon your measured cocoa into the sieve rather than directly into the jug. A typical single-serve hot cocoa uses 10 to 20 grams of unsweetened cocoa powder, though your recipe may differ. Tap the sieve rim gently with a spoon or press lightly with the back of the spoon to push the powder through. Any small fragments that do not pass through are worth discarding rather than tipping in loose, as they are the most compacted clusters.
Stir Immediately and in One Direction
Once the sifted cocoa settles on the warm milk surface, stir immediately with a small whisk or a long-handled spoon using consistent circular strokes. Waiting allows the powder to begin clumping again on contact with moisture. Stirring in one direction rather than switching back and forth helps the liquid develop a small vortex that pulls powder down from the surface evenly. Continue for 20 to 30 seconds until no dry patches remain visible.
Add Sweetener After the Cocoa Is Fully Incorporated
Adding sugar or another sweetener before the cocoa is fully dissolved can interfere with how you read the mixture's consistency. Once the cocoa is smooth and the liquid is uniform in color, add your sweetener and stir briefly again. If using a halal-certified gelatin-based product to thicken a cocoa dessert drink, follow that product's specific instructions separately. Taste before serving and adjust sweetness in small increments rather than large additions.
A little more
to know.
Does Dutch-process cocoa sift and dissolve differently than natural cocoa?
Dutch-process cocoa is generally less acidic and often has a slightly finer texture, which can make it dissolve a little more readily. Both types benefit from sifting, but you may notice Dutch-process integrates with slightly fewer strokes.
Can I sift cocoa into plant-based milk the same way?
Yes. Warm oat, soy or almond milk to the same steaming point and sift cocoa in using the same method. Thinner plant milks may show the powder floating briefly longer, so stir promptly and consistently from the start.
Original editorial guidance and recipe formulations, not independently kitchen-tested. Times are estimates and depend on equipment and product directions. Cooked bases need additional cooling and refrigeration before cold serving. Images are AI-generated illustrations; appearance and yield may vary. Check actual ingredient labels, allergens, and any certification you require. We do not certify products. Read our approach.
Save to Pinterest ↗ANOTHER IDEA FOR THE COUNTER