Set Up a Small Tray for Warm Drink Ingredients Before Turning On the Stovetop
Milk scorches quickly on a stovetop burner, and stepping away to find a spice jar or strainer while it heats is the most common cause of a burnt pan and a wasted batch. Arranging every ingredient, tool and serving vessel on a tray beside the stove before applying any heat removes the need to move away from the pan at all. The tray becomes a compact workstation that keeps the process calm and the milk at the right temperature.
Read the note ↓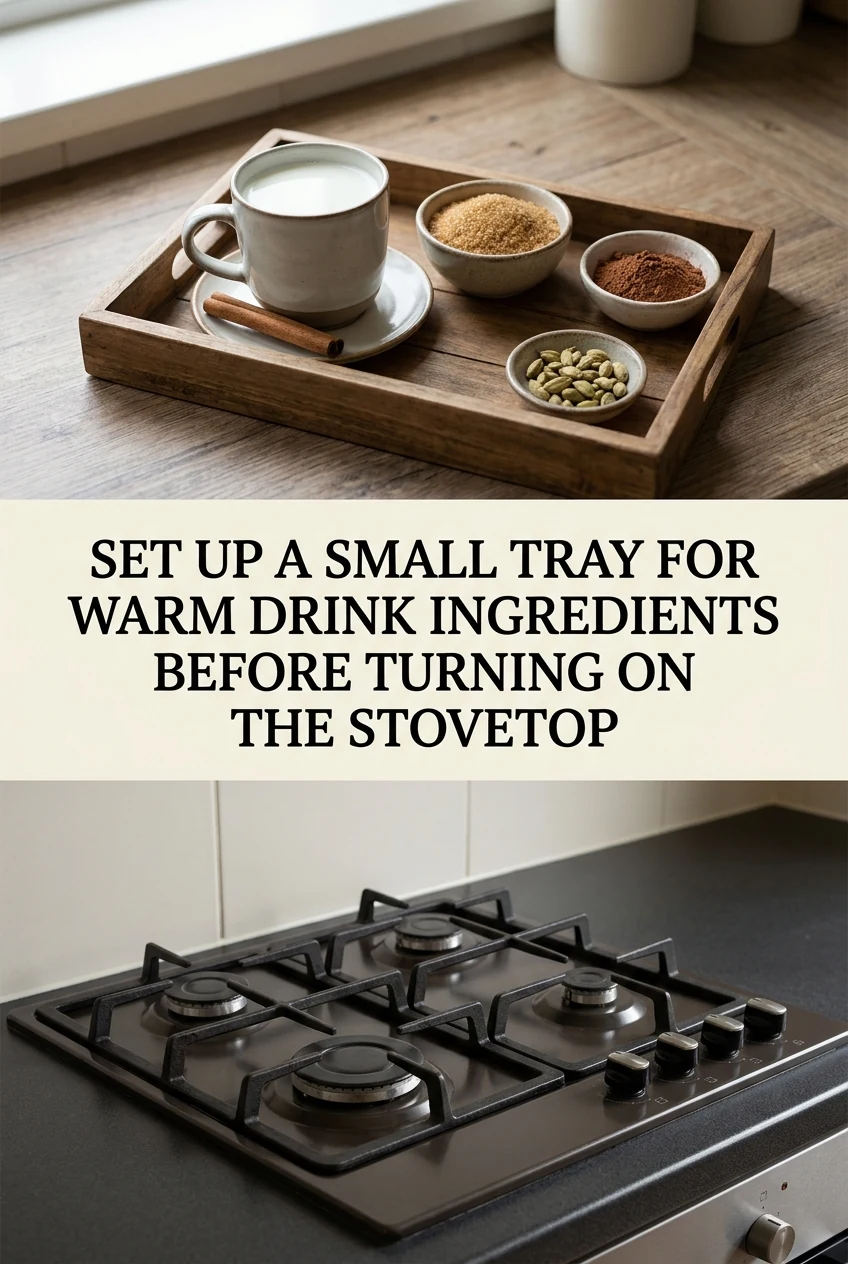
AI-generated editorial concept created for this article. The image is not a technical diagram or a tested result.
Identify Everything the Recipe Needs Before You Start
Read through the full drink recipe once and set out each item physically before touching the stove dial. For a spiced warm cocoa, this means the cocoa powder, sugar or other sweetener, ground spices, milk, a measuring spoon, a whisk, a fine strainer, a ladle and the serving mug. Missing one item mid-cook forces a choice between leaving the heat on unattended or turning it off and restarting, both of which affect the final drink quality.
Arrange Items in the Order You Will Use Them
Place dry ingredients at the back of the tray in the sequence they enter the pan: cocoa and sugar first, spices second. The whisk goes in the centre where your dominant hand can reach it without looking. The strainer and ladle sit at the front, closest to the stove edge, because they are used last. This left-to-right or back-to-front sequence means your hand moves in one direction through the process rather than reaching across tools already used.
Pre-Measure Spices and Sweeteners into Small Bowls
Measuring directly from a jar into a hot pan risks adding too much and wastes time. Instead, measure each spice and sweetener into a small bowl or ramekin on the tray before heating begins. A worked example: for a single 250 ml serving of warm spiced cocoa, you might pre-measure 15 ml cocoa powder, 10 ml sugar and a small pinch of ground cinnamon into one bowl. These quantities are illustrative; adjust to your own recipe. Pre-measuring takes roughly 90 seconds and prevents over-seasoning under pressure.
Position the Strainer and Serving Vessel Within Reach
The strainer should sit over the serving mug before you begin heating, not assembled in a hurry at the end. Rest the strainer across the mug rim and confirm it is stable. If the strainer handle is long, lean it against the tray edge to stop it rolling. Having the mug ready means you can ladle or pour the finished drink immediately without setting the pan down on an unstable surface while you search for the cup.
Keep the Tray Clear of the Burner Zone
Position the tray to the side of the active burner, not directly behind it where rising heat can warm spice jars or melt a plastic measuring spoon handle. A distance of roughly 30 cm from the burner edge is a practical working clearance for most domestic stovetops. Do not place paper towels, cloth napkins or loose packaging on the tray while the burner is on. Keep the tray surface uncluttered so you can set the pan down quickly if needed.
A little more
to know.
Does the tray material matter for this kind of stovetop prep setup?
A tray with a slight rim is more useful than a flat board because it catches spills from pre-measured bowls. Material is less important than rim height and a non-slip base. Avoid trays that flex under the weight of a full milk jug.
What if I am making two servings and the tray feels crowded?
Use a second small tray or a cutting board as an overflow surface for the second mug and its strainer. Keep the primary tray for ingredients and tools only. Separating vessels from ingredients reduces the chance of knocking a pre-measured bowl into a mug.
Original editorial guidance and recipe formulations, not independently kitchen-tested. Times are estimates and depend on equipment and product directions. Cooked bases need additional cooling and refrigeration before cold serving. Images are AI-generated illustrations; appearance and yield may vary. Check actual ingredient labels, allergens, and any certification you require. We do not certify products. Read our approach.
Save to Pinterest ↗ANOTHER IDEA FOR THE COUNTER