Rinse and Dry Berries and Citrus Before They Go Into a Cold Drink
Fruit added straight from the bag into a pitcher brings surface moisture, dust and handling residue along with it. Wet berries release water quickly and dilute a carefully balanced still drink, while unrinsed citrus peel carries whatever the surface collected between the orchard and your counter. A short rinse-and-dry step done in sequence on one clear counter takes under five minutes and makes a visible difference to both the look and the taste of the finished pitcher.
Read the note ↓
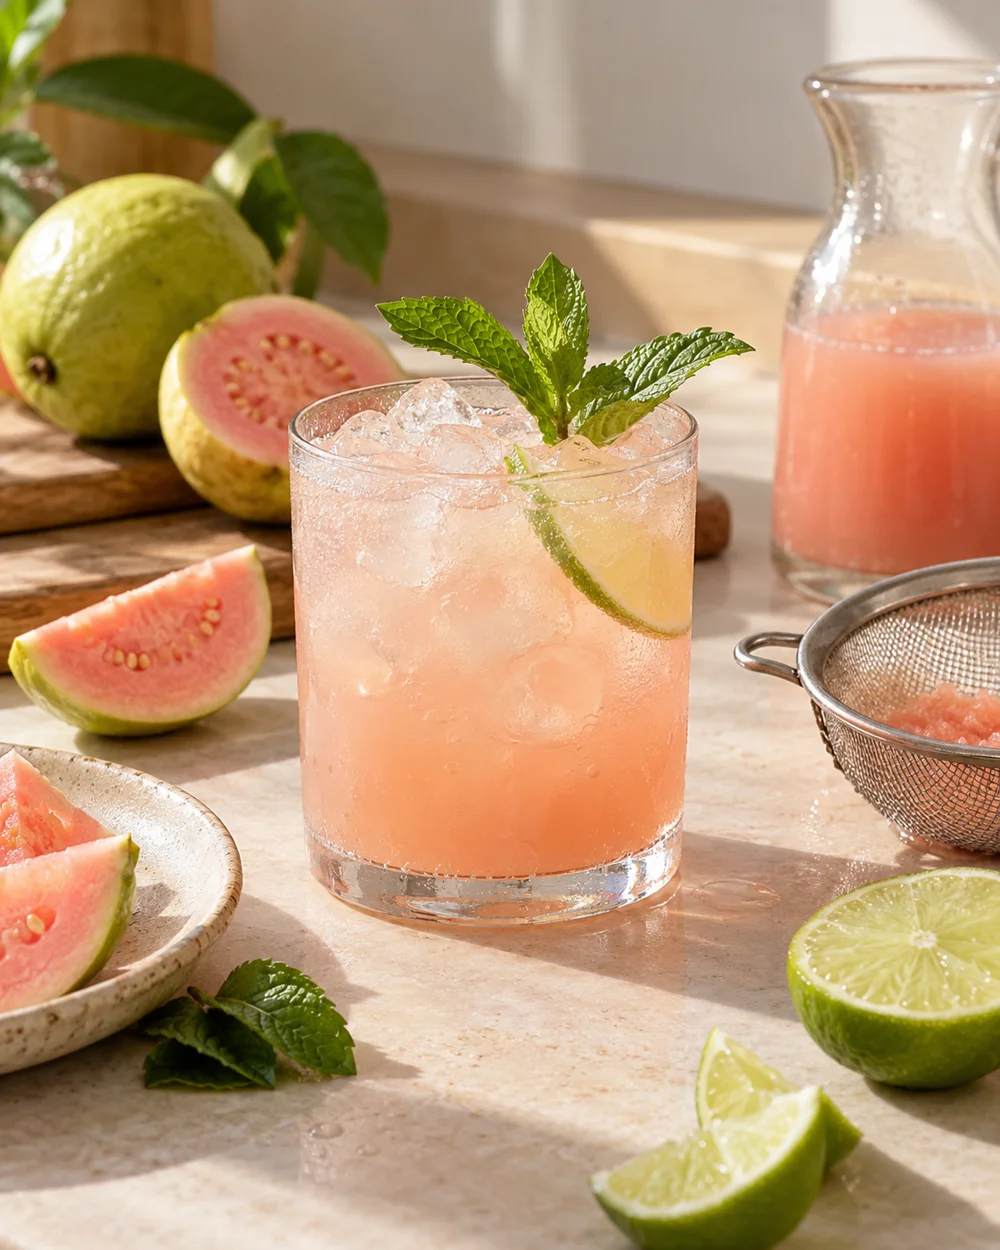
AI-generated editorial concept created for this article. The image is not a technical diagram or a tested result.
Set Up One Clear Counter Space Before You Start
Place a clean cutting board, a colander, a clean dry towel and your pitcher within arm's reach before touching any fruit. Keeping everything in one area means you are not carrying wet fruit across the kitchen or reaching for a towel with damp hands. Designate this board for produce only during the session. A small bowl of ice nearby lets you chill the pitcher while you work, which matters if your kitchen is warm.
Rinse Berries Under Cool Running Water Just Before Use
Place the berries in the colander and hold it under a gentle cool tap for twenty to thirty seconds, turning the colander once so water reaches all sides. Do not soak them in a bowl of standing water, which can soften them quickly and does not remove surface residue more effectively than running water. Rinse only the quantity you plan to use immediately. Berries rinsed and left wet in a bowl deteriorate faster than dry ones.
Pat Berries Dry and Handle Citrus Whole First
Spread the rinsed berries on the clean towel and pat gently. They do not need to be bone dry, but removing visible surface water prevents immediate dilution in the pitcher. For citrus, rinse the whole fruit under cool running water and rub the peel briefly with your hands before slicing. This step matters because you are adding the peel to the drink and it sits in contact with the water throughout serving.
Slice Citrus on the Dedicated Board and Add in Sequence
Cut the rinsed lemon into rounds or half-rounds of roughly five to seven millimetres. Add the citrus slices to the pitcher first, then add the dried berries on top. Pour chilled still water over both. Adding fruit before water lets you see the quantity clearly and arrange it without reaching into a full pitcher. For a one-litre pitcher, four to six lemon slices and a small handful of berries, around 60 to 80 grams, gives visible colour without overwhelming the water.
Refrigerate Promptly and Use Within a Safe Window
Once assembled, place the pitcher in the refrigerator at 4 degrees Celsius or below if you are not serving it immediately. Do not leave it on the counter for more than two hours, or one hour if your room is above 32 degrees Celsius. Cut fruit sitting in water at room temperature creates conditions where bacteria can multiply. If you are serving outdoors, keep the pitcher in a cooler with ice and replenish ice as it melts.
A little more
to know.
Do I need a special produce wash to clean the fruit properly?
No. Cool running water is the recommended approach for rinsing fresh fruit before eating. Homemade solutions or commercial produce washes are not necessary for this purpose and are not called for here.
How long can the assembled pitcher stay in the refrigerator before the fruit breaks down?
Berries soften noticeably after several hours in water. For best texture and appearance, assemble the pitcher no more than two to three hours before serving and remove spent fruit before refilling with fresh water.
Original editorial guidance and recipe formulations, not independently kitchen-tested. Times are estimates and depend on equipment and product directions. Cooked bases need additional cooling and refrigeration before cold serving. Images are AI-generated illustrations; appearance and yield may vary. Check actual ingredient labels, allergens, and any certification you require. We do not certify products. Read our approach.
Save to Pinterest ↗ANOTHER IDEA FOR THE COUNTER