Read a Recipe's Cooling Stage Before Choosing Its Serving Time
A common home-cafe planning mistake is treating oven removal as the moment a bake becomes ready to serve. Many recipes include a cooling or chilling stage that is not optional decoration — it is the stage during which the texture, slice-ability, or set of the item actually completes. Reading that stage before you fix a serving time lets you work backward to a realistic start time rather than discovering the gap too late.
Read the note ↓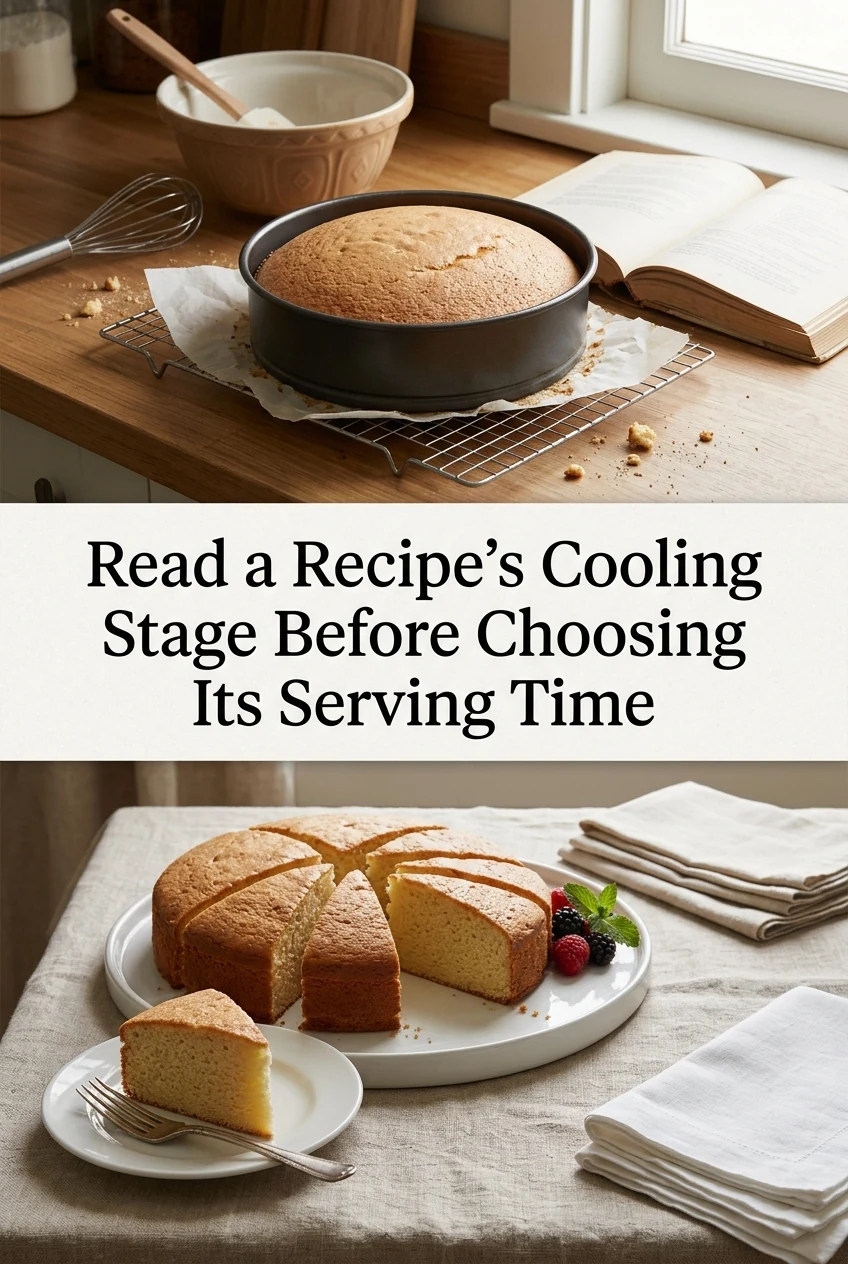
AI-generated editorial concept created for this article. The image is not a technical diagram or a tested result.
Why the Cooling Stage Is Part of the Recipe, Not an Afterthought
When a recipe instructs you to cool a tart shell completely before adding a custard filling, or to refrigerate a sliced cake for two hours before cutting, those steps are doing structural work. The item is still changing during that window — fats are firming, starches are setting, fillings are stabilizing. Skipping or shortening those stages does not simply produce a slightly imperfect result; it often produces one that cannot be plated or sliced as intended. Treating the cooling stage as part of the active recipe time, rather than dead time after the real work is done, is the shift that makes home-cafe scheduling reliable.
How to Read a Recipe Backward from Serving Time
Before you begin any preparation, read the recipe all the way through and note every time instruction: baking time, resting time on the rack, any refrigeration period, and any final assembly step. Write those durations in a column and add them together. That total is the minimum time between starting the recipe and placing the finished item on the table. Subtract that total from your intended serving time to find your latest possible start time. If that start time has already passed, you need either a later serving time or a different recipe. This is a planning method, not a guarantee of a specific outcome, because individual ovens, ingredient temperatures, and ambient conditions all vary.
A Worked Example: A Chilled Milk Tart for an Afternoon Gathering
Suppose you want to serve a milk tart at 3:00 pm. The recipe you have chosen lists a 25-minute blind-bake for the pastry shell, a 10-minute cooling period for the shell before filling, a 30-minute stovetop cooking time for the milk custard filling, a 15-minute cooling period for the filling before it goes into the shell, and a minimum two-hour refrigeration period once assembled. Adding those figures: 25 plus 10 plus 30 plus 15 plus 120 equals 200 minutes, or roughly three hours and twenty minutes. To serve at 3:00 pm, you would need to begin no later than approximately 11:40 am. That is the illustrative arithmetic for this particular recipe as written; your own recipe may list different durations, and you should use the figures printed in the version you are following. Note that the custard contains dairy and eggs, so it must move promptly into the refrigerator once it has cooled to the point the recipe specifies, and it should remain chilled until just before serving.
Handling Recipes That Give a Range Rather Than a Fixed Time
Some recipes state a cooling range such as one to two hours rather than a single figure. When you are planning a serving time, use the longer end of that range as your working number. This gives you a buffer rather than a deficit. If the item is ready earlier than the upper limit, you simply have flexibility; if you had planned around the shorter end and the item needed more time, you would have a gap at the table. Building your schedule around the longer stated time is a straightforward way to avoid that situation without inventing any time that the recipe does not mention.
Keeping Perishable Items Safe During the Cooling Window
Items containing dairy, eggs, or cream need to move into the refrigerator promptly once they have cooled to the temperature the recipe specifies before chilling — typically described as room temperature or no longer steaming. Do not leave them on the counter for an extended period beyond what the recipe instructs in order to fit a later refrigeration slot into your schedule. If your kitchen is warm, the cooling stage may take longer than in a cooler environment, so check the item rather than relying only on a clock. Follow the storage instructions printed in your specific recipe; do not substitute a general estimate for the guidance the recipe provides.
A little more
to know.
What if my recipe does not mention a cooling time at all?
Some recipes, particularly simple biscuits or flatbreads, genuinely have no structured cooling stage and can be served shortly after baking. If the recipe is silent on cooling and does not include a filling, custard, or chilled component, a brief rest on a rack is generally all that is needed. However, if the recipe includes any dairy or egg-based filling and still omits a cooling instruction, treat that as an incomplete recipe and look for a more detailed version before proceeding.
Can I speed up the refrigeration stage by using the freezer briefly?
Transferring a chilled item to the freezer to shorten the refrigeration stage is not a straightforward substitution. Freezing can alter the texture of custards, set fillings unevenly, or cause condensation that affects the surface when the item is returned to the refrigerator or brought to the table. Unless the recipe you are following specifically offers a freezer option as an alternative, follow the refrigeration instruction as written and plan your start time accordingly.
Original editorial guidance and recipe formulations, not independently kitchen-tested. Times are estimates and depend on equipment and product directions. Cooked bases need additional cooling and refrigeration before cold serving. Images are AI-generated illustrations; appearance and yield may vary. Check actual ingredient labels, allergens, and any certification you require. We do not certify products. Read our approach.
Save to Pinterest ↗ANOTHER IDEA FOR THE COUNTER