Prepare a Still Watermelon and Lime Cooler From Fresh Fruit
Fresh watermelon contains a high proportion of water by weight, which means blending it without a plan produces a drink that can be either too thin or overwhelmed by pulp depending on how long you run the blender. Getting the ratio of fruit to lime right, and straining the result properly, makes the difference between a clean, bright cooler and a murky, fibrous one. This guide covers the practical steps from cutting weight through to final adjustment before serving.
Read the note ↓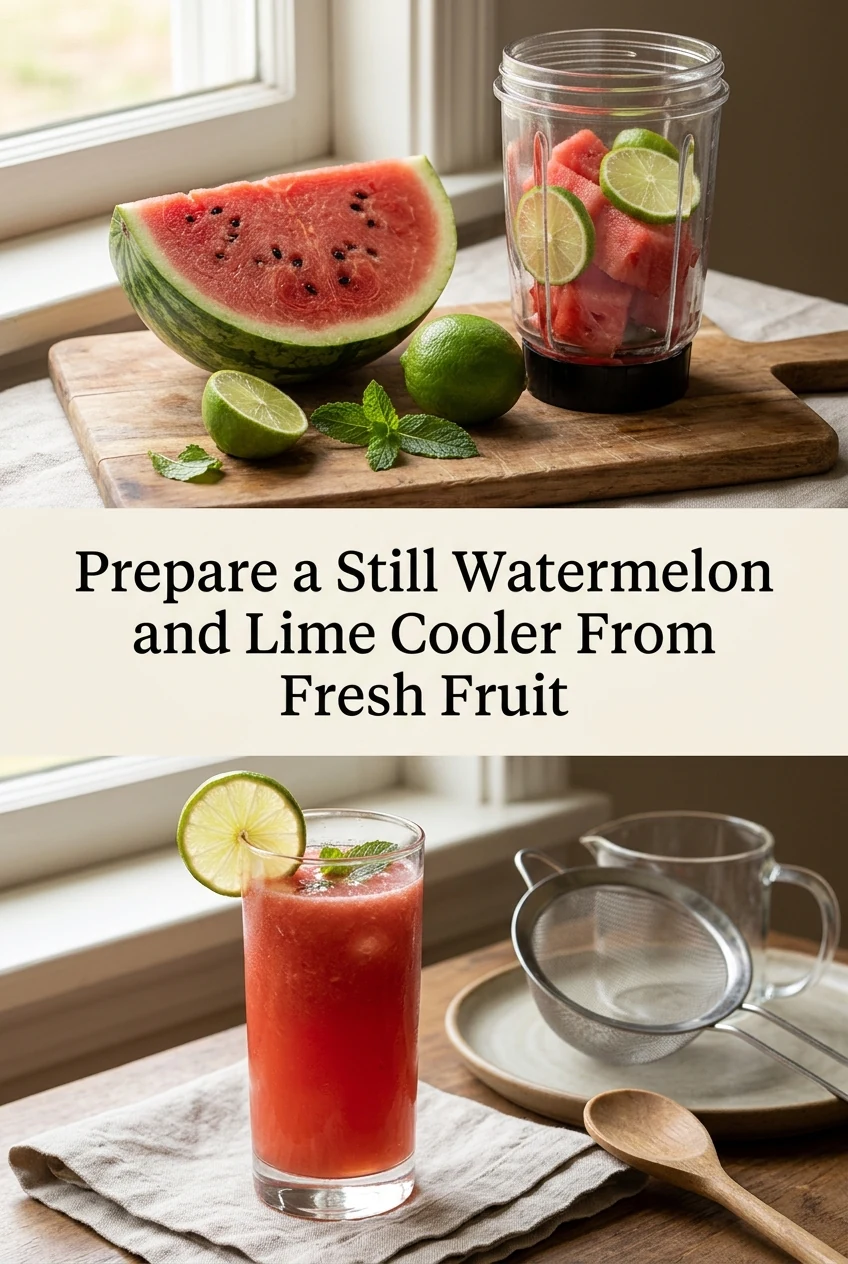
AI-generated editorial concept created for this article. The image is not a technical diagram or a tested result.
Cutting and Weighing the Watermelon
Remove the rind completely and cut the flesh into rough chunks small enough to fit your blender jar without forcing the lid. For a single serving of approximately 300 millilitres of finished drink, start with around 400 grams of prepared watermelon flesh. This accounts for the volume lost during straining. Removing seeds before blending is worth the extra minute; a seedless variety makes this step faster. Weigh the prepared fruit rather than estimating by cup volume, as watermelon density varies considerably between melons.
Blending Briefly to Avoid Over-Processing
Run the blender on a medium setting for 20 to 30 seconds rather than blending until completely smooth. Over-blending breaks down the fibrous pulp into very fine particles that are harder to strain out and can make the finished drink feel slightly thick or starchy. A brief blend leaves the juice fully liquid while keeping the pulp in larger pieces that a fine mesh strainer can catch efficiently. Do not add water at this stage; the fruit releases enough liquid on its own.
Straining the Pulp Cleanly
Pour the blended watermelon through a fine mesh strainer set over a jug or bowl. Use a spoon to press the pulp gently against the mesh to release the remaining juice without forcing fibrous material through. Discard the pressed pulp. For a clearer result, line the strainer with a single layer of dampened cheesecloth before pouring. As an illustrative example, 400 grams of blended watermelon flesh typically yields roughly 280 to 320 millilitres of strained juice, though this varies by melon ripeness.
Adding Lime and Adjusting to Taste
Start with the juice of half a medium lime, approximately 15 millilitres, stirred into the strained watermelon juice. Taste before adding more. Lime juice brightens the flavour and balances the sweetness of the fruit, but the correct amount depends on the natural sugar level of your specific melon, which varies by variety and ripeness. Add lime in small increments of around 5 millilitres at a time rather than squeezing in a full lime at once, as the acidity can quickly overpower a ripe, sweet melon.
Serving and Storing the Cooler
Serve the cooler over ice immediately after preparation for the best flavour and colour. Fresh watermelon juice oxidises and the colour can dull within a few hours even under refrigeration. If you are not serving it right away, store it in a sealed container at 4 degrees Celsius or below and use it within 24 hours. Do not leave prepared watermelon juice at room temperature for more than two hours, or one hour if your kitchen is above 32 degrees Celsius, as it is a perishable liquid.
A little more
to know.
Can I make a larger batch and keep it in the refrigerator for several days?
Fresh watermelon juice is best within 24 hours. Beyond that, the flavour flattens and the colour dulls noticeably. Making smaller batches more frequently gives a better result than preparing a large batch intended to last several days.
Do I need to add any sweetener to the finished cooler?
A ripe watermelon usually provides enough natural sweetness without added sugar. Taste the strained juice before deciding. If the melon was underripe or the lime made it too tart, a small amount of simple syrup stirred in adjusts the balance without changing the texture.
Original editorial guidance and recipe formulations, not independently kitchen-tested. Times are estimates and depend on equipment and product directions. Cooked bases need additional cooling and refrigeration before cold serving. Images are AI-generated illustrations; appearance and yield may vary. Check actual ingredient labels, allergens, and any certification you require. We do not certify products. Read our approach.
Save to Pinterest ↗ANOTHER IDEA FOR THE COUNTER