Prepare a Small Batch of Plain Walnut and Cinnamon Biscuits for a Coffee Plate
Walnut and cinnamon biscuits made for a coffee plate need a flavour strong enough to hold up alongside a full-bodied brewed coffee without overwhelming it. The key step that most home bakers skip is toasting the walnuts before they are chopped and folded into the dough. Raw walnuts contribute a mild, slightly bitter note that can taste flat next to coffee, while toasted walnuts develop a deeper roasted character that complements rather than disappears into the cup beside them.
Read the note ↓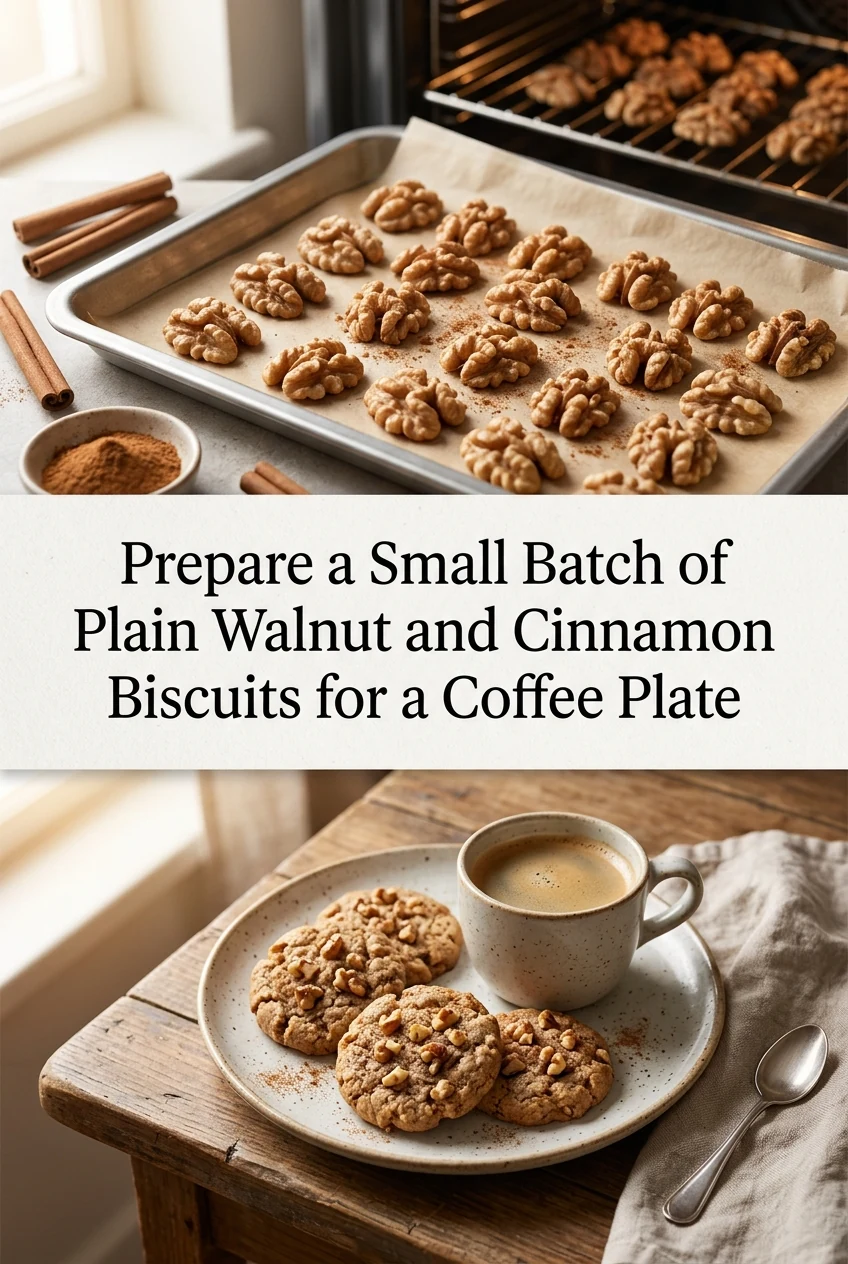
AI-generated editorial concept created for this article. The image is not a technical diagram or a tested result.
Toast the Walnuts Before Any Other Preparation
Spread 80 grams of walnut halves in a single layer on a dry baking tray and place them in an oven preheated to 175 degrees Celsius. Toast for eight to ten minutes, checking at the eight-minute mark. The nuts are ready when they smell roasted and the surface colour has deepened slightly. Remove them from the tray immediately and transfer to a cool surface, as residual heat from the tray continues cooking them. Allow them to cool completely before chopping, or the heat will melt the butter in the dough.
Chop the Cooled Walnuts to a Consistent Size
Chop the cooled toasted walnuts to roughly five to seven millimetre pieces. Pieces larger than this tend to fall out of a thin biscuit during baking or create uneven texture. Pieces smaller than five millimetres lose their distinct crunch and blend into the dough without contributing textural contrast. A sharp knife and a brief, controlled chop rather than a rocking motion gives you more consistent sizing than a food processor, which tends to produce a mix of dust and large chunks.
Mix the Dough for a Short, Crisp Biscuit
Combine 120 grams of plain flour, one teaspoon of ground cinnamon, a pinch of salt, and 50 grams of caster sugar in a bowl. Rub in 80 grams of cold unsalted butter until the mixture resembles coarse crumbs, then add the chopped walnuts and one egg yolk. Bring the dough together with your hands just until it holds. Overworking develops gluten and produces a tough rather than crumbly biscuit. If the dough feels sticky, refrigerate it for 15 minutes before rolling.
Shape and Bake for a Coffee Plate Portion
Roll the dough to approximately six millimetres thick on a lightly floured surface and cut into rounds or rectangles small enough to rest on a coffee saucer, roughly four to five centimetres across. This batch yields approximately 14 to 16 pieces, which is an illustrative estimate depending on cutter size and dough thickness. Bake at 175 degrees Celsius for 12 to 14 minutes until the edges are just golden. They firm up as they cool, so do not overbake to achieve crispness.
Cool Completely Before Serving or Storing
Transfer biscuits to a wire rack immediately after baking and allow them to cool fully before placing them on a coffee plate. A warm biscuit placed on a saucer traps steam underneath and softens the base. Once completely cool, store in an airtight container at room temperature and serve within three days for best texture. Do not stack them with a paper towel between layers, as the towel draws moisture and softens the surface faster than contact with air does.
A little more
to know.
Can I use walnut pieces instead of halves for toasting?
Yes, but reduce the toasting time by two to three minutes and check earlier, as smaller pieces have more surface area and brown faster. Stir them once halfway through toasting to promote even colour and prevent the edges from burning before the centres are done.
Why use only an egg yolk rather than a whole egg in the dough?
The yolk adds richness and helps bind the dough without the extra water content of the white, which would make the biscuit less crisp. A whole egg produces a slightly softer, more cakey texture that does not hold up as well on a coffee plate after sitting for several minutes.
Original editorial guidance and recipe formulations, not independently kitchen-tested. Times are estimates and depend on equipment and product directions. Cooked bases need additional cooling and refrigeration before cold serving. Images are AI-generated illustrations; appearance and yield may vary. Check actual ingredient labels, allergens, and any certification you require. We do not certify products. Read our approach.
Save to Pinterest ↗ANOTHER IDEA FOR THE COUNTER