Organize a Compact Espresso Tamping Station
Setting up a dedicated espresso tamping station on a crowded kitchen counter keeps tools organized and shields work surfaces from mechanical damage. Portafilter edges and metal spouts can scratch laminate, wood, or stone worktops when downward pressing force is applied directly. Arranging an overhang silicone mat, a distribution tool, and a calibrated tamper in a tidy linear sequence provides a steady base for puck preparation and helps keep stray coffee grounds contained.
Read the note ↓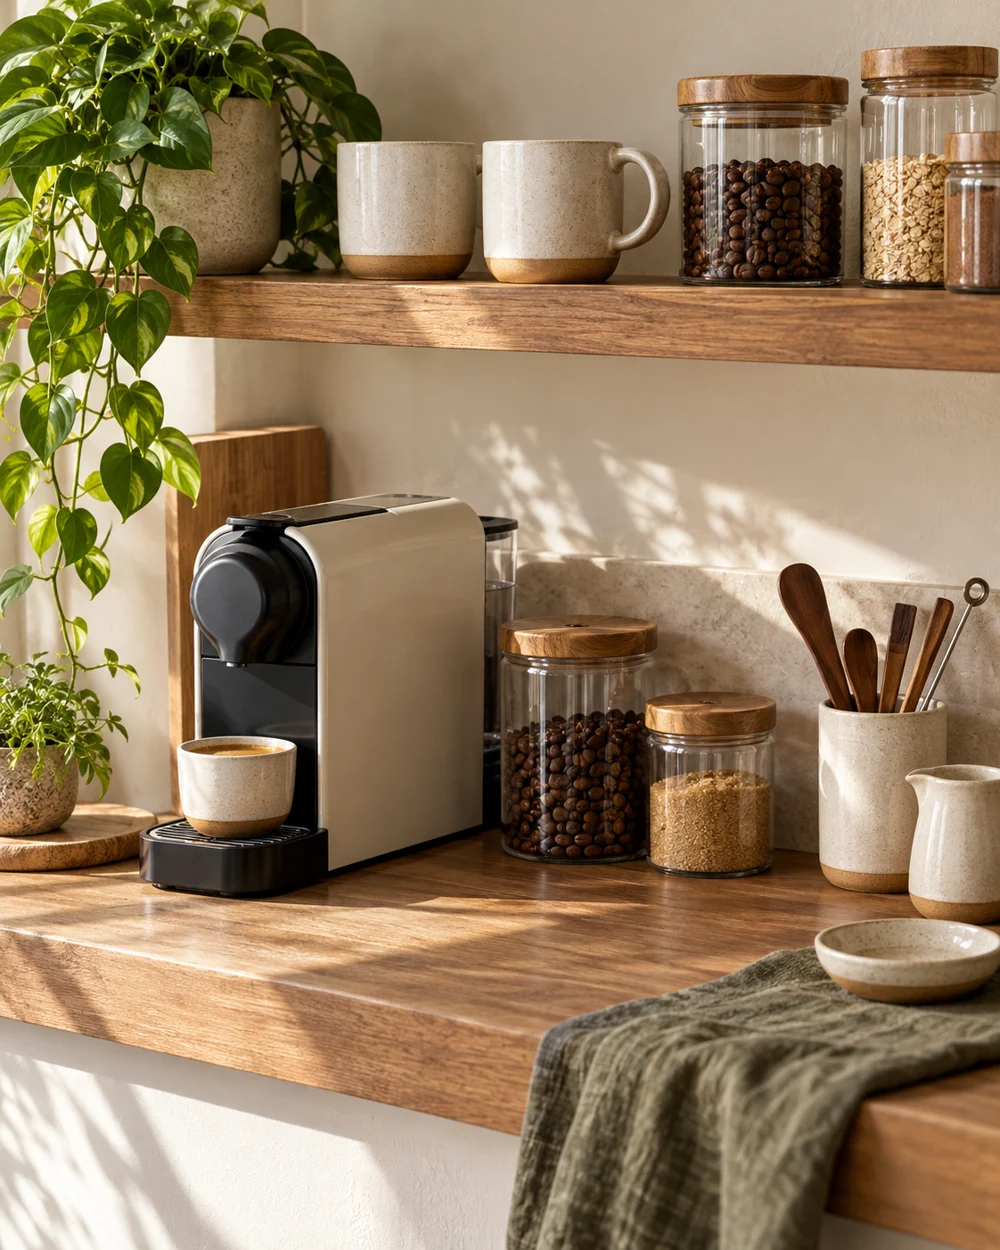
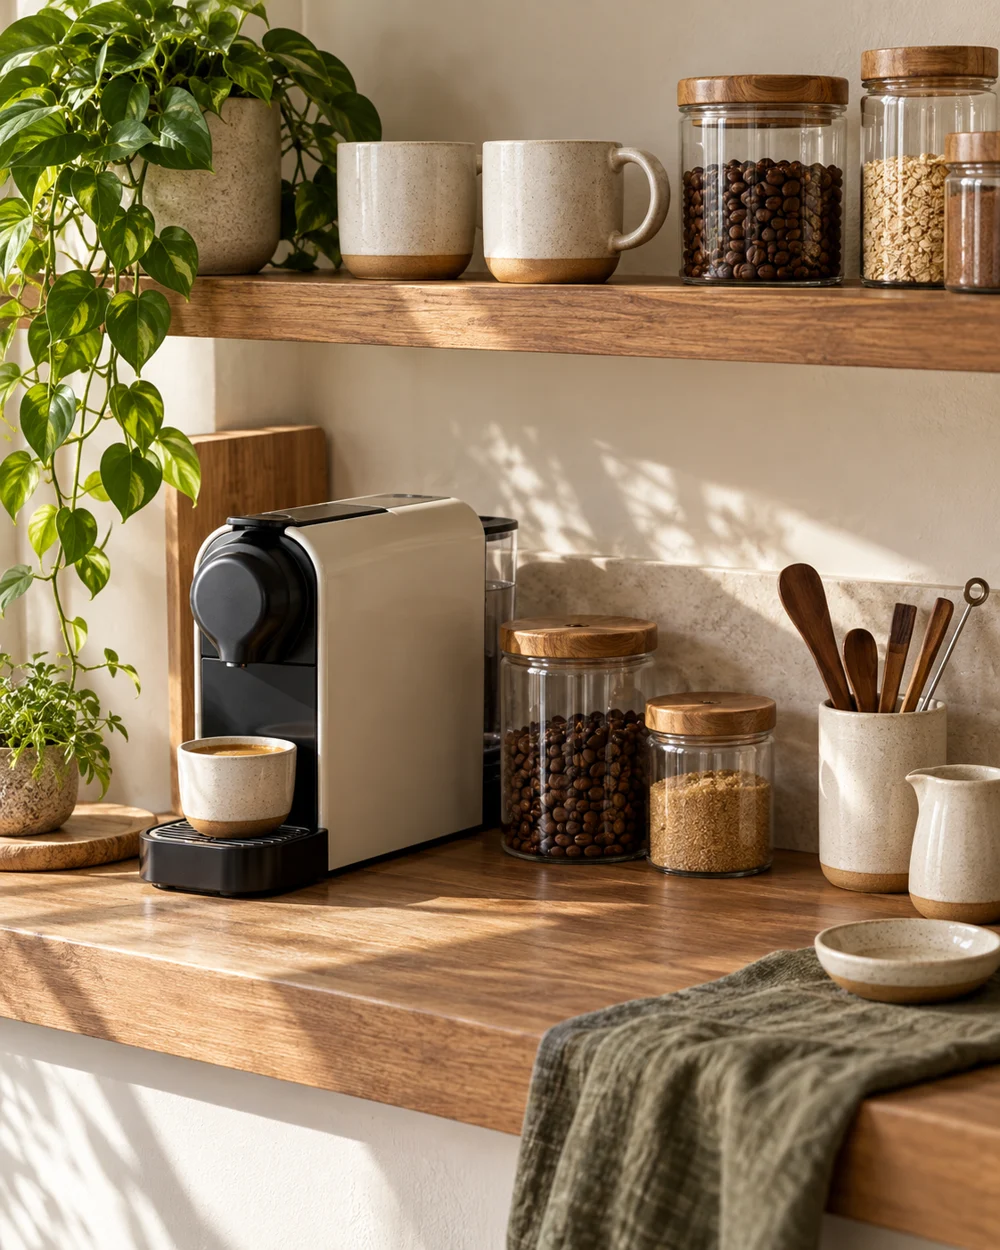
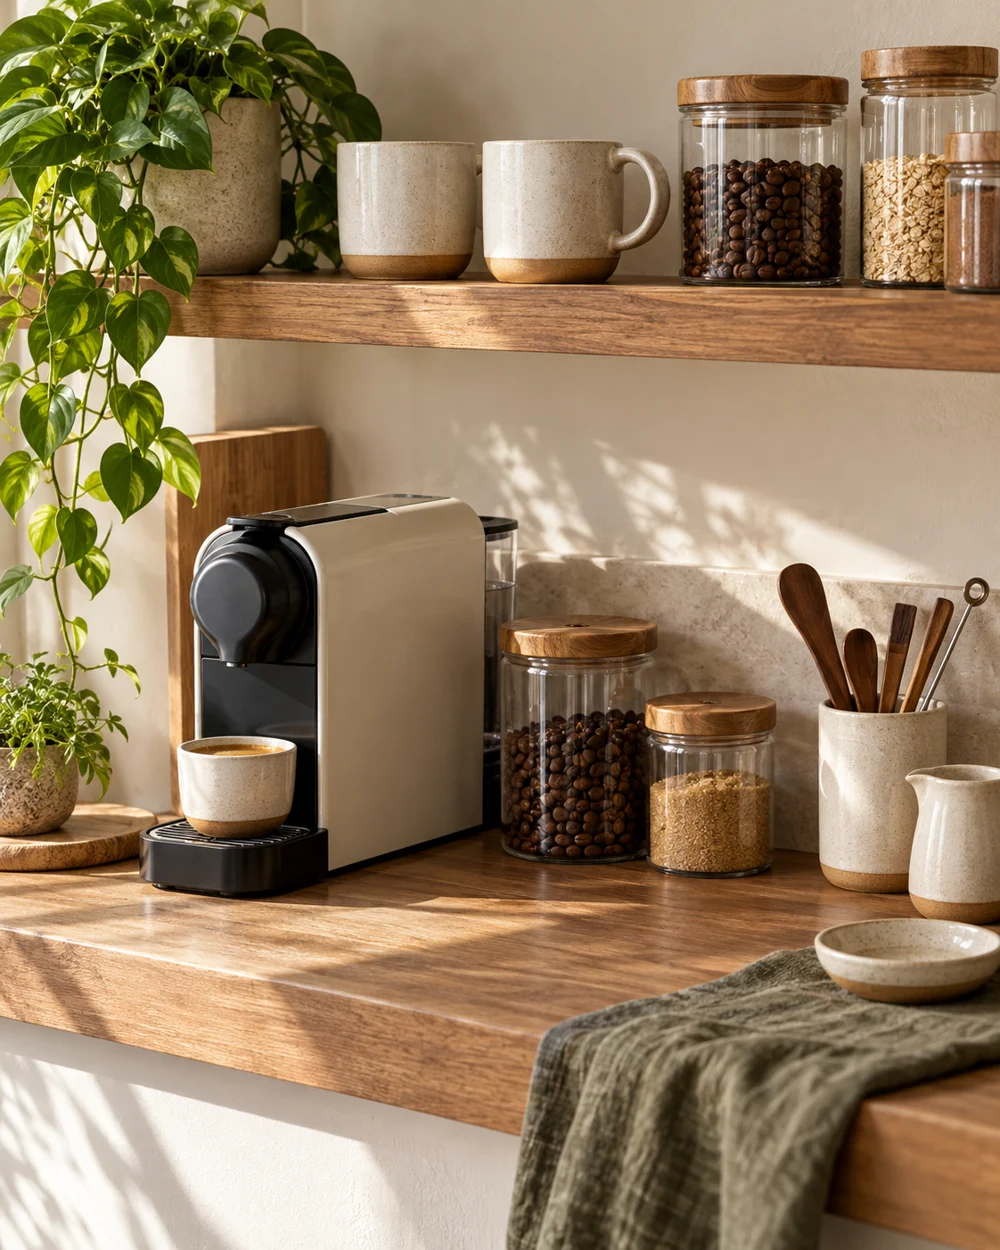
Representative category illustration reused from our editorial library; it does not depict this specific project or a tested result.
Position an Overhang Silicone Mat
Select a food-grade silicone tamping mat featuring a molded ninety-degree lip that wraps over the front edge of the countertop. A compact footprint measuring approximately fifteen centimeters wide by ten centimeters deep provides ample workspace while occupying minimal counter area. Positioning the mat over the counter edge allows downward tamping pressure to rest directly over the vertical front face of base cabinetry, which prevents the tabletop edge from flexing. The raised lip also collects loose grounds for straightforward cleanup.
Align Tools in Sequential Order
Arrange accessories in the precise order of preparation, following a directional line from the grinder toward the espresso machine. Place the portafilter cradle section closest to the grinder, set the needle distribution tool next, and place the flat tamper at the end. This linear arrangement eliminates crossed movements and prevents tools from knocking against bare counter space. Storing each tool in its specific spot builds a consistent preparation rhythm and prevents accidental drops.
Stabilize the Portafilter Horizontally
Seat the portafilter firmly into the mat cutout so metal spouts hang clear over the edge without striking lower cabinet drawers or handles. When working with a bottomless portafilter, rest the flat stainless base directly on the non-slip silicone deck. Confirm that the filter basket sits parallel to the counter plane before beginning distribution. If the handle rests at a downward angle, the grounds settle unevenly, leading to an inclined bed before tamping even begins.
De-clump Grounds with Needle Distribution
Use a fine-wire needle distribution tool to break up clumps directly inside the filter basket while the portafilter rests securely on the mat. Move the needles in small circles starting near the bottom of the basket, gradually working upward to level the surface. Coffee grounds exit grinders with variable particle density; distributing the loose grounds throughout the basket creates a uniform bed that prepares the coffee for even vertical compression.
Apply Perpendicular Tamp Mechanics
Place the tamper base perpendicularly into the basket cylinder. For a practical check of alignment, rest the pads of your index finger and thumb against where the tamper base meets the basket rim to feel that the tool sits level. Press downward smoothly until the coffee grounds fully resist further compression; excessive physical force or twisting the tamper is unnecessary. Lift the tamper cleanly straight up to avoid pulling the perimeter of the compressed coffee bed away from the basket wall.
A little more
to know.
Is a solid wooden tamping block preferable to a silicone corner mat?
A silicone mat offers specific practical advantages in compact spaces. Food-grade silicone resists moisture, cleans easily under running water, and grips slick stone worktops effectively without warping or staining when exposed to stray coffee droplets.
How can I tell if my tamp is level without a self-leveling tamper?
Use your fingertips as a tactile guide. By touching the seam where the tamper base enters the filter basket at three points around the perimeter, you can feel whether the gap between the rim and the base is even on all sides before applying full downward force.
Original editorial guidance and recipe formulations, not independently kitchen-tested. Times are estimates and depend on equipment and product directions. Cooked bases need additional cooling and refrigeration before cold serving. Images are AI-generated illustrations; appearance and yield may vary. Check actual ingredient labels, allergens, and any certification you require. We do not certify products. Read our approach.
Save to Pinterest ↗ANOTHER IDEA FOR THE COUNTER