Prepare a Small Batch of Plain Cheese Straws for a Savory Café Plate
Mixing grated hard cheese into a short pastry dough, rolling it to an even thickness, and cutting it into strips produces crisp savoury straws that bake on one tray without requiring special equipment. The practical decisions that determine whether straws bake evenly rather than puffing or burning are dough temperature, rolling thickness, and strip width. This guide works through each step in sequence so the outcome is consistent across a small home batch.
Read the note ↓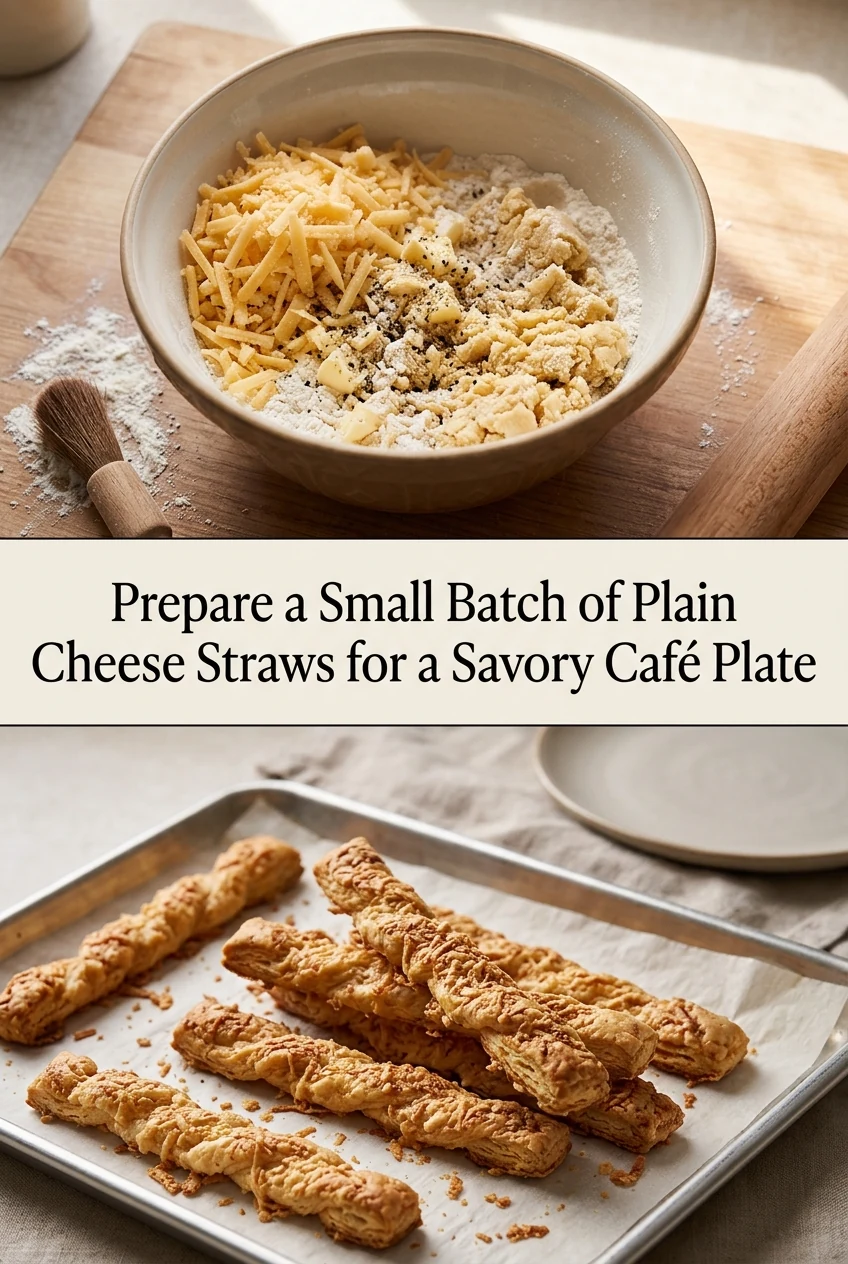
AI-generated editorial concept created for this article. The image is not a technical diagram or a tested result.
Choosing and Grating the Cheese
Use a firm, aged hard cheese such as a mature cheddar or a similar well-aged variety. Weigh 80 g and grate it finely on the smallest holes of a box grater. Finely grated cheese distributes evenly through the dough and melts into the pastry during baking, producing a uniform crisp texture. Coarsely grated cheese tends to create pockets that either stay chewy or burn at the surface before the surrounding dough is fully cooked. Pre-grated packaged cheese often contains anti-caking agents that affect how it binds into the dough.
Making the Short Pastry Dough
Weigh 120 g of plain flour and 60 g of cold unsalted butter cut into small cubes. Rub the butter into the flour with your fingertips until the mixture resembles coarse breadcrumbs with no visible butter pieces remaining. Add the grated cheese and stir it through with a fork. Add 20 to 25 ml of cold water, one small addition at a time, mixing after each until the dough just comes together without being sticky. Overworking the dough develops gluten and produces tough straws rather than crisp ones.
Chilling and Rolling the Dough
Shape the dough into a flat disc, wrap it and refrigerate for 20 minutes. Cold dough rolls without shrinking back and holds its cut shape before baking. On a lightly floured surface, roll the chilled dough to a rectangle approximately 3 mm thick. Thickness consistency matters more than exact dimensions; uneven rolling produces straws that are simultaneously underbaked in thick areas and overbaked in thin ones. A rolling pin with guide rings set to 3 mm removes guesswork, though placing a 3 mm wooden dowel on either side of the dough works as a practical alternative.
Cutting and Arranging on the Tray
Cut the rolled dough into strips roughly 1 cm wide and 10 to 12 cm long using a sharp knife or a pastry wheel. Lay the strips on a baking tray lined with baking paper, leaving at least 1 cm of space between each strip. Twisting each strip once before placing it on the tray is optional but helps the straw hold its shape during baking by locking the layers. Press each end lightly onto the paper so the twist does not unwind in the oven. This batch should yield approximately 20 to 24 straws, though the exact count depends on rolling thickness and cut width.
Baking and Cooling
Bake in an oven preheated to 190 degrees Celsius, conventional setting, on the middle shelf for 12 to 15 minutes. Check at 12 minutes; the straws should be golden and feel firm when tapped lightly. They will crisp further as they cool on the tray, so remove them before they look deeply browned. Transfer to a wire rack after 5 minutes. Serve at room temperature beside a warm drink. Store cooled straws in an airtight container at room temperature and serve within two days for best texture, as humidity softens the pastry over time.
A little more
to know.
Can I add a seasoning like paprika or mustard powder to the dough?
Both work well at small quantities. Up to half a teaspoon of either mixed into the flour before adding butter adds flavour without changing the dough structure. Adding more than one teaspoon of a dry spice can affect how the dough binds, so increase gradually if experimenting across batches.
Why do some straws puff and separate into layers while others stay flat?
Puffing usually means the butter was not fully rubbed into the flour, leaving small intact fat pockets that create steam layers during baking. Ensure no visible butter pieces remain after the rubbing stage before adding cheese and water to the mixture.
Original editorial guidance and recipe formulations, not independently kitchen-tested. Times are estimates and depend on equipment and product directions. Cooked bases need additional cooling and refrigeration before cold serving. Images are AI-generated illustrations; appearance and yield may vary. Check actual ingredient labels, allergens, and any certification you require. We do not certify products. Read our approach.
Save to Pinterest ↗ANOTHER IDEA FOR THE COUNTER