Prepare a Small Batch of Plain Cheese and Herb Mini Scones for a Savory Café Plate
Mini savory scones sized for a café plate need consistent dimensions so they bake evenly on one tray in one session. The challenge is incorporating grated hard cheese and dried herbs without overworking the dough, which toughens the crumb. This guide covers measuring, mixing sequence, cutting technique, and tray setup for a single small batch that fits a standard 30 by 40 centimetre baking tray and produces approximately 12 uniform rounds.
Read the note ↓
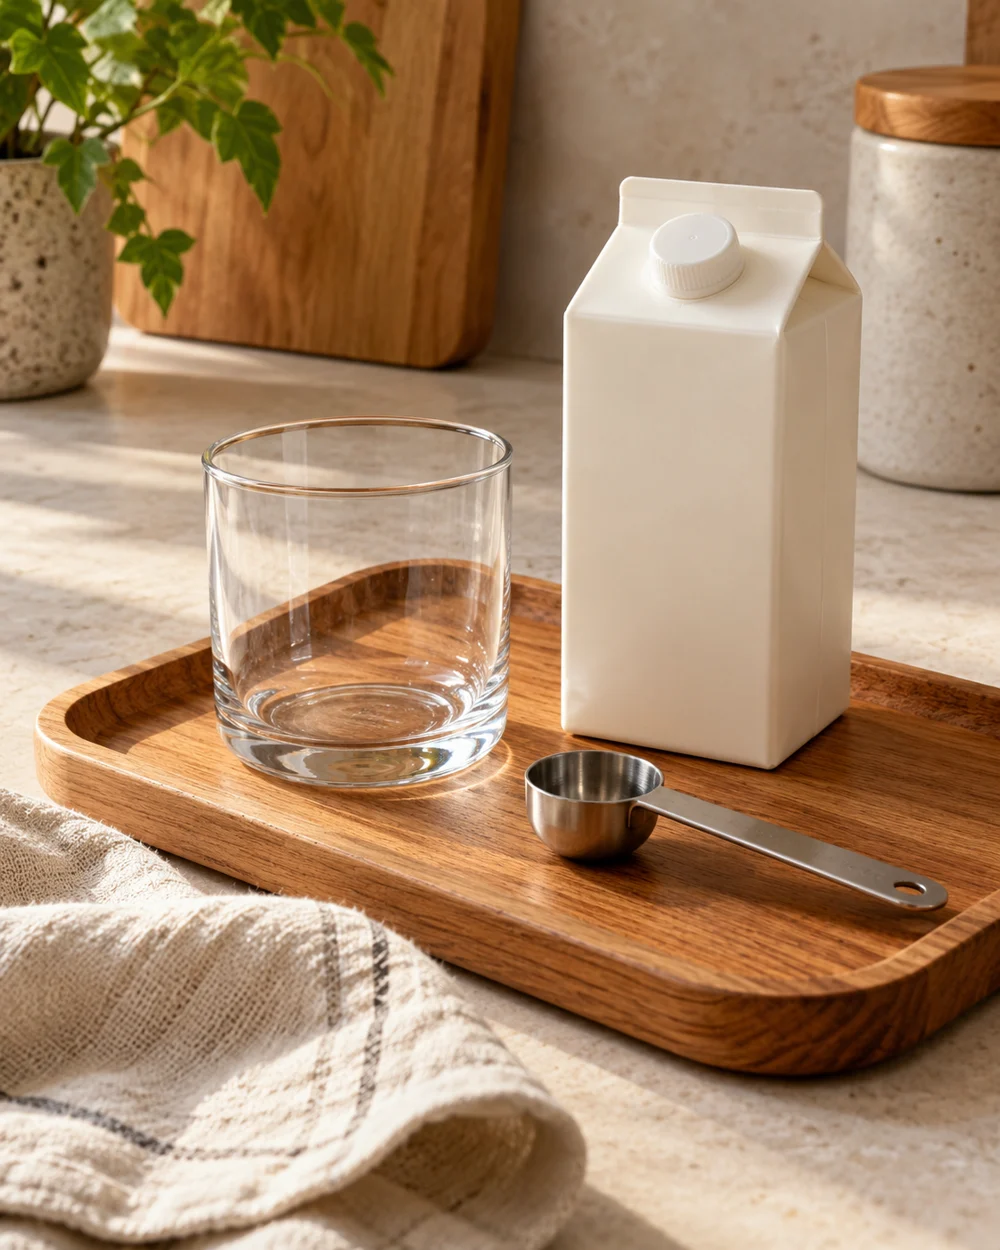
AI-generated editorial concept created for this article. The image is not a technical diagram or a tested result.
Measure and Combine Dry Ingredients Including Cheese and Herbs
Sift 200 grams of plain flour with 2 teaspoons of baking powder and a quarter teaspoon of fine salt into a wide bowl. Add 60 grams of finely grated hard cheese such as aged cheddar and 1 teaspoon of dried thyme or rosemary directly to the flour mixture. Toss everything together with a fork so the cheese strands separate and coat lightly with flour. This prevents the cheese from clumping when the fat is rubbed in during the next step.
Rub Cold Butter Into the Flour Mixture Quickly
Cut 50 grams of cold unsalted butter into small cubes and add them to the flour and cheese mixture. Using your fingertips, rub the butter into the flour with a light lifting and pressing motion until the mixture resembles coarse breadcrumbs with some pea-sized butter pieces remaining. Work quickly to keep the butter cold. Warm butter produces a denser, less layered scone. If the kitchen is warm, refrigerate the bowl for 5 minutes before adding liquid.
Add Cold Milk and Bring the Dough Together Minimally
Make a well in the centre of the mixture and pour in 80 to 90 millilitres of cold whole milk. Use a round-bladed knife or a fork to cut through the mixture in short strokes until a shaggy dough forms. Switch to your hands only to press the dough into a rough mass. It should feel slightly sticky but hold together. Do not knead. Overworking develops gluten and produces a tight, chewy crumb rather than the open, tender texture expected in a café scone.
Pat, Cut, and Arrange on the Tray
Turn the dough onto a lightly floured surface and pat it gently to a thickness of 2 centimetres. Use a 4 centimetre round cutter, pressing straight down without twisting, to cut each round. Twisting seals the edges and reduces rise. Re-pat offcuts once only to cut remaining rounds. Place scones on a lined tray with sides touching lightly, which encourages upward rise rather than sideways spread. This batch should yield approximately 12 rounds from a single tray.
Bake and Handle Finished Scones Safely
Brush the tops lightly with a small amount of milk before baking. Follow your oven's actual temperature guidance; scone baking times and temperatures vary by oven type and size. Check for a golden top and a hollow sound when the base is tapped as visual and tactile doneness cues. Cool on a wire rack. Because these scones contain dairy, store any uneaten scones in a sealed container in the refrigerator at 4 degrees Celsius or below and consume within 2 days.
A little more
to know.
Why do my cheese scones not rise as tall as plain ones?
Cheese adds weight and fat to the dough, which can slightly suppress lift. Ensuring your baking powder is fresh and that the butter and milk are genuinely cold before mixing gives the dough the best chance of rising evenly despite the added cheese.
Can I use a different hard cheese without changing the method?
Yes, provided the cheese is finely grated and has a low moisture content. Wetter cheeses release liquid during baking and can make the crumb dense or gummy. Parmesan or a dry aged gouda work well using the same quantities described here.
Original editorial guidance and recipe formulations, not independently kitchen-tested. Times are estimates and depend on equipment and product directions. Cooked bases need additional cooling and refrigeration before cold serving. Images are AI-generated illustrations; appearance and yield may vary. Check actual ingredient labels, allergens, and any certification you require. We do not certify products. Read our approach.
Save to Pinterest ↗ANOTHER IDEA FOR THE COUNTER