Prepare a Plain Baked Rice Pudding in Two Small Ramekins
Baked rice pudding in individual ramekins suits a small home café service because each portion sets independently and can be checked separately. The challenge is getting the rice fully tender and the custard just set without the top cracking or the center remaining liquid. A water bath moderates the oven heat around the ramekins, and a specific visual cue at the end tells you reliably when to pull them out.
Read the note ↓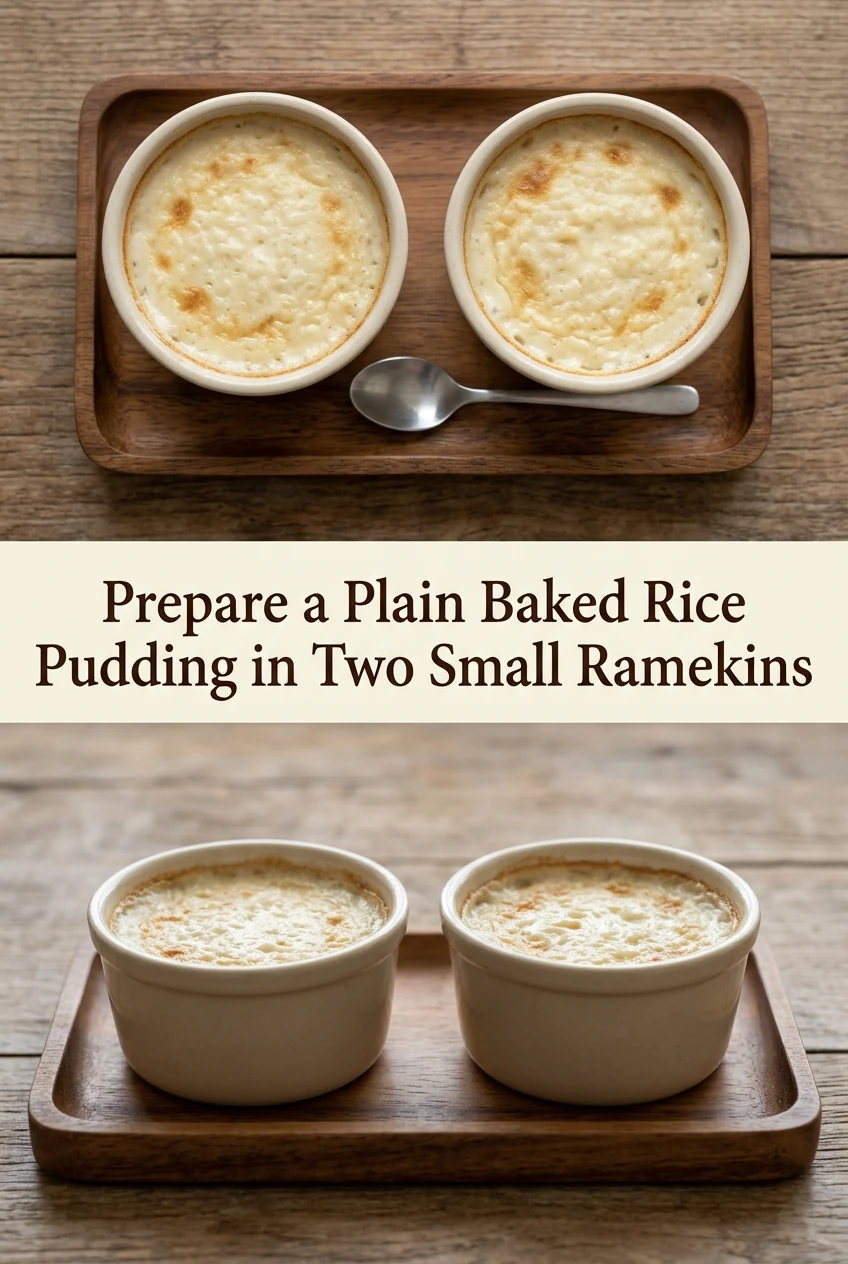
AI-generated editorial concept created for this article. The image is not a technical diagram or a tested result.
Choose the Right Rice and Measure Carefully
Use short-grain or pudding rice, not long-grain or basmati. Short-grain releases starch slowly during baking, which gives the pudding its characteristic creamy body. For two standard 200 millilitre ramekins, use 40 grams of uncooked pudding rice and 300 millilitres of full-fat pasteurized milk. This is an illustrative starting proportion based on common small-batch pudding practice, not a laboratory-verified ratio, so minor adjustments may be needed depending on your specific oven and ramekin depth.
Combine Ingredients and Fill the Ramekins
Stir 20 grams of caster sugar and a small pinch of salt into the cold milk until the sugar dissolves. Add the rice and stir once. Divide the mixture evenly between the two ramekins, leaving at least one centimetre of space at the top because the milk bubbles slightly during baking. Grate a little fresh nutmeg over the surface of each ramekin if you like, but keep it light. The base flavor should remain clean milk and rice.
Set Up the Water Bath Correctly
Place the filled ramekins inside a deep roasting tin. Pour hot tap water into the tin until it reaches halfway up the outside of the ramekins. Do not pour water into the pudding. The water bath prevents the edges of the pudding from cooking faster than the center, which is the main cause of a rubbery or split texture in small baked portions. Carry the tin carefully to the oven shelf before adding the last of the water if handling is difficult.
Bake at the Right Temperature and Watch for the Set Cue
Bake at 150 degrees Celsius, conventional heat, for approximately 75 to 90 minutes. The reliable visual cue is a skin that has turned a light golden color and a center that wobbles as a single unit rather than rippling like liquid when you gently nudge the tin. If the center still moves in waves, return the tin to the oven for ten more minutes and check again. Oven temperatures vary, so use the visual cue rather than time alone.
Handle, Cool and Serve Safely
Remove the ramekins from the water bath using tongs or a folded cloth and place them on a wire rack. The pudding continues to firm as it cools. Serve warm within 30 minutes of baking, or allow to cool fully and refrigerate at 4 degrees Celsius or below within two hours. Consume refrigerated portions within 24 hours. Do not leave baked milk puddings at room temperature for extended periods. A small spoonful of plain jam alongside is a simple addition that does not compete with the pudding.
A little more
to know.
Do I need to pre-cook the rice before putting it in the ramekins?
No. The long, slow bake in milk cooks the raw rice fully. Pre-cooking would make the rice too soft and the pudding gluey. Start with dry, uncooked pudding rice measured directly into the milk mixture.
Can I use semi-skimmed milk instead of full-fat?
You can, but the pudding will be noticeably less creamy and may set with a slightly looser texture because the lower fat content changes how the starch and protein interact during the long bake.
Original editorial guidance and recipe formulations, not independently kitchen-tested. Times are estimates and depend on equipment and product directions. Cooked bases need additional cooling and refrigeration before cold serving. Images are AI-generated illustrations; appearance and yield may vary. Check actual ingredient labels, allergens, and any certification you require. We do not certify products. Read our approach.
Save to Pinterest ↗ANOTHER IDEA FOR THE COUNTER