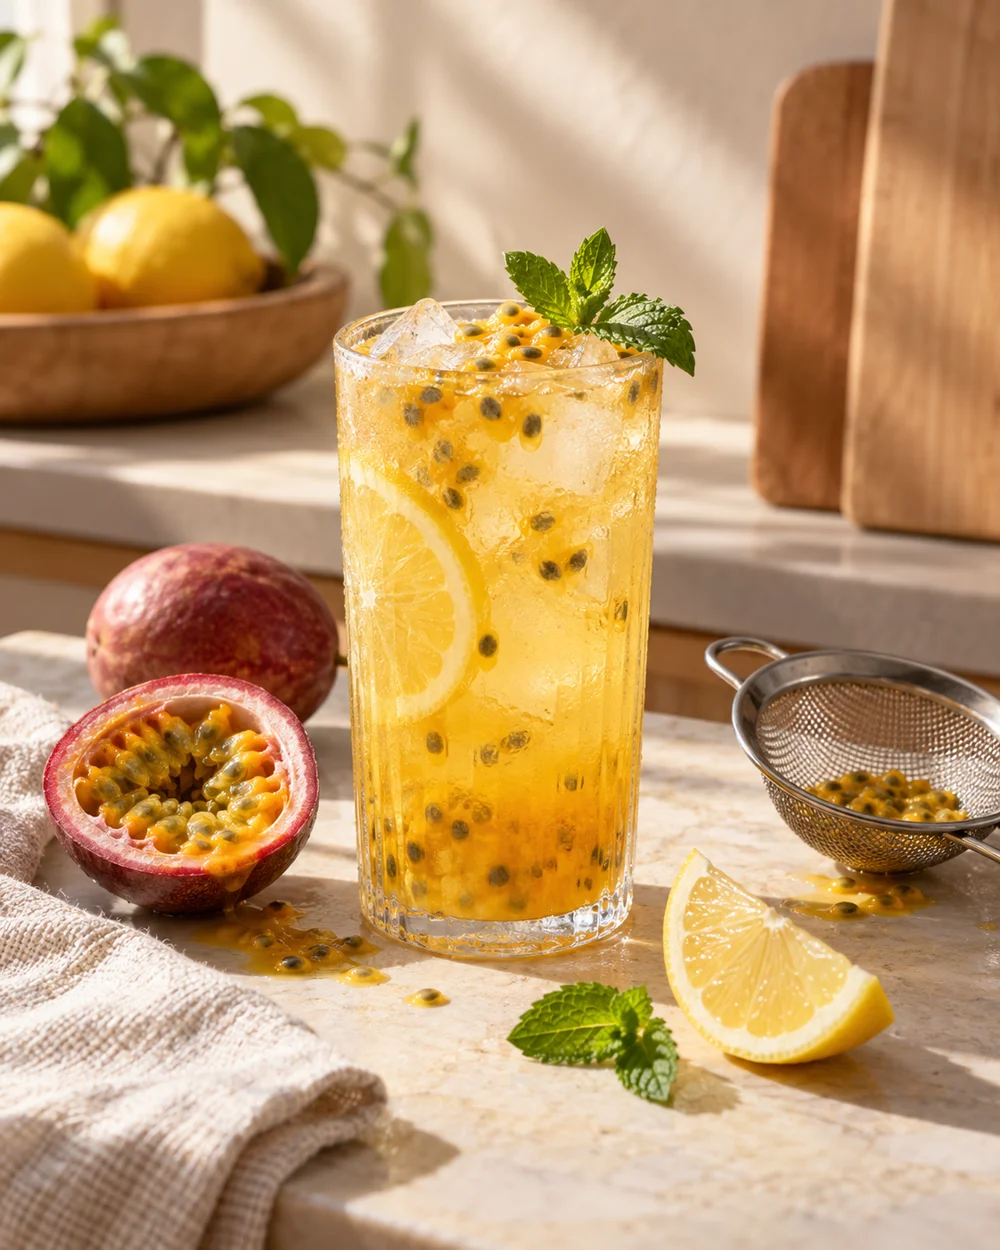
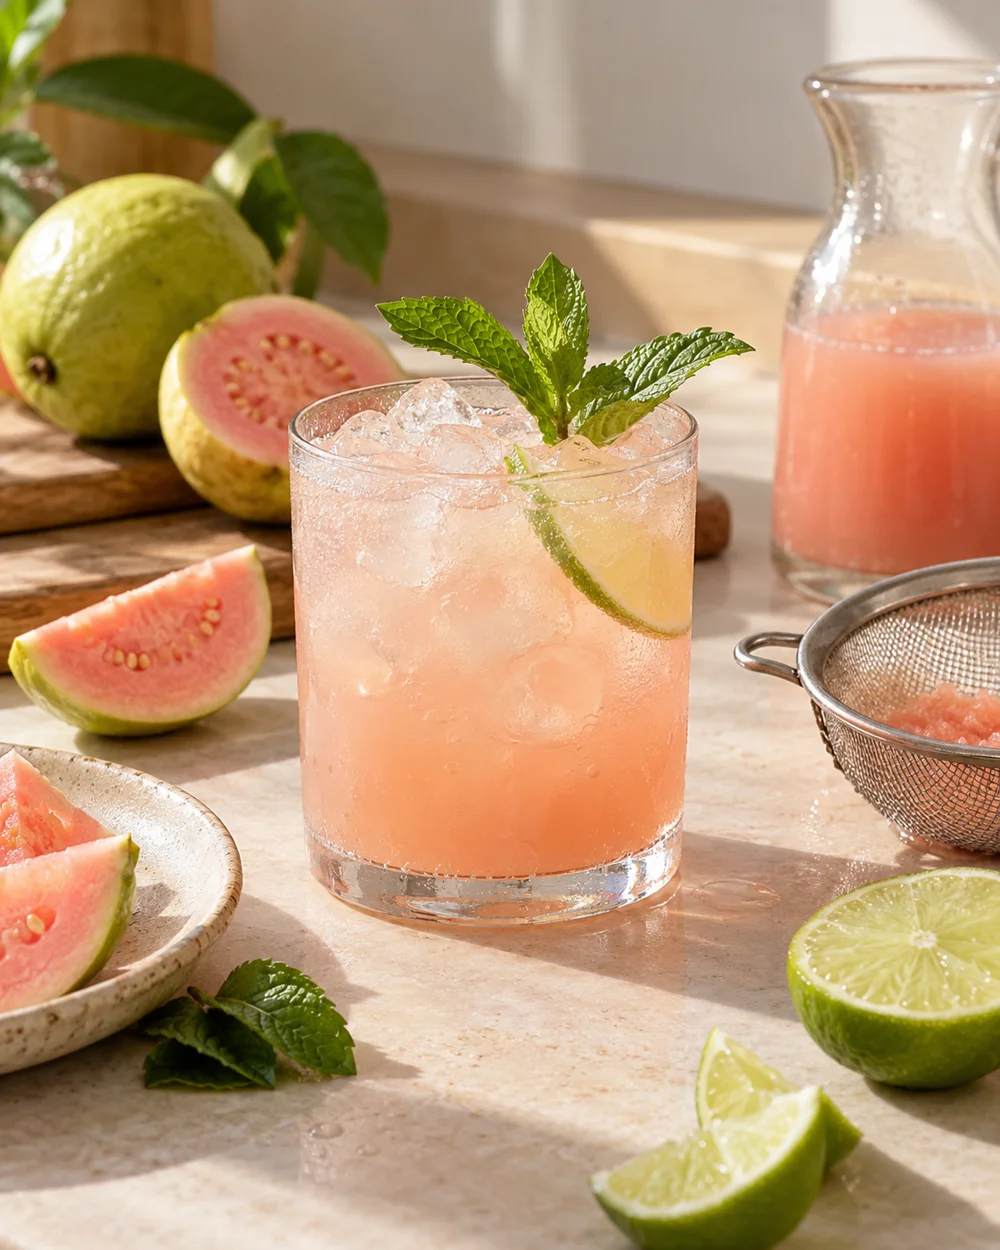
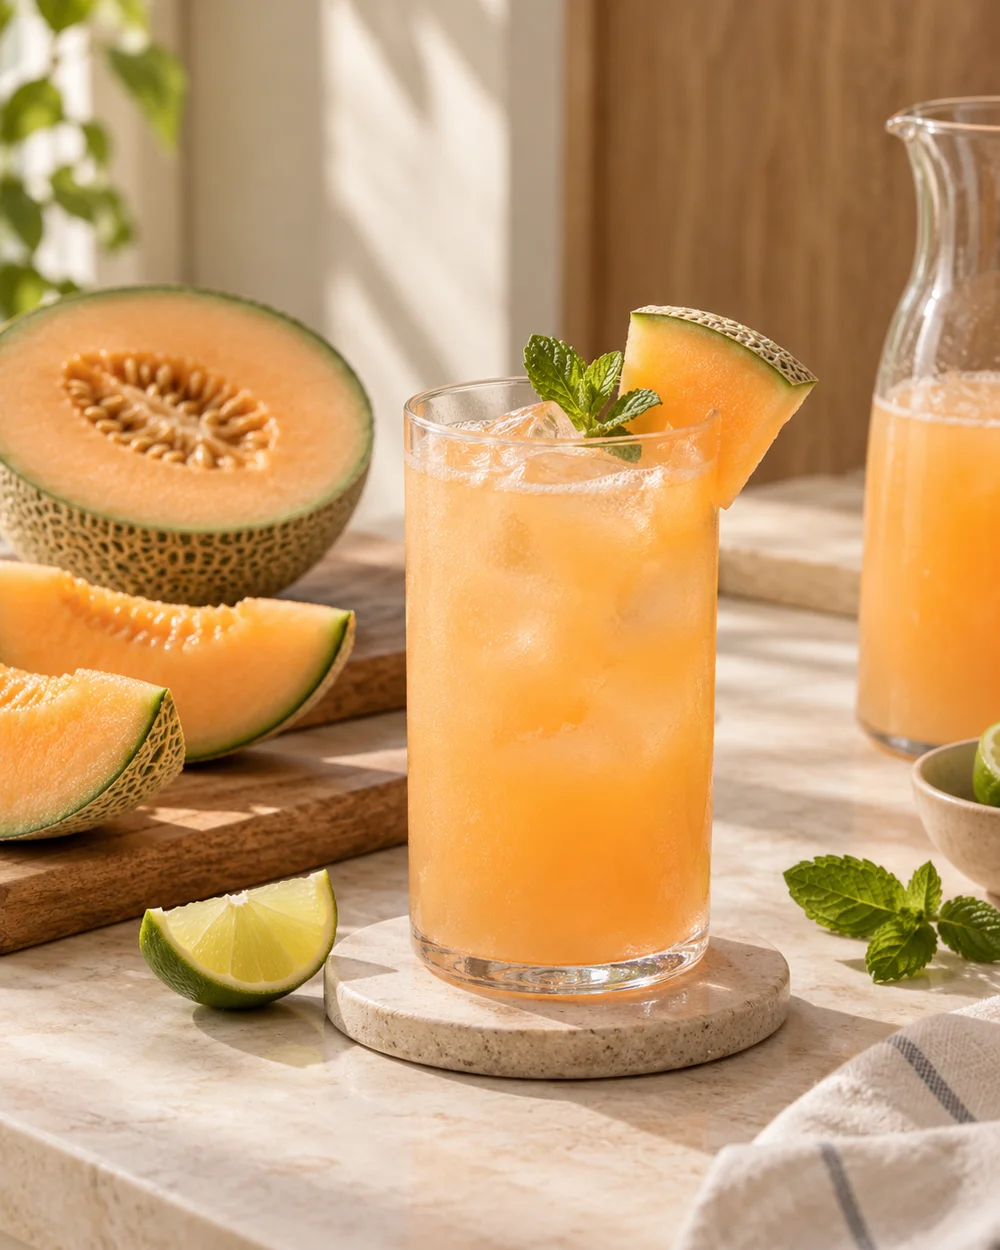
Pour a Dense Fruit Base Into a Jug Before Adding Still Water to Even Out the Mix
Thick mango or guava pulp dropped into a full jug of still water sinks straight to the bottom and resists stirring because the low-viscosity water swirls around the dense mass without breaking it apart. Pouring the dense pulp into the jug first and working a small measured volume of water into it creates a pourable, uniform base that blends cleanly when the remaining water is added. This two-stage approach takes under two minutes and removes the need for vigorous stirring that can splash or aerate the drink.
Read the note ↓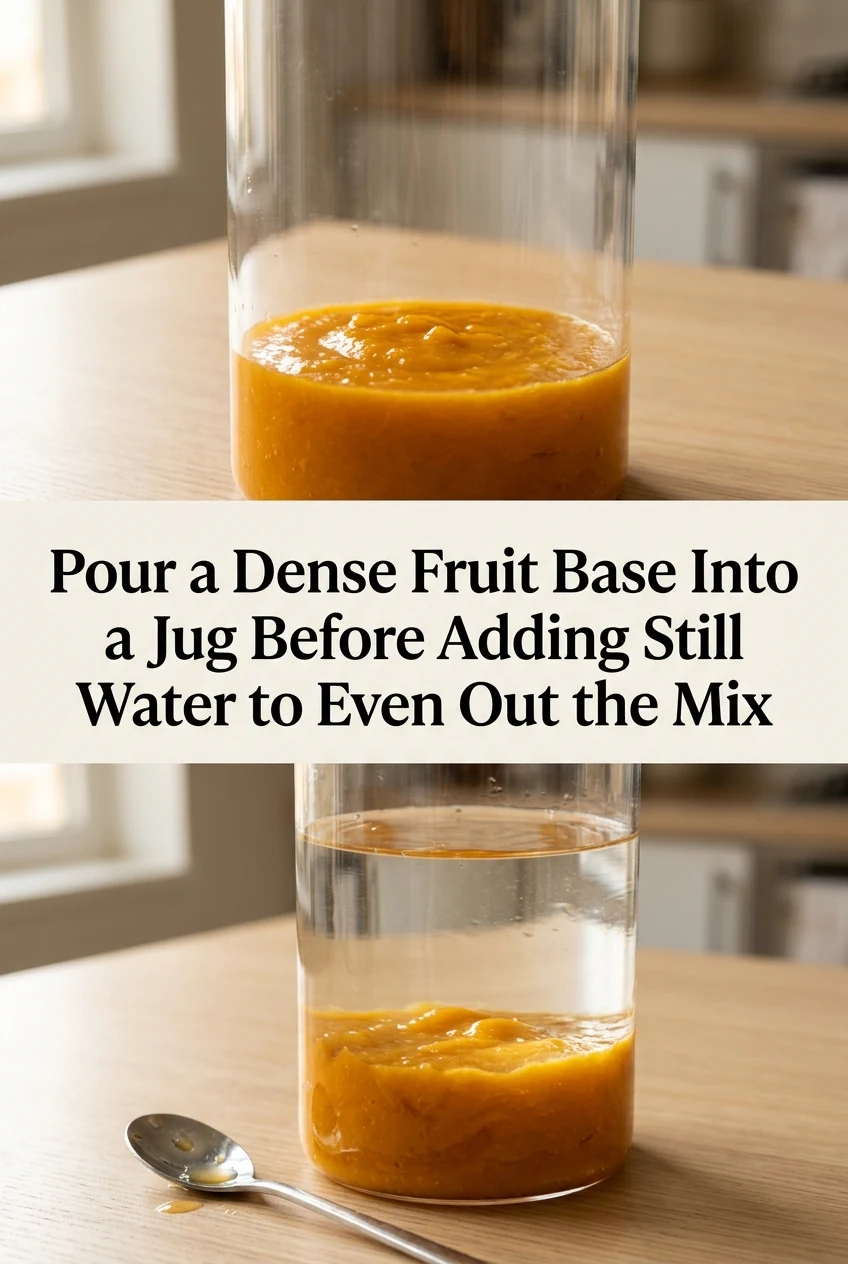
AI-generated editorial concept created for this article. The image is not a technical diagram or a tested result.
Understand Why Dense Pulp Settles
Mango and guava pulp sold in cans or cartons is denser than still water, so it sinks quickly to the bottom of a filled container where gentle stirring cannot easily lift or disperse it. The pulp also has a viscous, cohesive texture that causes it to hold together as a single mass rather than dispersing evenly into a large volume of liquid. Recognising this behaviour before you start means you can design the mixing order around it rather than fighting it at the end with a long spoon.
Measure the Pulp and a Small Starter Volume of Water
For a one-litre jug serving four glasses, measure 200 millilitres of pulp and pour it into the empty jug first, then set aside 150 millilitres of your total still water as the starter liquid to pour over it. Working with this small volume first allows your spoon or whisk to break up the dense, cohesive pulp directly, rather than chasing it through a full jug of water where fluid simply flows around the mass. These figures are an illustrative starting point; adjust pulp volume to your preferred intensity.
Work the Pulp Into the Starter Water
Use a long-handled spoon or a small whisk to stir the pulp and starter water together with short circular strokes, pressing any visible lumps against the jug wall to break them up. Spend about thirty seconds on this step until the mixture looks uniform and pours off the spoon in a single smooth stream rather than in clumps. This concentrated base is now thin enough to accept the remaining water without separating back into layers.
Add the Remaining Water in Two Pours
Pour roughly half the remaining still water down the side of the jug rather than directly onto the base, which reduces splashing and keeps the mixture moving gently. Stir briefly, then add the final portion. Adding water in two stages rather than one large pour gives you a moment to check consistency mid-way and correct any streaks before the jug is full. The finished drink should look evenly coloured from top to bottom without a pale upper layer.
Serve and Store Correctly
Stir the jug once more just before pouring each glass because even a well-mixed fruit drink will begin to settle if it sits undisturbed for more than a few minutes. If you are preparing the jug ahead of service, cover it and refrigerate at 4 degrees Celsius or below. Discard any unused portion within the timeframe recommended on the pulp packaging, and never leave the prepared drink at room temperature for more than two hours, or one hour if the ambient temperature exceeds 32 degrees Celsius.
A little more
to know.
Can I use the same two-stage method with passion fruit concentrate?
Yes. Passion fruit concentrate is thinner than mango pulp but still benefits from a starter mix because its high sugar density can leave visible streaks if diluted into a full volume of cold water at once. Use the same proportional approach and reduce stirring time slightly since it disperses faster.
Does adding ice to the jug change when I should stir?
Add ice after the water is fully incorporated, not before. Ice introduced early chills the dense pulp, which increases its viscosity and makes it harder to blend smoothly, while the cubes physically obstruct your spoon during mixing.
Original editorial guidance and recipe formulations, not independently kitchen-tested. Times are estimates and depend on equipment and product directions. Cooked bases need additional cooling and refrigeration before cold serving. Images are AI-generated illustrations; appearance and yield may vary. Check actual ingredient labels, allergens, and any certification you require. We do not certify products. Read our approach.
Save to Pinterest ↗ANOTHER IDEA FOR THE COUNTER