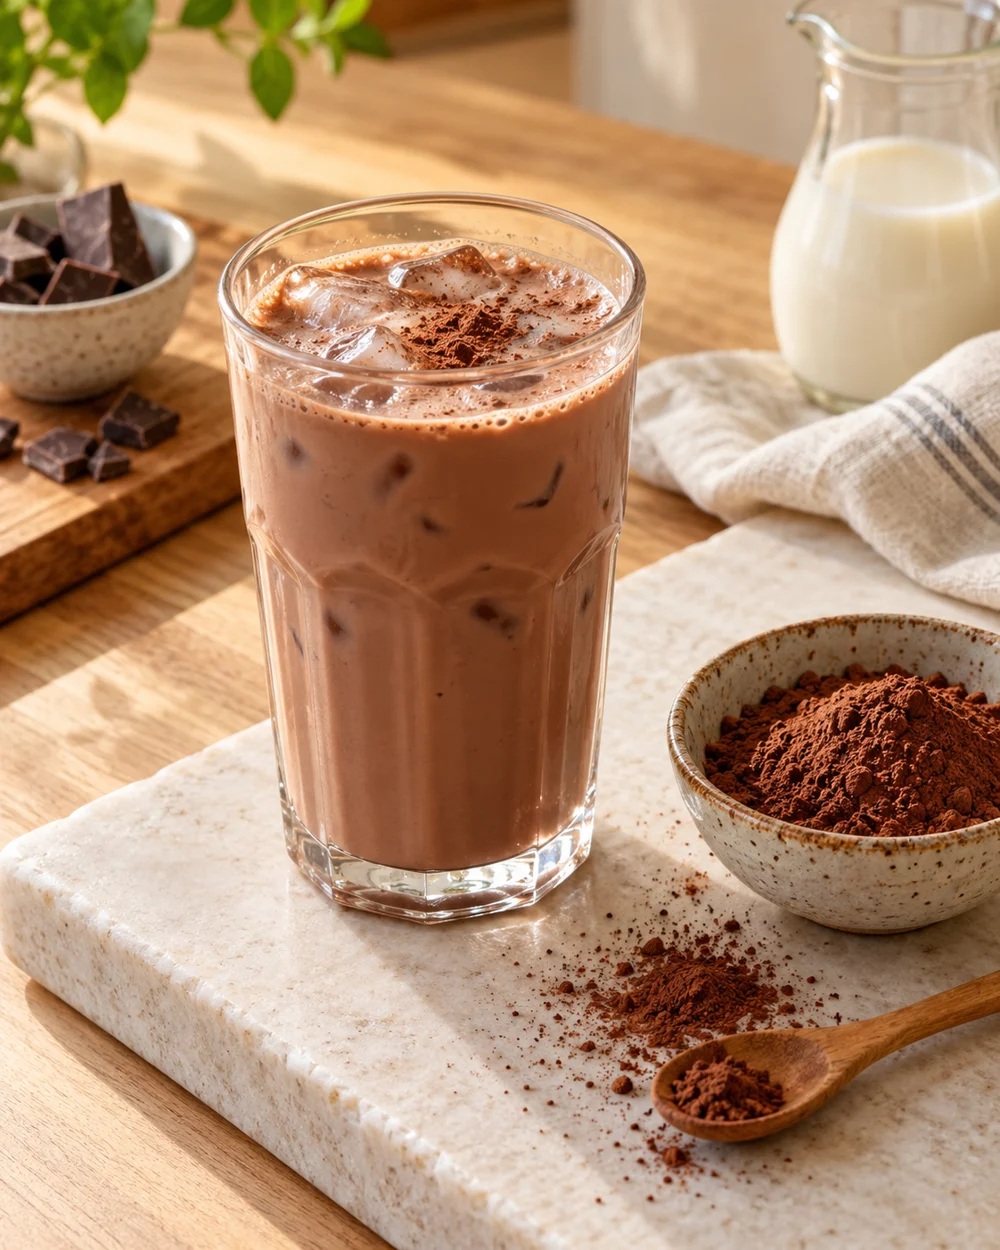
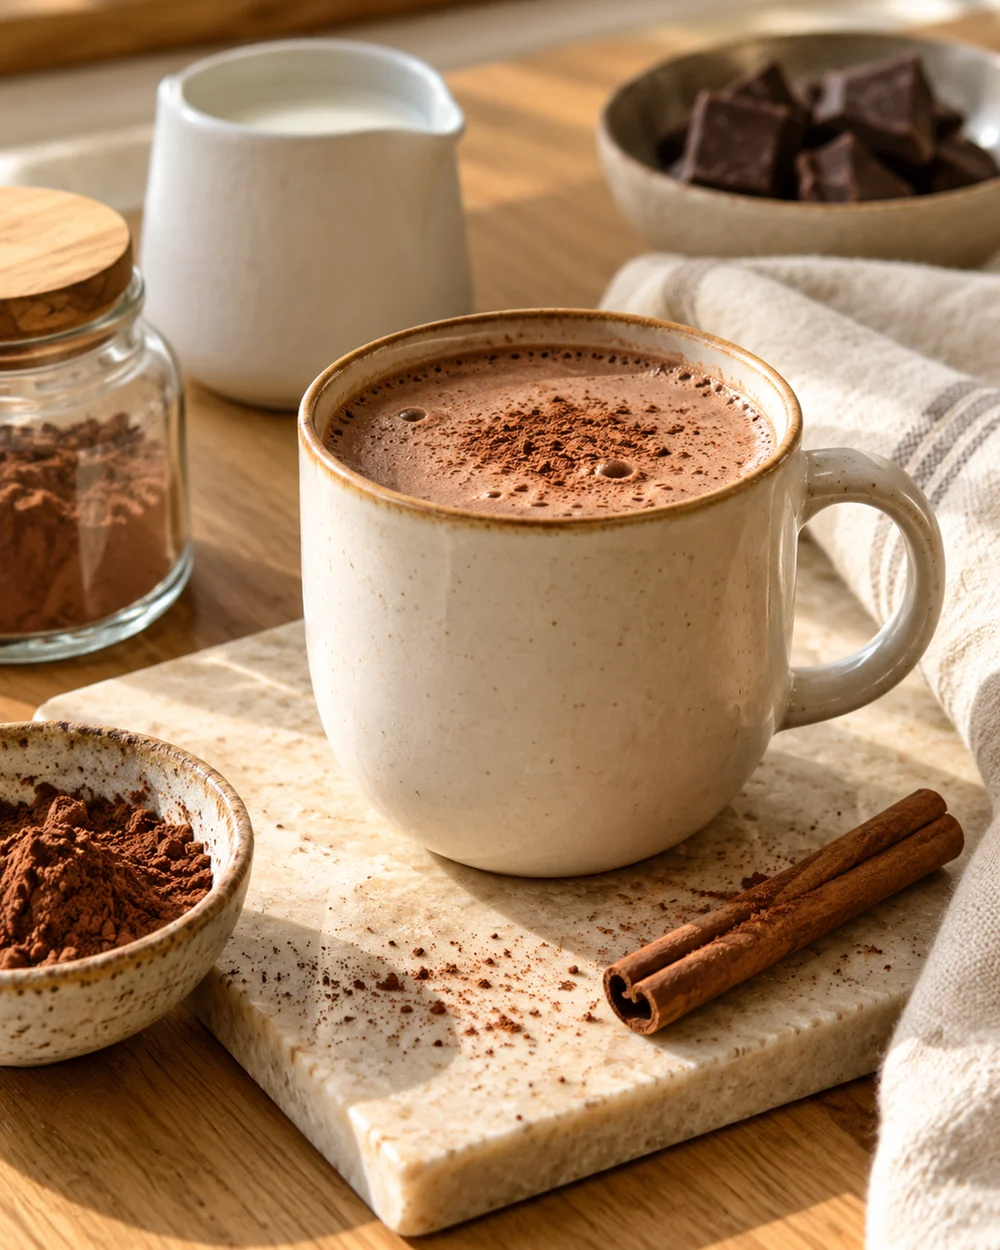
Portion Cocoa Powder for Two Warm Drinks Into Separate Small Bowls Before Heating Milk
Scooping cocoa powder directly from the tin into hot milk is one of the most reliable ways to create stubborn lumps that no amount of stirring will fully dissolve. The powder hits the hot surface and seizes before it can hydrate evenly. Pre-portioning each serving into a small bowl while the milk is still cold takes under a minute and keeps the workflow clean, the quantities accurate, and the final drinks smooth. It also prevents the common mistake of losing track of which cup has already been measured.
Read the note ↓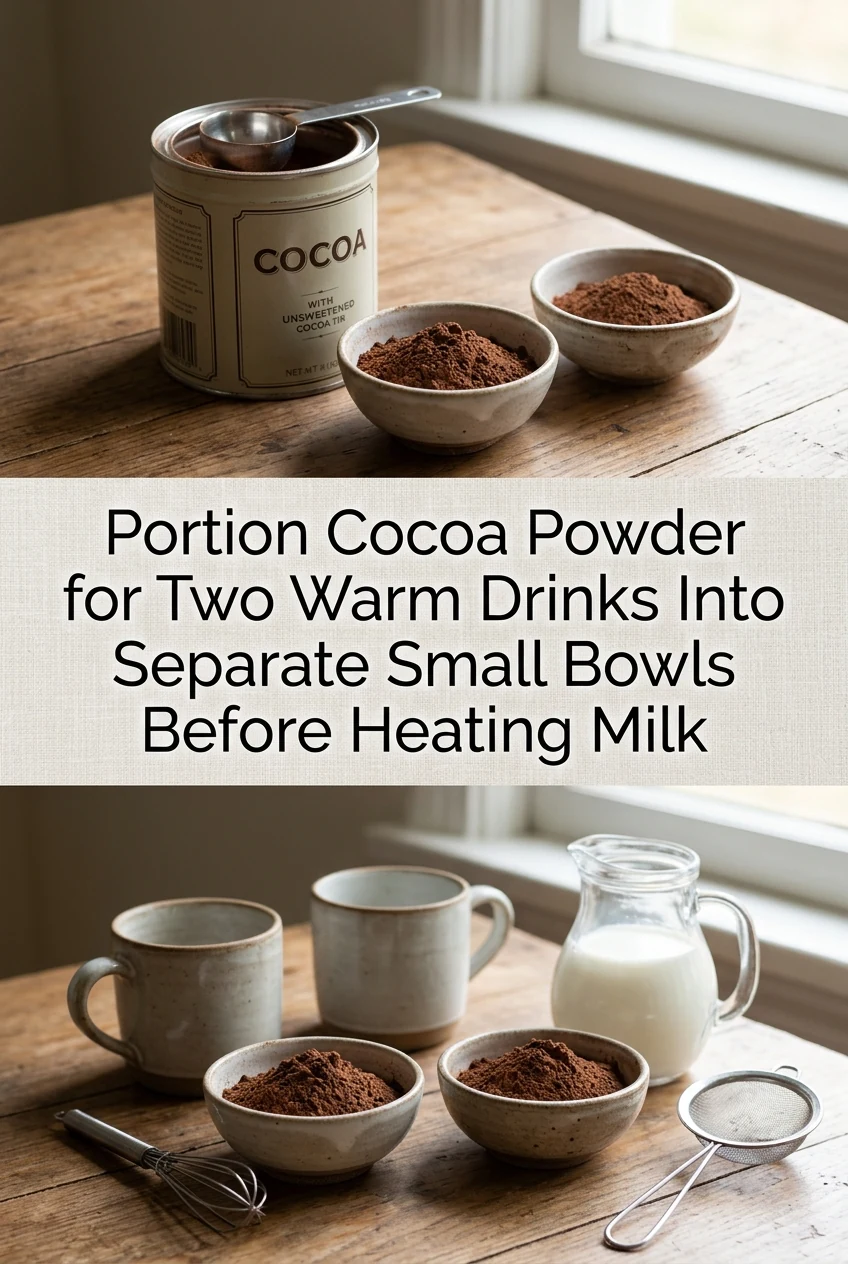
AI-generated editorial concept created for this article. The image is not a technical diagram or a tested result.
Set Out Two Small Bowls Before Opening the Cocoa Tin
Place two small ceramic or glass bowls, each with a capacity of at least 150 ml, on the counter beside the stove before you touch the cocoa tin. Having both bowls ready means you measure and portion in one uninterrupted motion rather than stopping mid-task to find a second container. A bowl of this capacity gives you ample room to mix the powder and liquid into a paste without spilling over the rim, and lets you level the scoop neatly without scattering cocoa across the counter.
Measure Each Portion Separately Rather Than Splitting One Scoop
For a standard 240 ml mug of hot cocoa, a common starting point is 15 to 20 grams of unsweetened cocoa powder, which is roughly one and a half to two level tablespoons depending on the density of your specific product. Measure directly into the first bowl, then repeat for the second bowl. Do not measure a double portion into one bowl and try to split it by eye later. Splitting by eye introduces the same inconsistency you are trying to avoid by pre-portioning in the first place.
Add Sugar or Sweetener to Each Bowl Now, Not Later
If you sweeten your cocoa, add the sugar to each bowl alongside the cocoa powder before any liquid is involved. Mixing dry ingredients together in the bowl means they will incorporate more evenly when the warm milk arrives. A typical starting point is 10 to 15 grams of granulated sugar per 240 ml serving, but adjust to your preference. Pre-mixing in the bowl also lets you see both portions side by side and confirm they look consistent before you commit to heating the milk.
Create a Paste in Each Bowl With a Small Amount of Cold Milk
Before the milk goes on the stove, add one to two tablespoons of cold milk from your measured portion directly into each bowl and stir with a small spoon until the cocoa and sugar form a smooth, thick paste. This paste stage is the key step that prevents lumps. When warm milk is added to a smooth paste, the cocoa disperses instantly rather than clumping on contact with heat. The paste should look glossy and have no visible dry powder remaining at the edges of the bowl.
Add the Warm Milk to the Bowl, Not the Bowl to the Pan
Heat the remaining milk in the saucepan over low to medium-low heat until it steams gently, then pour a splash of the warm milk over the cocoa paste in each bowl rather than tipping the paste into the hot pan. Pouring warm milk directly onto the paste gives you control over the mixing, loosens the mixture into a smooth pourable liquid, and keeps the cocoa from scorching on the pan base. Stir until completely combined, transfer the loosened mixture into the serving mugs, and top with the remaining warm milk from the pan. Serve promptly and refrigerate any unused heated milk within two hours.
A little more
to know.
Can I make the cocoa paste in the bowl ahead of time and leave it until I am ready to heat the milk?
Prepare the cocoa paste shortly before heating your milk so it does not dry out or form a crust on top while waiting. If you need to step away briefly, cover the bowl to preserve its moisture, but assemble the drinks promptly. Because milk is perishable, do not leave it sitting out at room temperature for extended periods.
Does Dutch-process cocoa behave differently from natural cocoa when making the paste?
Dutch-process cocoa is alkalized and tends to disperse more readily in liquid, so the paste may form faster. Natural cocoa can be slightly more resistant to wetting. Both benefit from the paste method, but you may need an extra few seconds of stirring with natural cocoa to work out any stubborn pockets of dry powder.
Original editorial guidance and recipe formulations, not independently kitchen-tested. Times are estimates and depend on equipment and product directions. Cooked bases need additional cooling and refrigeration before cold serving. Images are AI-generated illustrations; appearance and yield may vary. Check actual ingredient labels, allergens, and any certification you require. We do not certify products. Read our approach.
Save to Pinterest ↗ANOTHER IDEA FOR THE COUNTER