Plan a Mixed Fruit Cooler Without Fixed Decorative Layers
A mixed fruit cooler can be refreshing and visually appealing without locking fruit into rigid decorative layers or anchoring ice to hold pieces in place. This article walks through an illustrative plan for filling a roomy one-litre jug so that washed fruit and ice move naturally when the jug is tilted for pouring. The approach focuses on honest fit arithmetic, prompt refrigeration, and a relaxed assembly sequence rather than any fixed visual outcome.
Read the note ↓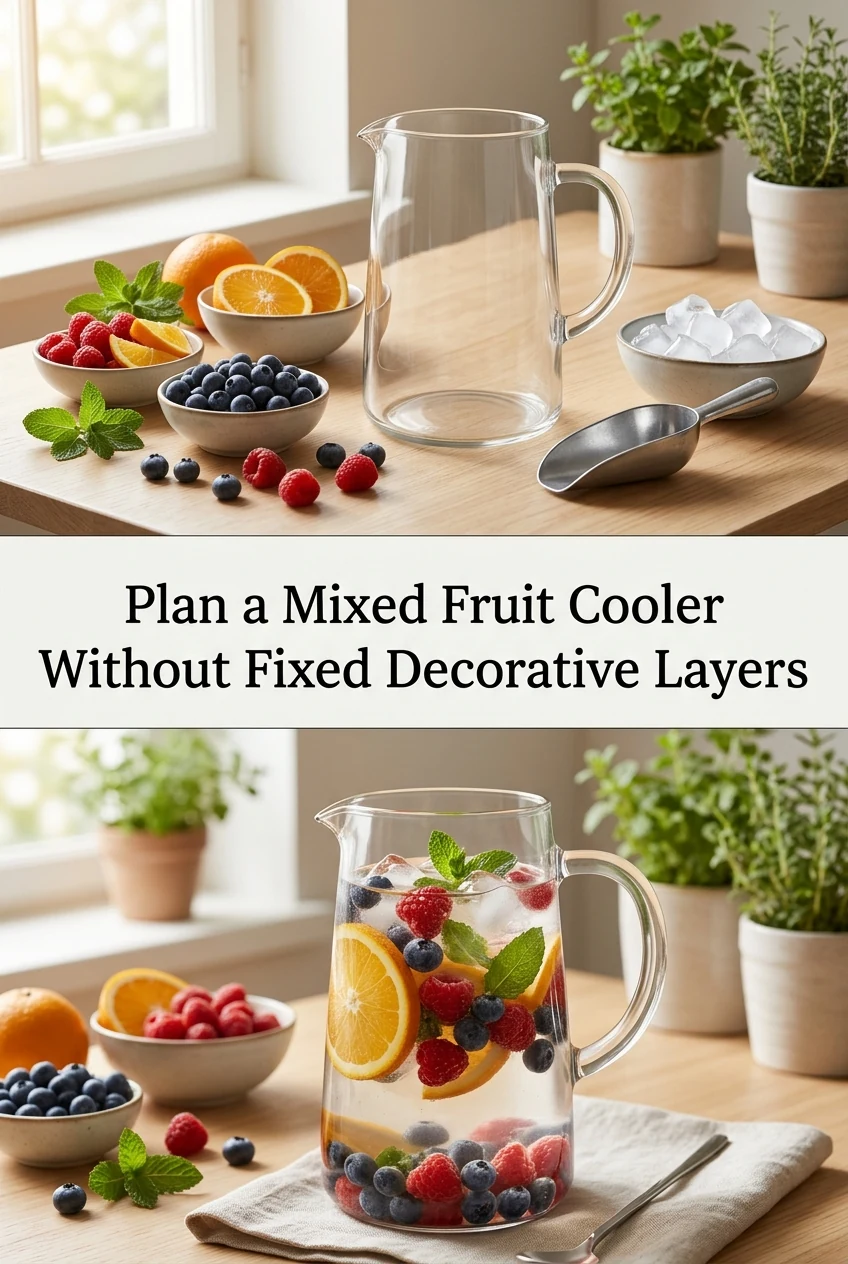
AI-generated editorial concept created for this article. The image is not a technical diagram or a tested result.
Understand the Jug Space Before You Begin
Start with a clear one-litre glass or food-safe plastic jug. One litre equals one thousand millilitres of total interior volume, but a jug is rarely filled to its absolute brim in practice. For this illustrative plan, the working target is roughly eight hundred to eight hundred and fifty millilitres of combined contents, leaving a comfortable gap at the top to prevent splashing when the jug is moved. Pour in four hundred millilitres of chilled still water first and note where the waterline sits. That visual reference tells you how much room remains for fruit pieces and ice before the jug becomes difficult to handle. Writing down or photographing that waterline is a simple way to guide the next steps without guessing.
Choose and Prepare a Modest Fruit Portion
Select two or three types of fruit that you enjoy together, such as sliced strawberries, halved seedless grapes, and thin rounds of cucumber or citrus. Wash all fruit thoroughly under cool running water. Cut pieces to a size that fits easily through the jug opening and will pass out again when pouring without blocking the spout. For this plan, a combined fruit portion of roughly one hundred and fifty to two hundred grams of prepared pieces is a reasonable starting point for a one-litre jug already holding four hundred millilitres of water. Add the fruit pieces directly to the water. They will settle or float at their own natural level; no arrangement or anchoring is needed or attempted here. The appearance will shift each time the jug is moved, and that is expected.
Add Ice Only While Room Remains
After the water and fruit are in the jug, check the remaining space visually. In this illustrative example, four hundred millilitres of water plus roughly one hundred and seventy-five millilitres of loosely packed fruit pieces leaves approximately two hundred and seventy-five millilitres of space before reaching the eight hundred and fifty millilitre working limit. Add ice cubes or small ice pieces gradually, stopping when the contents reach that limit or when the jug feels comfortably full. Ice added this way sits among the fruit without being used to grip or pin pieces against the glass. As the ice melts over time it becomes part of the water volume, so the cooler will become slightly more dilute. That is a natural outcome of this style of drink and not a flaw to correct.
Refrigerate Promptly and Serve Within Safe Time Windows
Once assembled, place the jug in the refrigerator at forty degrees Fahrenheit or four degrees Celsius if you are not serving immediately. Cut fresh fruit is a perishable food. Do not leave the assembled cooler at room temperature for more than two hours in total, or more than one hour if the surrounding environment is above ninety degrees Fahrenheit or thirty-two degrees Celsius. These are standard food safety time limits, not invented figures. If the cooler has been sitting out and those windows have passed, discard the contents rather than refrigerating them at that point. Plan your assembly time so the jug goes from preparation to either the refrigerator or the table without a long wait.
Pour and Enjoy Without Expecting a Fixed Presentation
When serving, tilt the jug steadily over a glass. Fruit pieces and remaining ice will move with the liquid rather than staying in a fixed arrangement. Some pieces may pour into the glass; others may stay in the jug until the end. This is the natural behaviour of a cooler planned without anchored layers, and it means each glass poured may look a little different. If you want a small amount of fruit in each glass, use a ladle or slotted spoon to add a few pieces before pouring the liquid over them. Rinse the jug and any utensils promptly after use. Do not store leftover assembled cooler beyond the two-hour room-temperature limit already observed during serving.
A little more
to know.
Can I add a flavoring syrup or juice to the water in this cooler?
Yes. You can replace some or all of the four hundred millilitres of chilled water with a fruit juice or a simple syrup dissolved in water, provided any flavoring used is explicitly alcohol-free. Adjust the total liquid volume so the combined contents still sit within your chosen working limit for the jug. A sweeter base liquid will not change how the fruit and ice move.
How do I know when the jug is too full to add more ice?
Watch the liquid level as you add ice pieces one or two at a time. When the surface of the liquid reaches the point where tilting the jug would cause it to spill, stop adding ice. There is no precise formula that works for every jug shape, so visual checking during assembly is the practical method. Leaving at least a few centimetres of clear space below the rim gives you a workable margin.
Original editorial guidance and recipe formulations, not independently kitchen-tested. Times are estimates and depend on equipment and product directions. Cooked bases need additional cooling and refrigeration before cold serving. Images are AI-generated illustrations; appearance and yield may vary. Check actual ingredient labels, allergens, and any certification you require. We do not certify products. Read our approach.
Save to Pinterest ↗ANOTHER IDEA FOR THE COUNTER