Plan a Clear Landing Space Before Removing a Hot Baking Tray
A small-batch syrup made in a home cafe setting often involves a baking tray as a vessel for roasting fruit or dissolving sugar mixtures under dry heat. Moving that hot tray out of the oven is a common moment for spills and handling accidents to happen. Planning a clear, heat-resistant landing space before you open the oven door is a distinct preparation step, not an afterthought. This article walks through how to set up that space thoughtfully, using one illustrative plan as a worked example. Nothing here represents a tested or guaranteed result; treat it as a practical framework you adapt to your own equipment and workspace.
Read the note ↓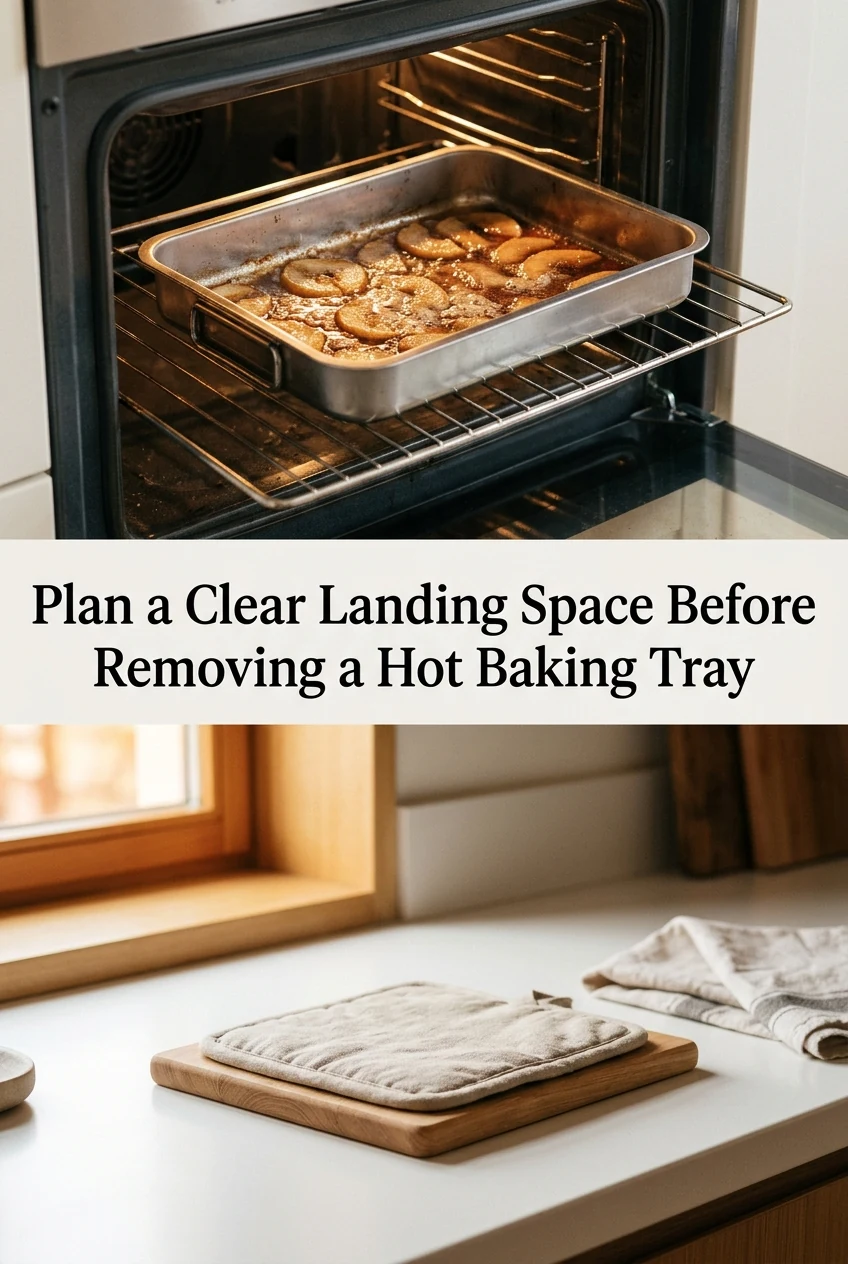
AI-generated editorial concept created for this article. The image is not a technical diagram or a tested result.
Why the Landing Space Matters More Than the Recipe
When you pull a hot tray from the oven, your hands are occupied, your vision may be partially blocked by oven mitts, and the tray itself can be heavier than expected when loaded with fruit or a sugar mixture. A cluttered counter, a damp cloth in the wrong place, or a surface that cannot tolerate heat can turn a straightforward task into a burn or a spill. Deciding where the tray will land, and confirming that space is clear and appropriate, is a separate planning act that happens before preheating begins. It takes little time and significantly reduces the potential for burns or spills before you handle hot equipment.
Choosing the Right Heat-Resistant Support
A silicone trivet, a folded dry oven cloth rated for high temperatures, a wooden board thick enough to insulate your counter, or a purpose-made cooling rack are all common options. Check the manufacturer's guidance for whatever support you own; ratings and suitability vary by product. The support must sit flat and stable. If you are using a cooling rack, confirm it is large enough that the tray cannot tip over an edge. For a standard 30 cm by 20 cm baking tray, a trivet or board of at least that footprint gives comfortable clearance. Place the support on the counter before you switch the oven on, so the habit is built into the start of the session, not the end.
Clearing and Measuring the Route
The route from the oven to the landing space should be free of obstacles at counter height and at the level where you carry the tray. In a typical home cafe setup, this might mean moving a kettle, a jar of utensils, or a small appliance temporarily to one side. Measure the distance if your kitchen is compact: a tray carried at waist height needs roughly 60 cm of clear horizontal travel in most domestic kitchens to move from oven door to counter without turning sharply. If your layout requires a turn, practice the movement with a cold tray first so the path feels familiar. Remove any loose cloths or paper from the counter surface along the route before you begin baking.
A Worked Illustrative Plan for a Small-Batch Vanilla Citrus Syrup
As one illustrative example, consider a plan for roasting orange halves on a lined baking tray before pressing them into a small-batch syrup flavored with alcohol-free vanilla flavoring. The tray used in this plan is 30 cm by 20 cm, lined with baking parchment following the parchment manufacturer's guidance. Before preheating the oven, the cook places a large silicone trivet measuring 35 cm by 25 cm on the counter to the right of the oven, checks that it lies flat, and moves a stand mixer to the opposite counter to open a 70 cm clear path. The oven is set according to the oven's own manual for the intended task. When the tray is ready to come out, both hands are in dry oven gloves, the oven door is opened fully, the tray is slid out and carried directly to the trivet in two steps. The orange halves are then pressed while still warm. The resulting liquid is combined with sugar and alcohol-free vanilla flavoring on the hob, then transferred promptly to a clean jar and refrigerated without delay because it contains fresh fruit juice and is perishable. This plan is illustrative; your oven, tray, and ingredients may differ, and you should follow your own equipment instructions throughout.
Fitting the Habit Into Every Small-Batch Session
The landing-space check takes under two minutes and works as a consistent opening ritual for any baking-tray task in a home cafe context. Set out the support, clear the route, confirm the surface is dry, and only then preheat the oven. At the end of the session, return moved appliances to their places so the counter is ready for next time. Over repeated sessions this sequence becomes automatic, which means it still happens even when you are focused on timing, temperatures, or a recipe. The goal is a habit that does not depend on memory under pressure.
A little more
to know.
Can I use a damp cloth as a landing surface for a hot baking tray?
A damp cloth is generally not recommended as a landing surface for a hot baking tray. Steam generated when a very hot tray contacts moisture can cause burns. Use a dry, heat-rated support such as a silicone trivet or a dry oven cloth, and follow the guidance provided by the manufacturer of whichever support you own.
How soon should a syrup containing fresh fruit juice be refrigerated after making it?
Because fresh fruit juice is perishable, the syrup should be moved to the refrigerator promptly once it has cooled enough to be safely handled and transferred to a clean, lidded jar. Do not leave it at room temperature for an extended period. Follow any specific guidance provided by your recipe source, and do not rely on invented shelf-life figures.
Original editorial guidance and recipe formulations, not independently kitchen-tested. Times are estimates and depend on equipment and product directions. Cooked bases need additional cooling and refrigeration before cold serving. Images are AI-generated illustrations; appearance and yield may vary. Check actual ingredient labels, allergens, and any certification you require. We do not certify products. Read our approach.
Save to Pinterest ↗ANOTHER IDEA FOR THE COUNTER