Organize a Small Syrup Collection With Labels and Dates
A small collection of homemade syrups becomes difficult to manage quickly. Unlabelled jars look identical after a day in the refrigerator, and syrups made with different sugar types or infusion ingredients have different expected shelf lives. Writing the syrup name, sugar type and preparation date on a label before the jar goes into the refrigerator takes under a minute and prevents the mix-ups, waste and safety uncertainty that come from guessing what is in an unmarked container.
Read the note ↓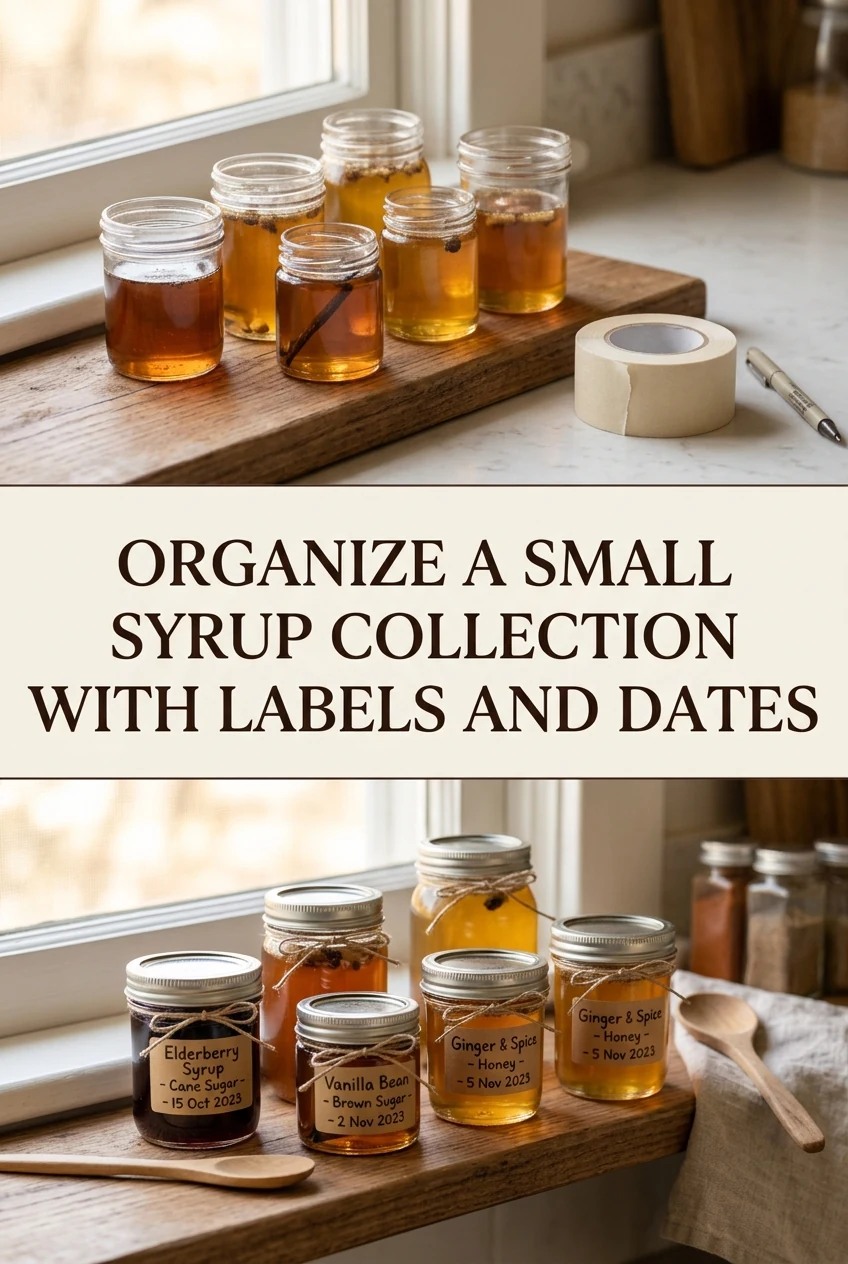
AI-generated editorial concept created for this article. The image is not a technical diagram or a tested result.
What Information to Write on Each Label
Each label needs three pieces of information: the syrup name, the sugar type used and the date it was made. The syrup name distinguishes contents at a glance. The sugar type matters because a syrup made with raw cane sugar behaves differently in drinks than one made with white sugar, and the colour difference disappears once an infusion is added. The preparation date lets you calculate how long the jar has been open and whether it is still within a safe use window for your refrigerator.
Choose a Practical Labelling Method
Masking tape and a permanent marker work reliably on glass jars and peel off cleanly when wet. Pre-printed adhesive labels are tidier but require a printer. Whichever method you use, write on the label before attaching it to the jar, not after, because writing on tape already stuck to a cold jar smears easily. Place the label on the side of the jar rather than the lid so the information is visible when jars are stored side by side in the refrigerator door shelf.
Assign a Consistent Shelf Position
Arrange jars so the oldest preparation date faces outward and is used first. A simple rule is to place any new jar behind existing jars of the same type, the same logic used in commercial stock rotation. For a collection of four or five syrups, a single refrigerator shelf is sufficient. Keep syrups away from the refrigerator door if your door seal is loose, as temperature fluctuates more near the door and can shorten the usable life of the syrup.
Set a Realistic Freshness Window
A plain simple syrup made with white sugar and water, stored in a clean sealed jar at 4 C, is generally considered usable for up to four weeks, though you should discard it earlier if you notice any cloudiness, off smell or mould. Syrups containing fresh fruit juice, dairy or low-sugar ratios have shorter windows. Note these differences on the label if you make several types. Do not rely on appearance alone; when in doubt, discard the jar and make a fresh batch.
Handle Jars to Avoid Contamination
Always use a clean dry spoon to measure syrup from the jar. Pouring directly from the jar into a drink and then returning the jar to the refrigerator is fine, but dipping a used spoon or straw back into the jar introduces bacteria that shorten shelf life significantly. After each use, wipe the jar rim with a clean cloth before replacing the lid. If you transfer syrup to a squeeze bottle for easier dispensing, label that bottle with the same information as the original jar.
A little more
to know.
Do I need to sterilize the jars before filling them with syrup?
Wash jars thoroughly in hot soapy water and rinse well. For refrigerator-stored syrups used within a few weeks, this is sufficient. Do not attempt homemade sterilization methods for shelf-stable preservation, which requires verified canning procedures beyond home cafe scope.
Can I store different syrups in the same jar if I run out of containers?
Avoid combining syrups in one jar. Flavours will mix unpredictably, and the preparation date becomes meaningless because the two batches may have different freshness windows. Use a separate clearly labelled jar for each syrup type.
Original editorial guidance and recipe formulations, not independently kitchen-tested. Times are estimates and depend on equipment and product directions. Cooked bases need additional cooling and refrigeration before cold serving. Images are AI-generated illustrations; appearance and yield may vary. Check actual ingredient labels, allergens, and any certification you require. We do not certify products. Read our approach.
Save to Pinterest ↗ANOTHER IDEA FOR THE COUNTER