Make a Small Vanilla Syrup Batch That Fits a 250 ml Jar
A standard simple syrup recipe scaled for a large bottle produces far more than a home café uses before quality declines. A 250 ml jar safely accommodates a small batch of syrup while leaving adequate headspace for sealing. Matching your sugar, water, and alcohol-free vanilla flavoring quantities to that jar size means less waste, a fresher product, and a batch you can realistically finish within two weeks when refrigerated properly.
Read the note ↓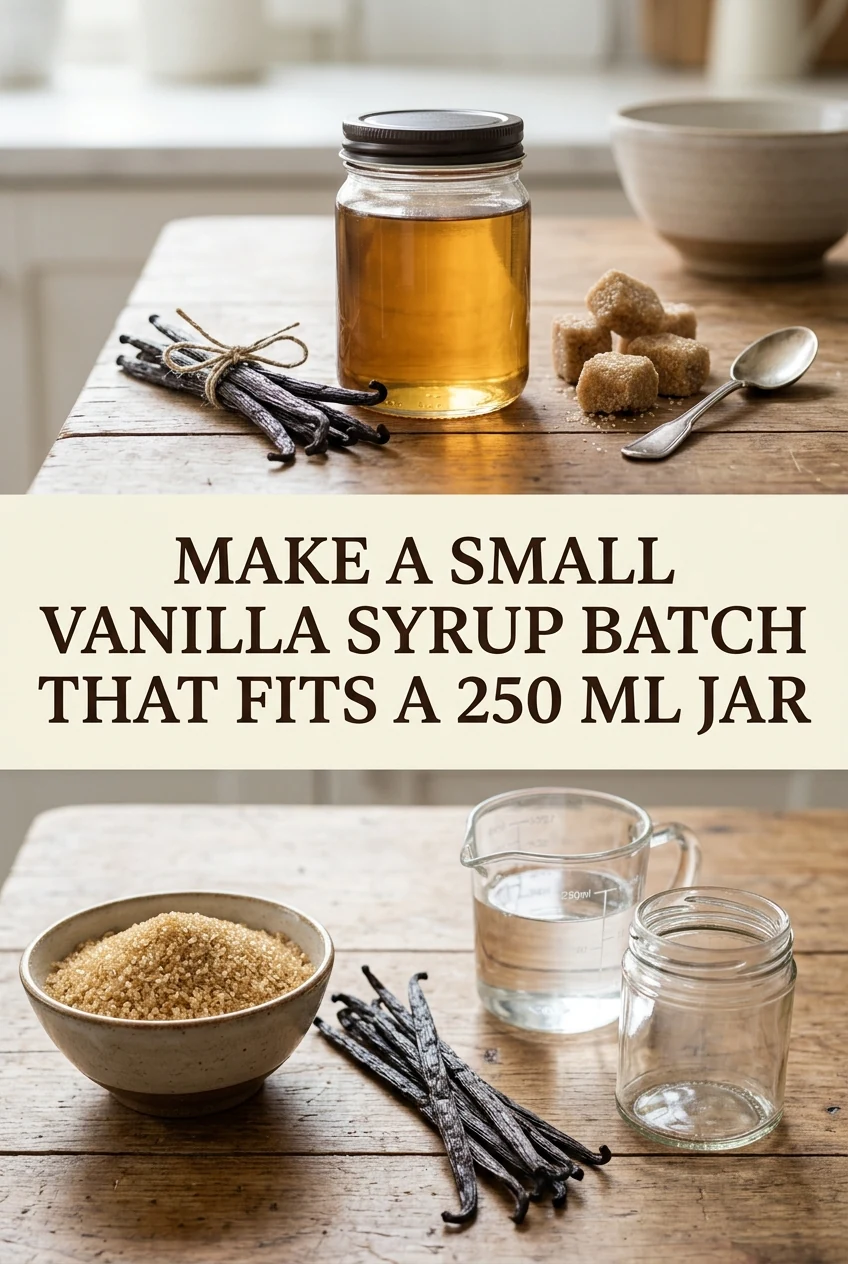
AI-generated editorial concept created for this article. The image is not a technical diagram or a tested result.
Understanding the Jar Capacity Before You Start
A 250 ml jar is the container limit, not the target fill volume. Filling to the very rim creates a spill risk when sealing and leaves no room for safe handling. A standard 1:1 syrup uses equal parts sugar and water by weight. For this small batch, dissolving 100 grams of white granulated sugar in 100 ml of water yields approximately 160 to 165 ml of finished syrup, which fits neatly inside a 250 ml jar with ample headspace.
Measuring and Combining Ingredients
Weigh 100 grams of white granulated sugar into a small saucepan. Measure 100 ml of cold water and add it to the pan. Stir briefly to begin dissolving the sugar before applying heat. Reserve the 1 teaspoon of alcohol-free vanilla flavoring until after the pan comes off the heat; heating delicate alcohol-free vanilla flavoring directly on the stove drives off volatile aromatic compounds and dulls its flavor. Using a kitchen scale for both the sugar and water provides the most consistent 1:1 ratio.
Heating and Dissolving Without Boiling Hard
Place the saucepan over medium-low heat. Stir gently and continuously as the mixture warms. The sugar will dissolve fully before the liquid reaches a simmer, which is the point to stop cooking. A rolling boil is unnecessary and evaporates water needlessly, altering the 1:1 concentration. The syrup base is ready as soon as the liquid turns completely clear with no visible sugar crystals when you tilt the pan, which typically takes three to five minutes.
Cooling and Transferring to the Jar
Remove the pan from the heat and stir in the 1 teaspoon of alcohol-free vanilla flavoring so its aromatics blend into the warm liquid without boiling away. Allow the syrup to cool for ten minutes in the pan before transferring, as pouring hot syrup directly into cold glass creates thermal shock risks. Use a small funnel or ladle to transfer the syrup into the clean, dry 250 ml jar. Seal the lid once cooled to room temperature, and label the jar with the preparation date.
Storing and Using Within Two Weeks
Refrigerate the sealed jar at or below 4°C immediately after it reaches room temperature. A 1:1 syrup with alcohol-free vanilla flavoring is not shelf-stable at room temperature and should not be stored on a countertop. Use a clean, dry spoon or pour spout each time to avoid introducing moisture or contaminants. A standard drink portion uses 10 to 20 ml of syrup, so a roughly 165 ml batch provides eight to sixteen drink servings, a realistic quantity for two weeks of home café use.
A little more
to know.
Can I use alcohol-free vanilla bean paste instead of liquid flavoring in this recipe?
Yes, alcohol-free vanilla bean paste can substitute for the liquid flavoring at a 1:1 ratio. It adds visible vanilla specks and a rich flavor profile. Stir it into the warm syrup after removing the pan from the heat so the residual warmth disperses the paste evenly without boiling off delicate aromatic compounds.
How can I tell if the syrup has gone off before two weeks?
Discard the syrup if it develops cloudiness beyond the initial slight haze, an off or sour smell, or any visible mold near the lid or surface. A properly sealed and refrigerated batch should remain clear and pleasant-smelling throughout the two-week window.
Original editorial guidance and recipe formulations, not independently kitchen-tested. Times are estimates and depend on equipment and product directions. Cooked bases need additional cooling and refrigeration before cold serving. Images are AI-generated illustrations; appearance and yield may vary. Check actual ingredient labels, allergens, and any certification you require. We do not certify products. Read our approach.
Save to Pinterest ↗ANOTHER IDEA FOR THE COUNTER