Iced Taro and Coconut Milk
Taro must be fully cooked before blending or it leaves a starchy, gritty texture in the finished drink. The second common problem is adding coconut milk directly to the blender with the taro, which makes it difficult to control the final consistency because the fat in coconut milk changes how the taro purees. Blending the taro alone first, then measuring the coconut milk separately and combining over ice, gives you a smooth, evenly textured drink with a predictable thickness.
Read the note ↓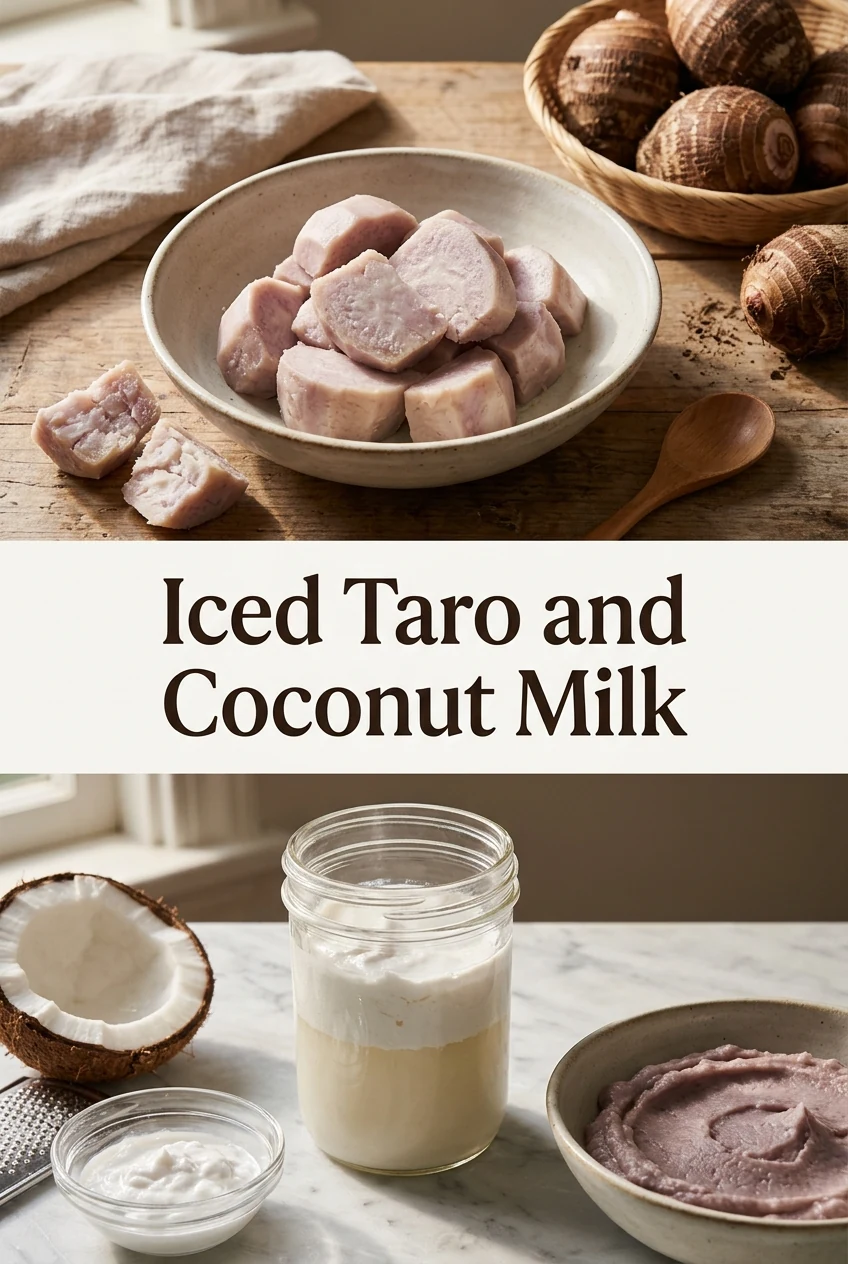
AI-generated editorial concept created for this article. The image is not a technical diagram or a tested result.
Cook the Taro Until Completely Tender
Peel and cut 150 g of fresh taro into roughly 3 cm cubes. Steam or boil in water until a fork passes through the centre without resistance, typically 20 to 25 minutes depending on cube size. Drain thoroughly and let the pieces cool for at least ten minutes before blending. Blending hot taro with coconut milk can cause the fat to separate and the mixture to become gluey rather than smooth. Pat the pieces dry if they are visibly wet from steaming.
Blend the Taro Alone With a Small Amount of Water
Place the cooled taro in a blender with 60 ml of cold water and blend on high until completely smooth, stopping to scrape down the sides once. The water helps the blades move through the dense cooked taro without the motor straining. The result should be a thick, lump-free puree with no visible fibrous pieces. If lumps remain, blend for a further 20 seconds. This puree is the base; its consistency determines the final drink texture before coconut milk is added.
Measure the Coconut Milk Separately Before Combining
Pour 200 ml of full-fat canned coconut milk into a separate jug and stir it well, as the cream and liquid separate in the can. Measuring it separately lets you see the actual volume and adjust before mixing. For a lighter drink, replace 50 ml of the coconut milk with cold water. Combine the taro puree and the measured coconut milk in the blender and pulse briefly, about five seconds, just enough to incorporate without over-aerating the mixture.
Sweeten and Taste Before Pouring Over Ice
Add sugar syrup or honey to the blended mixture and stir rather than blending again, which would add air bubbles and change the texture. A starting point for this batch size is 20 ml of simple syrup; taste and adjust. Pour the mixture over a glass filled with ice cubes rather than blending with ice, which dilutes the drink unevenly as ice fragments melt at different rates. This approach gives you a consistent pour across multiple glasses from the same batch.
Serve Promptly and Handle Leftovers Safely
Taro and coconut milk both contain starch and fat that begin to separate on standing. Stir or gently shake the mixture if it has rested for more than a few minutes before pouring. Any unused blended mixture should be refrigerated at 4 C or below within two hours of preparation, or within one hour if the ambient temperature exceeds 32 C. Use refrigerated leftovers within 24 hours and stir well before serving, as separation will occur even when chilled.
A little more
to know.
Can I use frozen taro instead of fresh?
Yes. Cook frozen taro pieces according to the package instructions until fully tender, then drain and cool before blending. Frozen taro is often pre-peeled, which saves preparation time, but the texture after cooking can be slightly more watery than fresh.
Why does the drink thicken considerably after sitting in the glass for a few minutes?
Cooked taro starch continues to absorb liquid as it sits, especially when cold. This is normal. Adding a small extra splash of coconut milk or cold water and stirring briefly before drinking restores a pourable consistency without affecting the flavour significantly.
Original editorial guidance and recipe formulations, not independently kitchen-tested. Times are estimates and depend on equipment and product directions. Cooked bases need additional cooling and refrigeration before cold serving. Images are AI-generated illustrations; appearance and yield may vary. Check actual ingredient labels, allergens, and any certification you require. We do not certify products. Read our approach.
Save to Pinterest ↗ANOTHER IDEA FOR THE COUNTER