Fold Cocoa Powder Into Scone Dough Without Dry Streaks
Dry cocoa streaks in a cut scone are a sign that the powder was not fully incorporated before the dough came together. Cocoa powder resists mixing into fat and flour if added at the wrong stage or without sifting, and overworking the dough to compensate toughens the crumb. Solving this requires two steps done in the right order: sifting cocoa with the dry ingredients before any liquid is added, and using a folding action rather than stirring once the dough forms.
Read the note ↓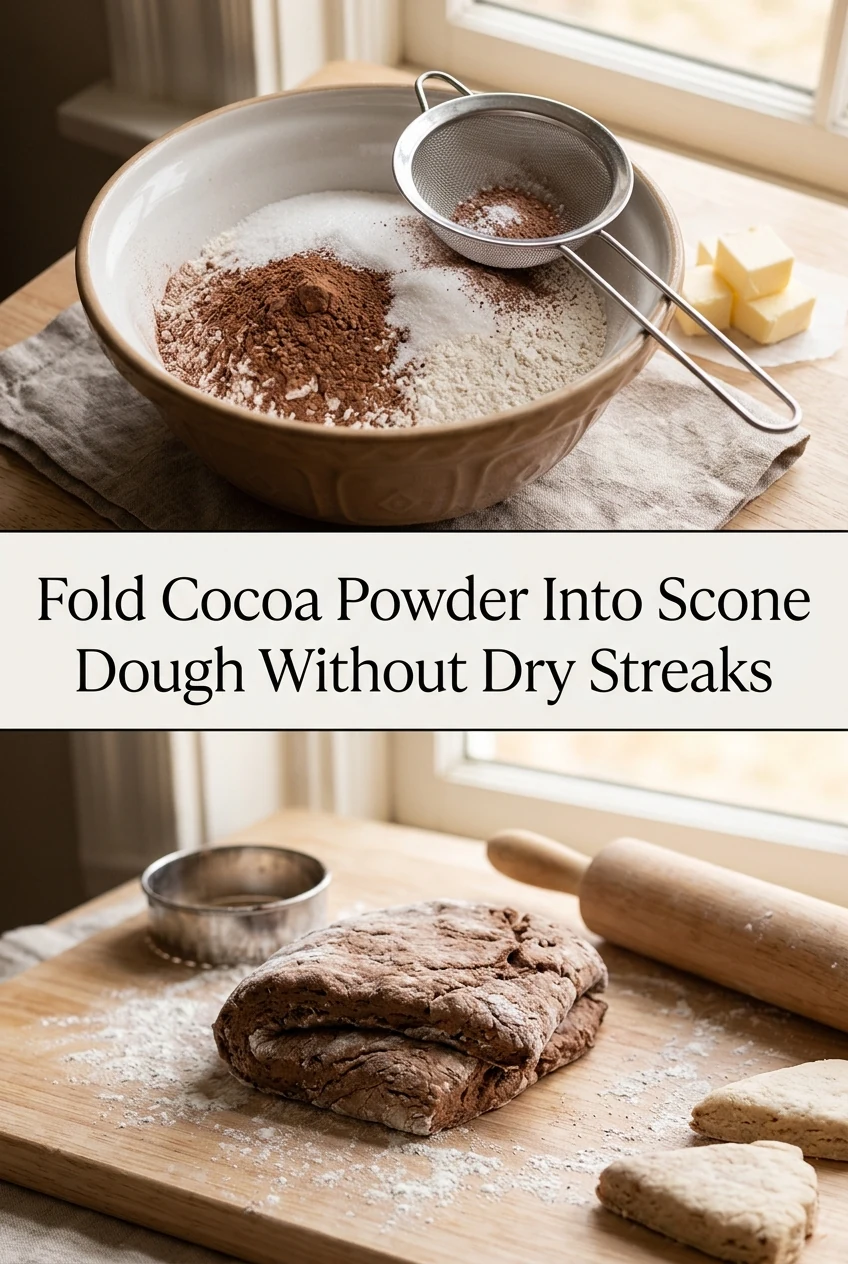
AI-generated editorial concept created for this article. The image is not a technical diagram or a tested result.
Sift Cocoa With the Dry Ingredients Before Adding Fat
Cocoa powder clumps easily, particularly in humid conditions. Sifting it together with the flour, baking powder, and salt before adding butter ensures the cocoa is evenly distributed through the dry mixture from the start. Use a fine mesh sieve and pass the cocoa and flour through together at least once. If you see clumps remaining in the sieve, press them through with the back of a spoon rather than discarding them. This step takes under two minutes and prevents the most common source of streaks.
Rub Butter Into the Sifted Mixture Evenly
Once the dry ingredients are sifted together, rub cold butter into the mixture using your fingertips until it resembles coarse breadcrumbs. The cocoa should be visibly distributed throughout the crumb at this stage, giving the mixture a uniform brown colour with no pale patches. If you see pale flour patches after rubbing, the cocoa was not fully sifted through. Pale patches at this stage will become dry streaks in the finished scone. Do not proceed to adding liquid until the colour is even.
Add Liquid Gradually and Fold Rather Than Stir
Pour cold milk or buttermilk into the centre of the crumb mixture in two additions rather than all at once. After each addition, use a round-bladed knife or a flexible scraper to fold the mixture from the outside inward with broad strokes. Folding moves the dough mass without developing gluten aggressively. Stirring in a circular motion at this stage pushes unmixed dry pockets to the edges of the bowl where they are harder to incorporate without overworking the rest of the dough.
Check for Dry Pockets Before Turning Out
Before turning the dough onto a floured surface, look at the underside of the mass in the bowl. Dry, pale-coloured patches on the bottom indicate unmixed cocoa or flour. Fold those patches inward with two or three additional strokes rather than kneading. The dough should look uniformly brown and slightly shaggy, not smooth. A shaggy texture at this stage is correct for scones; a smooth dough has been worked too long and will produce a tighter, less tender crumb after baking.
Pat and Cut Without Twisting the Cutter
Pat the dough to an even thickness of roughly two centimetres on a lightly floured surface. Press a round cutter straight down and lift it straight up without twisting. Twisting seals the cut edge and reduces the scone's rise. If any pale streaks are visible on the cut face before baking, they were trapped inside the dough before cutting and indicate the fold step needed more passes. Use this as feedback for the next batch rather than attempting to re-mix cut dough.
A little more
to know.
Can I mix the cocoa into the butter before adding it to the flour?
Mixing cocoa into butter creates a paste that does not distribute evenly through dry flour during rubbing. Sifting cocoa with the flour first gives a more uniform result because both powders are already combined before fat is introduced.
Does Dutch-process cocoa behave differently from natural cocoa in scone dough?
Dutch-process cocoa is finer and darker and tends to sift more easily than some natural cocoas. Both types need sifting, but Dutch-process may show streaks less visibly before baking. Check the cut face of the dough, not just the surface colour, to spot unmixed pockets.
Original editorial guidance and recipe formulations, not independently kitchen-tested. Times are estimates and depend on equipment and product directions. Cooked bases need additional cooling and refrigeration before cold serving. Images are AI-generated illustrations; appearance and yield may vary. Check actual ingredient labels, allergens, and any certification you require. We do not certify products. Read our approach.
Save to Pinterest ↗ANOTHER IDEA FOR THE COUNTER