Decide Where to Place a Scale on a Small Counter During a Multi-Drink Prep Session
A kitchen scale earns its counter space only when it stays reachable throughout a session without collecting drips or blocking hot equipment. On a small counter shared with a kettle, pitcher and blender, placement is a real decision rather than an afterthought. Choosing the right spot before the first drink prevents mid-session shuffling, protects the scale platform from steam and liquid, and keeps your tare-and-pour rhythm consistent across several consecutive drinks.
Read the note ↓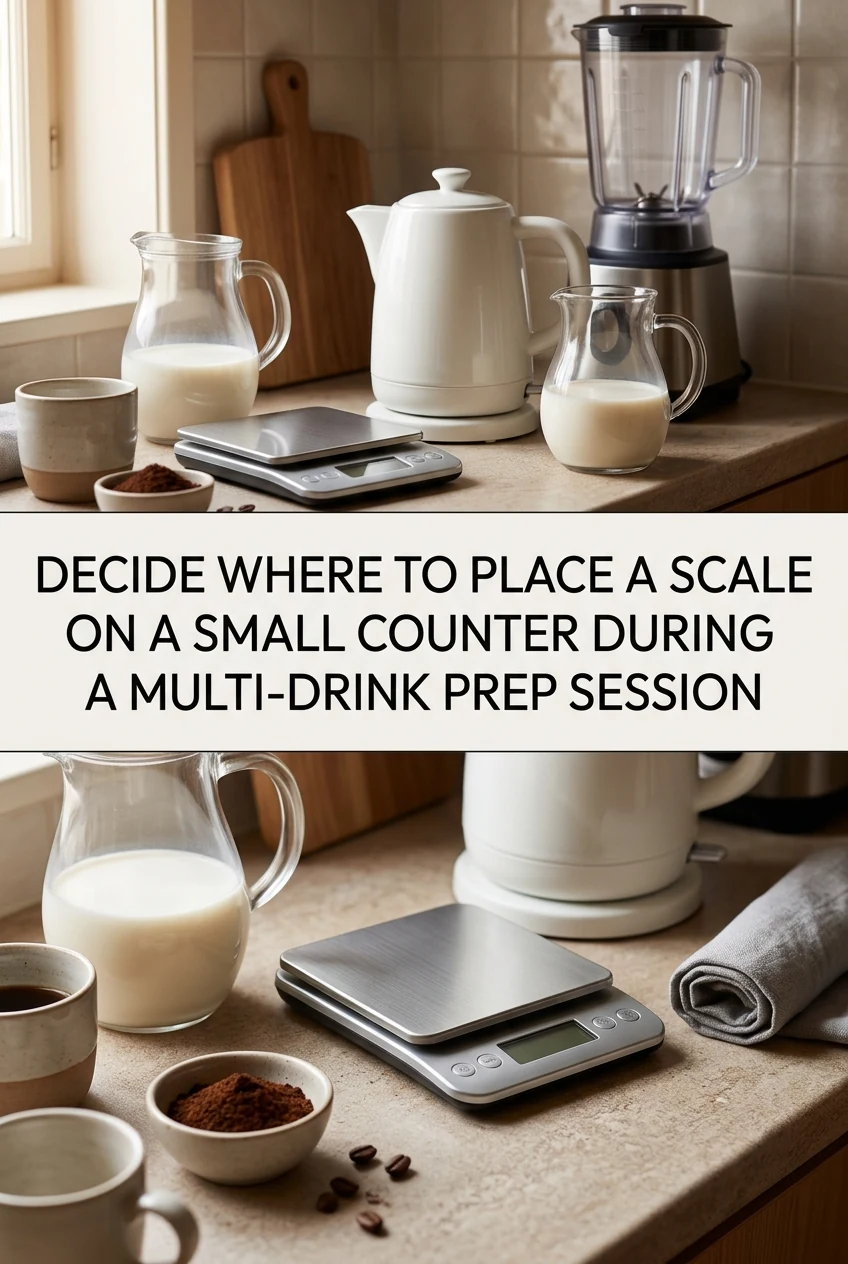
AI-generated editorial concept created for this article. The image is not a technical diagram or a tested result.
Map the fixed footprints first
Before moving anything, identify which items cannot shift during the session: the kettle base, the blender body and any tray holding cups. Mark their edges mentally or with a folded cloth. The scale needs a footprint of roughly 15 by 20 centimetres for a standard home model. Any remaining flat space that does not sit directly beside a steam vent or directly below a cabinet edge that forces awkward reaching is a candidate position.
Choose the non-dominant side for reach, not the dominant side for pouring
Most people pour with their dominant hand and tare with the other. Placing the scale on the non-dominant side means you can tap the tare button without crossing your pouring arm over the vessel. As an illustrative example, a right-handed cook with a 60-centimetre counter run might position the scale and brew vessel toward the left side, leaving the centre clear for staging cups and finished drinks while keeping the kettle on the right. This arrangement keeps the vessel accessible to the pouring hand while the left hand operates the controls without awkward reaching.
Keep at least one hand-width between the scale and the kettle base
Steam and condensation from an active kettle spout or lid vent can settle onto nearby surfaces during heating and pouring. A scale platform that collects moisture gives inconsistent readings and risks water damage to internal sensors over time. One hand-width of clear counter, roughly 8 to 10 centimetres, between the kettle base and the scale edge is a practical minimum to keep rising vapour away from the scale body. If the counter layout does not allow that gap, move the kettle to a separate heat-safe surface further along the workspace.
Keep the scale on a hard, bare counter rather than a soft mat
Digital kitchen scales require a rigid, unyielding surface under their feet so their internal load cells can register deflection accurately. Placing a silicone mat, cloth, or flexible pad underneath the scale allows the feet to sink or lets the lower housing contact the mat, causing weight drift and inaccurate measurements. Keep the counter beneath the scale completely bare, level, and dry. If you need heat or drip protection, use a fitted silicone cover designed to sit on top of the weighing platform rather than resting underneath the scale base.
Reassess the position when switching from dry to liquid weighing
Dry ingredients such as matcha or cocoa powder create fine dust near the scale platform. Liquid pours risk splashing the display. If your session moves from weighing dry portions to weighing brewed liquid, pause and wipe the platform before the switch. If the scale must stay in one spot, position it so the display faces away from the primary splash direction of your pitcher or jug, reducing the chance of liquid reaching the button panel.
A little more
to know.
Can I place the scale on a small cutting board to raise it above a wet counter?
A stable, flat cutting board works as a temporary platform, but confirm the board does not rock before relying on it for accurate readings. An unstable surface introduces small weight errors that accumulate across several consecutive measurements.
What should I do if my counter has no gap at all between the kettle and the blender?
Move the blender to a separate surface or a lower shelf for the session duration. Blenders are rarely needed simultaneously with a scale, so temporary relocation frees the counter zone without disrupting the overall workflow.
Original editorial guidance and recipe formulations, not independently kitchen-tested. Times are estimates and depend on equipment and product directions. Cooked bases need additional cooling and refrigeration before cold serving. Images are AI-generated illustrations; appearance and yield may vary. Check actual ingredient labels, allergens, and any certification you require. We do not certify products. Read our approach.
Save to Pinterest ↗ANOTHER IDEA FOR THE COUNTER