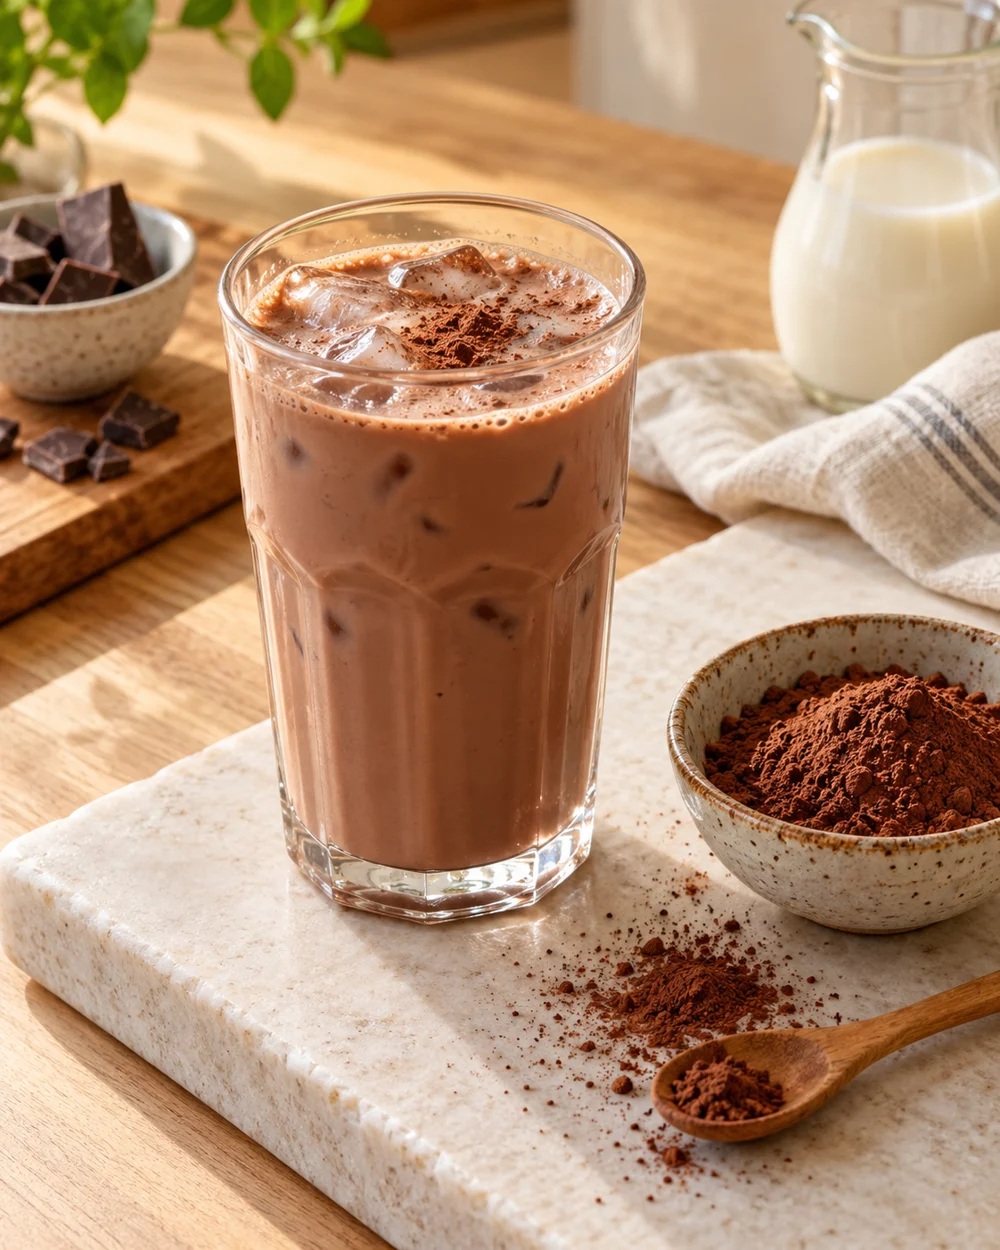
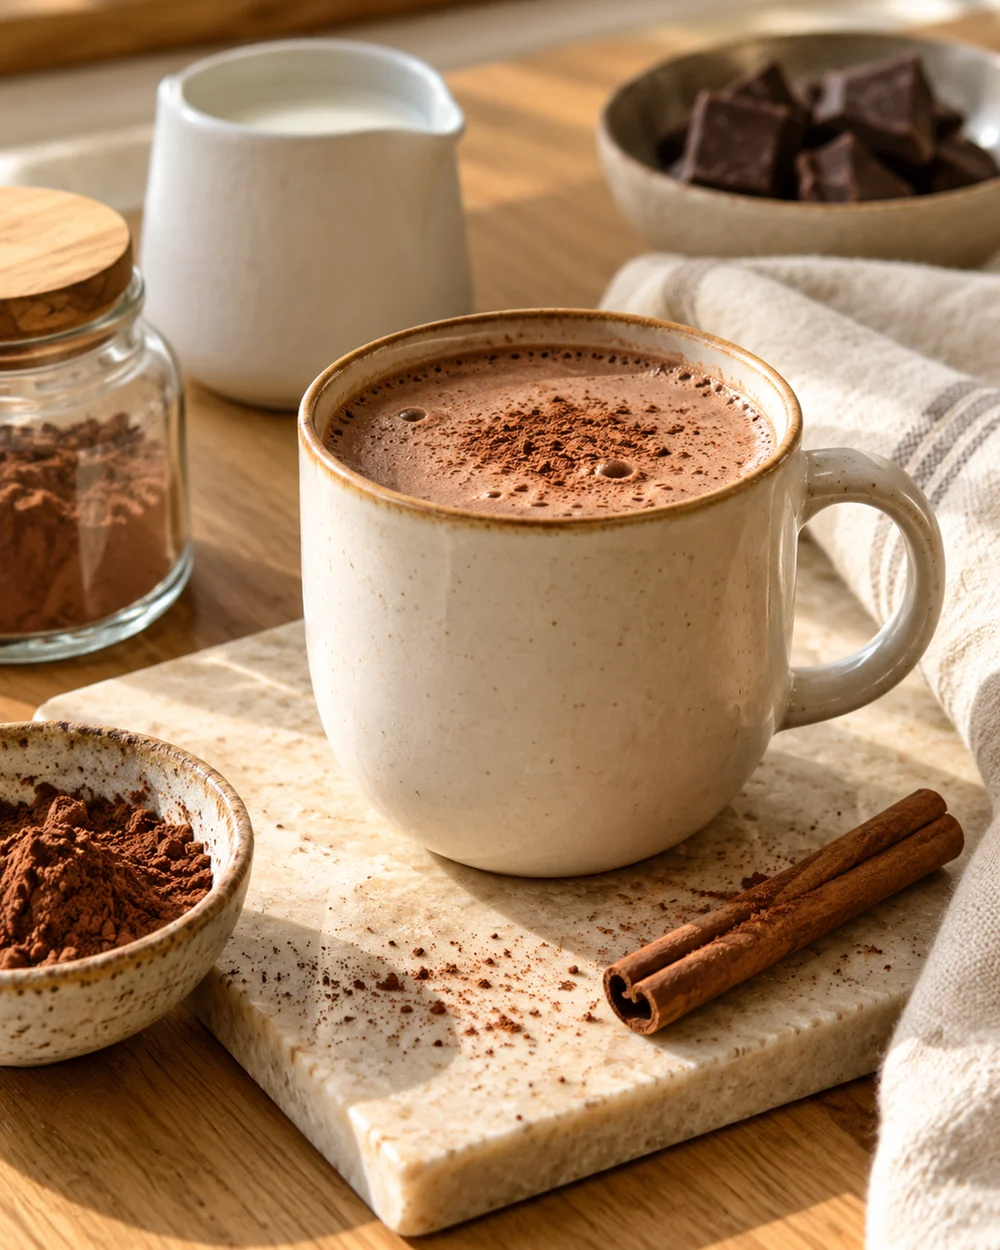
Compare Oat Milk, Coconut Milk and Whole Milk in a Warm Cocoa
Choosing a milk for warm cocoa is not only about taste. Each option behaves differently under heat, affecting texture, separation risk, and how well unsweetened cocoa powder blends in. Whole milk, oat milk, and canned coconut milk each bring distinct fat and starch profiles that change the finished drink in practical ways. Understanding those differences before you heat the pan helps you avoid a grainy or curdled result and lets you match the milk to the outcome you actually want.
Read the note ↓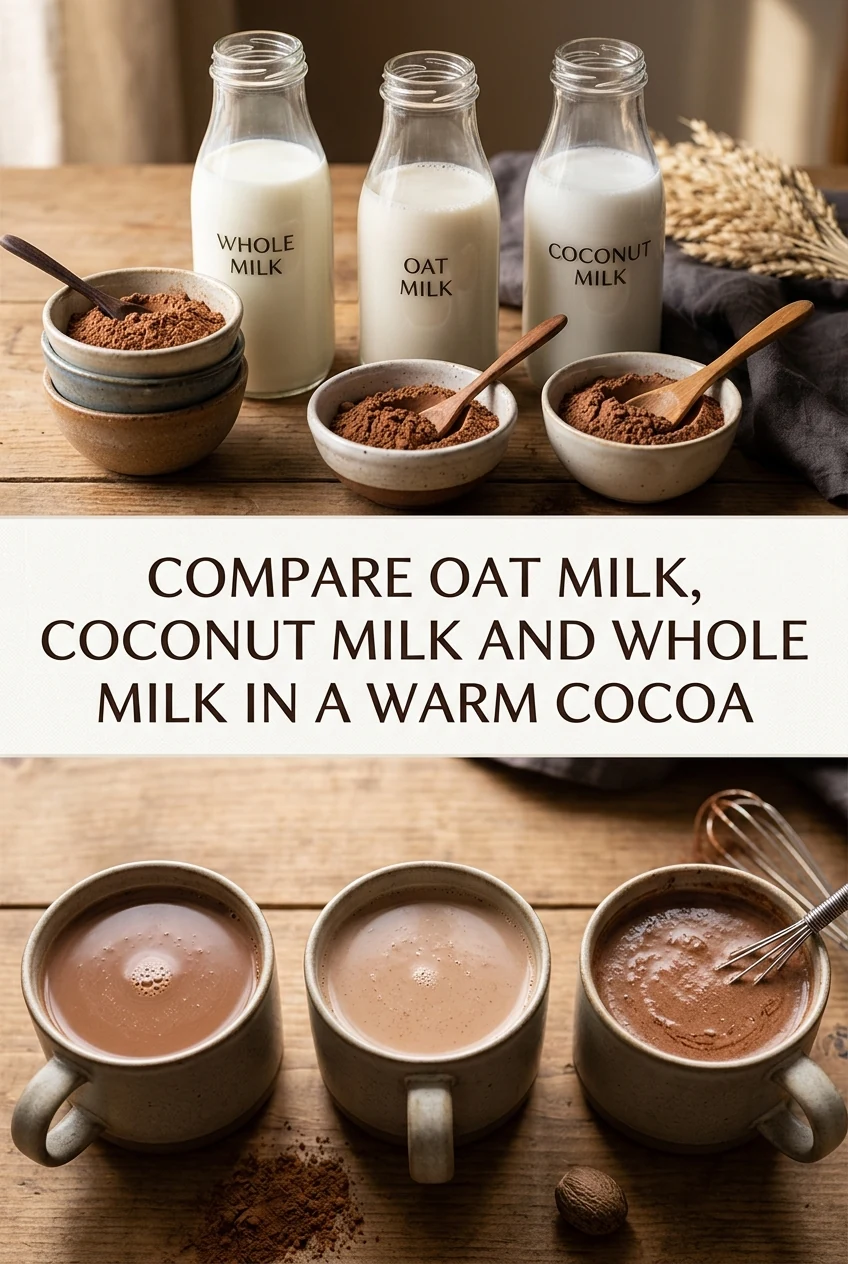
AI-generated editorial concept created for this article. The image is not a technical diagram or a tested result.
How Whole Milk Behaves with Cocoa Powder
Whole milk contains roughly 3.5 percent fat and enough protein to hold cocoa powder in stable suspension when heated gently. Warm it in a small saucepan over medium-low heat to around 70 to 74 degrees Celsius, whisking the cocoa in gradually. The result is a smooth, moderately thick drink with a clean chocolate finish. Scorching is the main risk: once a skin forms on the surface, the texture turns grainy. Keep the heat low and whisk continuously once the cocoa is added.
Why Oat Milk Can Separate if Overheated
Oat milk relies on grain starches rather than dairy fat for its body, which makes it sensitive to prolonged high heat. If brought to a rolling boil or heated aggressively, the starches can gelatinize and break down, creating an unpleasantly thick or gluey texture and risking separation. Warm oat milk gently over low heat, stirring frequently, and incorporate the cocoa powder before the liquid reaches a simmer. Keeping the heat gentle preserves the smooth mouthfeel and the mild, lightly sweet grain character that oat milk brings to cocoa.
How Canned Coconut Milk Changes the Texture
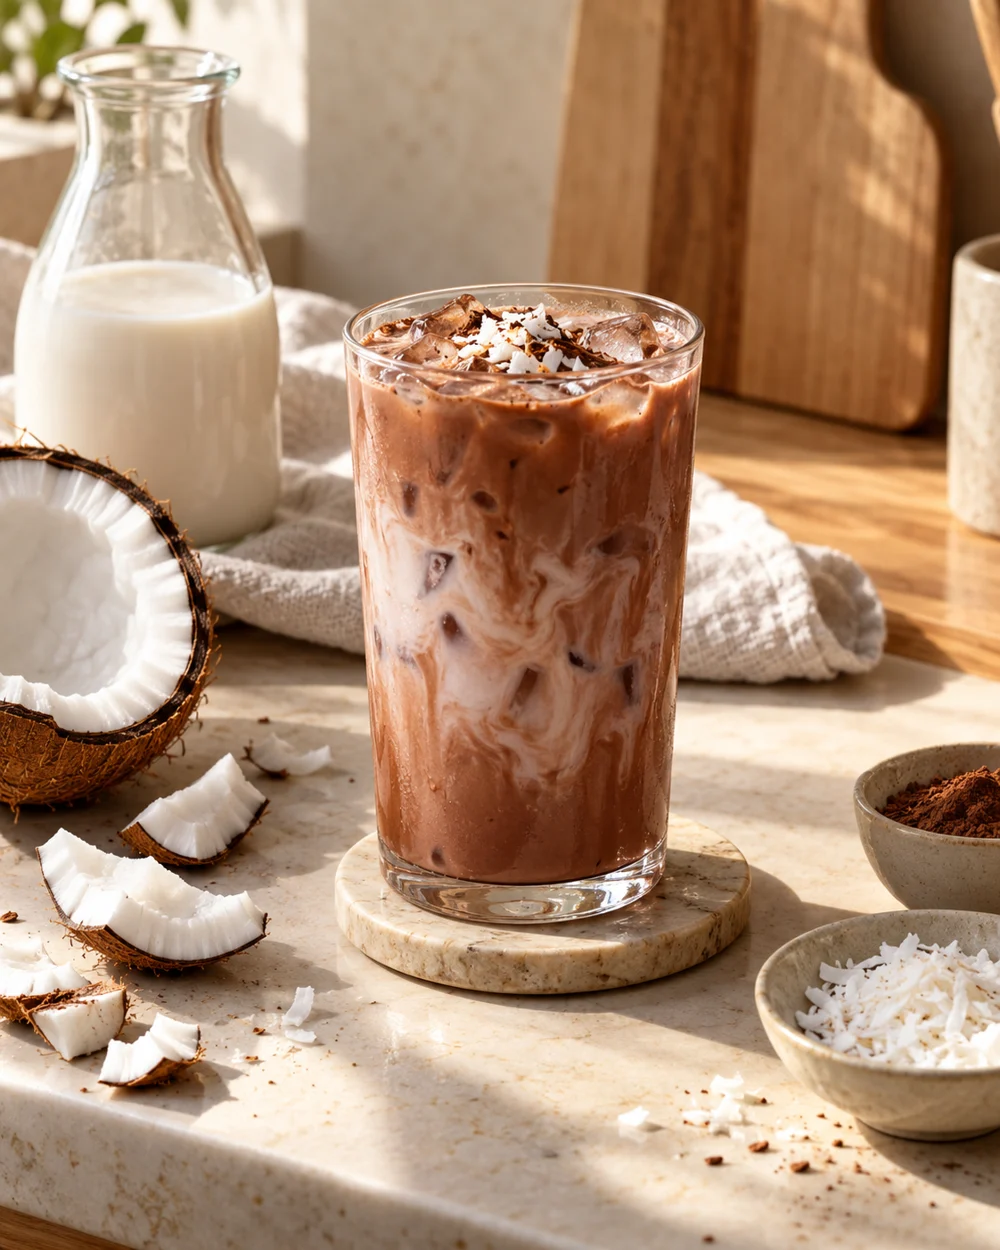
Full-fat canned coconut milk contains around 17 to 19 percent fat, which makes it the richest option of the three. It blends smoothly with cocoa powder and produces a noticeably thicker, almost pudding-like drink. Because the fat content is high, a 1 to 1 ratio with water, for example 120 millilitres coconut milk plus 120 millilitres water, gives a more drinkable consistency. Stir constantly over medium-low heat; coconut milk can scorch on the bottom of the pan quickly if left unattended.
Measuring Cocoa Powder Consistently Across All Three
Use one level tablespoon of unsweetened cocoa powder per 240 millilitres of liquid as a starting point, then adjust to preference. Sifting the cocoa before adding it reduces clumping regardless of which milk you use. Whisk the cocoa with a small amount of the cold or room-temperature milk first to form a smooth paste, then add the remaining liquid and heat. This paste step is especially useful with oat milk, which tends to trap dry pockets more readily than whole milk.
Choosing Based on the Result You Want
Whole milk suits a balanced, everyday cocoa where body and chocolate flavour share equal weight. Oat milk works well when you want a lighter drink with a subtle grain sweetness, provided you keep the temperature controlled. Coconut milk is the right choice when richness is the priority and you do not mind a pronounced coconut note underneath the chocolate. None of these is universally superior; the practical question is which texture and flavour profile fits the occasion and who is drinking it.
A little more
to know.
Can I use light canned coconut milk instead of full-fat?
Yes. Light coconut milk has lower fat content, so the drink will be thinner and the coconut flavour less pronounced. You may not need to dilute it with water as you would with full-fat canned coconut milk.
Does adding sugar change how the milks behave under heat?
Sugar does not significantly affect separation or starch breakdown in these milks. Add it after the cocoa paste is incorporated and the liquid is warm, then stir until fully dissolved before serving.
Original editorial guidance and recipe formulations, not independently kitchen-tested. Times are estimates and depend on equipment and product directions. Cooked bases need additional cooling and refrigeration before cold serving. Images are AI-generated illustrations; appearance and yield may vary. Check actual ingredient labels, allergens, and any certification you require. We do not certify products. Read our approach.
Save to Pinterest ↗ANOTHER IDEA FOR THE COUNTER