Choose Between a Narrow Bottle and a Wide-Mouth Jar for Storing a Small Syrup Batch
The container you use for a small homemade syrup batch affects how accurately you pour it, how easily you clean it between batches, and how well you can inspect what is inside. Neither a narrow bottle nor a wide-mouth jar is universally better; each suits a different daily workflow. This guide examines the practical trade-offs of each option so you can match the container to how you actually use syrup at your home café station, rather than defaulting to whatever is available.
Read the note ↓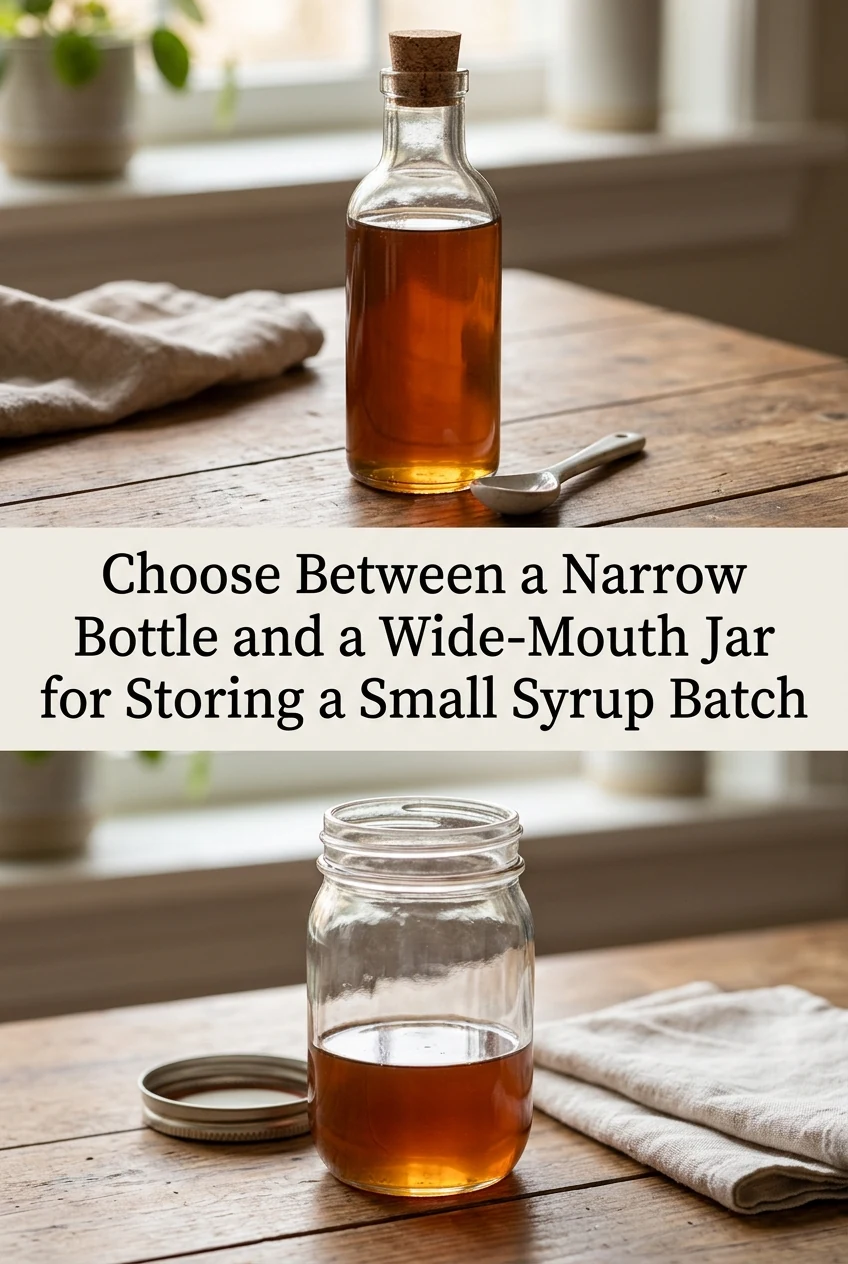
AI-generated editorial concept created for this article. The image is not a technical diagram or a tested result.
How a Narrow Bottle Affects Pouring and Measurement
A narrow-necked bottle with a pour spout allows you to tip a controlled stream directly into a small measuring cup or measuring spoon without overfilling. For syrups used in small quantities, such as 10 to 15 ml per drink, this precision reduces waste and keeps your counter cleaner. The trade-off is that the narrow opening makes it difficult to assess residue buildup inside the bottle and nearly impossible to clean with a standard bottle brush unless you own one sized to fit the neck.
How a Wide-Mouth Jar Affects Cleaning and Inspection
A wide-mouth jar with a lid, such as a 250 ml preserving jar, allows you to see the syrup clearly, smell it easily, and clean the interior thoroughly with a sponge or brush between batches. This matters because syrups containing fruit juice or fresh ingredients can develop mold or off-odors that are easy to miss inside a dark bottle. The limitation is that pouring from a wide-mouth jar is less controlled, and you will need a small ladle, pipette, or separate pouring bottle to measure accurately.
Matching the Container to Your Batch Size and Frequency
If you make syrup weekly in batches of 200 ml or less and use it across multiple drink types, a wide-mouth jar suits the workflow because you can clean it fully between batches without effort. If you make a larger batch of a single syrup you use daily, a narrow bottle with a pour spout reduces the number of steps at the point of service. For illustrative comparison: a 250 ml jar holds a typical small batch with room to spare, while a 200 ml bottle may require decanting if your batch slightly exceeds its capacity.
Refrigeration, Labeling, and Inspection Regardless of Container
Both container types must be refrigerated at 4 degrees Celsius or below promptly after the syrup cools, and within 2 hours of preparation. Label every container with the syrup type and the date it was made. Inspect the syrup before each use regardless of container type; discard any batch that shows cloudiness not present when it was made, off-odors, or visible growth. No container choice extends the safe use period of a perishable syrup, and no homemade syrup should be treated as shelf-stable.
Cleaning Each Container Type Between Uses
For a narrow bottle, rinse immediately after emptying with warm water, then wash with dish soap and a bottle brush that fits the neck. Allow it to air-dry completely before refilling; residual moisture dilutes the next batch. For a wide-mouth jar, wash with dish soap and a sponge, rinse thoroughly, and air-dry upside down on a rack. In both cases, follow the manufacturer's guidance for the specific container material, particularly if the bottle is glass with a plastic pour insert that must be removed for cleaning.
A little more
to know.
Can I store syrup in a plastic bottle instead of glass?
Food-safe plastic bottles designed for kitchen use are acceptable. Check that the plastic is rated for repeated washing and that it does not retain odors from previous batches, which can transfer flavor to a new syrup.
Does the container shape affect how long the syrup stays usable?
Container shape does not extend usability. What matters is cleanliness before filling, prompt refrigeration, and the syrup's own composition. Always rely on sensory inspection and your preparation date rather than the container type.
Original editorial guidance and recipe formulations, not independently kitchen-tested. Times are estimates and depend on equipment and product directions. Cooked bases need additional cooling and refrigeration before cold serving. Images are AI-generated illustrations; appearance and yield may vary. Check actual ingredient labels, allergens, and any certification you require. We do not certify products. Read our approach.
Save to Pinterest ↗ANOTHER IDEA FOR THE COUNTER