Choose a Jar Size That Matches the Volume of a Small Syrup Batch
Pouring a small syrup batch into a jar that is far too large leaves a significant air gap above the liquid, which accelerates quality loss during refrigerated storage. Matching the jar capacity closely to the actual yield of your batch, then labelling it with the preparation date, is a straightforward storage decision that extends how reliably you can use the syrup before discarding it. This guide walks through how to make that size choice practically.
Read the note ↓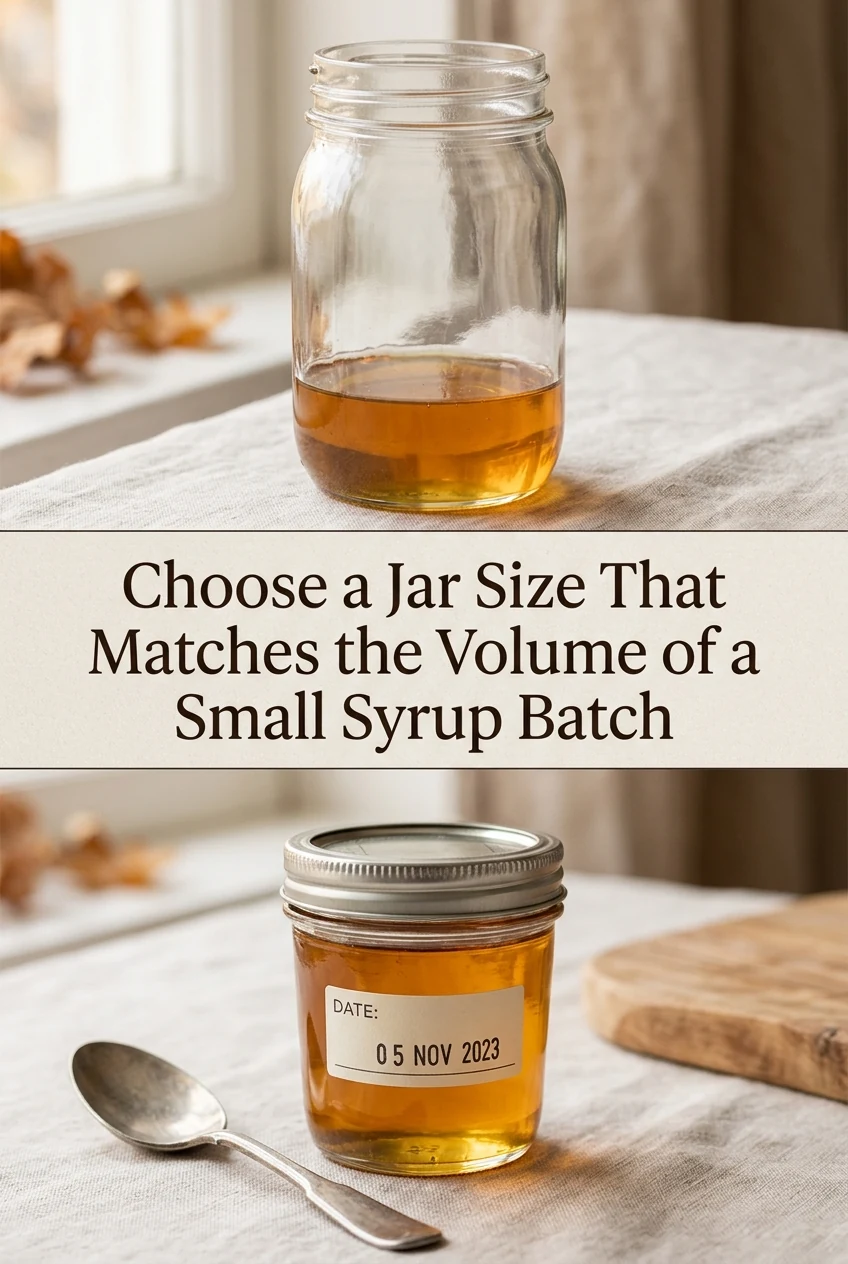
AI-generated editorial concept created for this article. The image is not a technical diagram or a tested result.
Estimate Your Actual Yield Before Choosing a Jar
Syrup yield does not equal the simple sum of your starting water volume and sugar weight, because dissolved sugar adds only about 0.62 ml of volume per gram rather than a full milliliter. For instance, combining 120 ml of water with 100 g of sugar yields roughly 175 to 185 ml of finished syrup once dissolved and accounting for slight evaporation, rather than 220 ml. Measuring the finished syrup into a liquid measuring cup before jarring gives you the exact volume to match against your available jar sizes instead of guessing from raw ingredients.
Select a Jar Whose Capacity Is Close to the Yield
Aim for a jar that holds the finished syrup with no more than roughly 10 to 15 ml of headspace remaining when filled. As an illustrative example, a yield of approximately 160 ml fits more appropriately in a 180 ml jar than in a 350 ml jar. The smaller headspace means less air in contact with the syrup surface during storage. Standard glass jars in 120 ml, 180 ml, and 240 ml sizes cover most small home syrup batches without excess space.
Label the Jar With the Date Before Refrigerating
Write the preparation date directly on a piece of masking tape and press it to the jar before the jar goes into the refrigerator. A simple sugar syrup stored in a clean, well-fitted jar in a refrigerator set at 4 degrees Celsius or below is generally used within one to two weeks, though the exact window depends on your specific ingredients and storage conditions. The date label makes it straightforward to decide when to discard without relying on memory.
Cool the Syrup Before Sealing and Refrigerating
Sealing hot syrup in a jar and immediately refrigerating it traps steam inside, which condenses and adds water back to the surface of the syrup. Allow the syrup to cool to near room temperature before sealing, but do not leave it at room temperature for more than two hours, or one hour if your kitchen is above 32 degrees Celsius. Once sealed and cooled, move it promptly to the refrigerator. This step is about food safety, not just texture.
Avoid Reusing Jars With Compromised Lids
A lid that no longer seals flat against the jar rim allows air exchange during storage, which undermines the benefit of choosing the right jar size in the first place. Check that the lid sits flush and tightens without wobbling before using a jar for syrup storage. If the lid shows rust, warping, or a damaged seal ring, use a different jar. Washing jars thoroughly with hot soapy water and rinsing well before use is sufficient preparation for refrigerated syrup storage.
A little more
to know.
Can I store syrup in a plastic container instead of glass if I do not have a matching jar size?
A clean, food-safe plastic container with a well-fitting lid works for refrigerated syrup storage. Apply the same size-matching principle so headspace is minimal, and ensure the container is rated for food contact. Label and date it the same way as a glass jar.
Does adding more sugar to a syrup batch extend how long it keeps in the refrigerator?
Higher sugar concentrations do inhibit microbial growth to a degree, but home storage conditions vary and no specific ratio guarantees a defined shelf life. Regardless of sugar level, refrigerate promptly, use a well-fitted jar, and discard if appearance or smell changes.
Original editorial guidance and recipe formulations, not independently kitchen-tested. Times are estimates and depend on equipment and product directions. Cooked bases need additional cooling and refrigeration before cold serving. Images are AI-generated illustrations; appearance and yield may vary. Check actual ingredient labels, allergens, and any certification you require. We do not certify products. Read our approach.
Save to Pinterest ↗ANOTHER IDEA FOR THE COUNTER