Build a Still Raspberry and Hibiscus Cooler From a Measured Concentrate
Hibiscus concentrate brews intensely tart, and fresh raspberry juice carries its own acidity, so combining them without measuring first risks a drink that tastes sharp rather than balanced. Preparing each component in a separate jug before combining lets you control the final ratio and confirm the total volume fits your serving vessel before you add ice and dilute further. This guide walks through both preparation steps and the mixing sequence.
Read the note ↓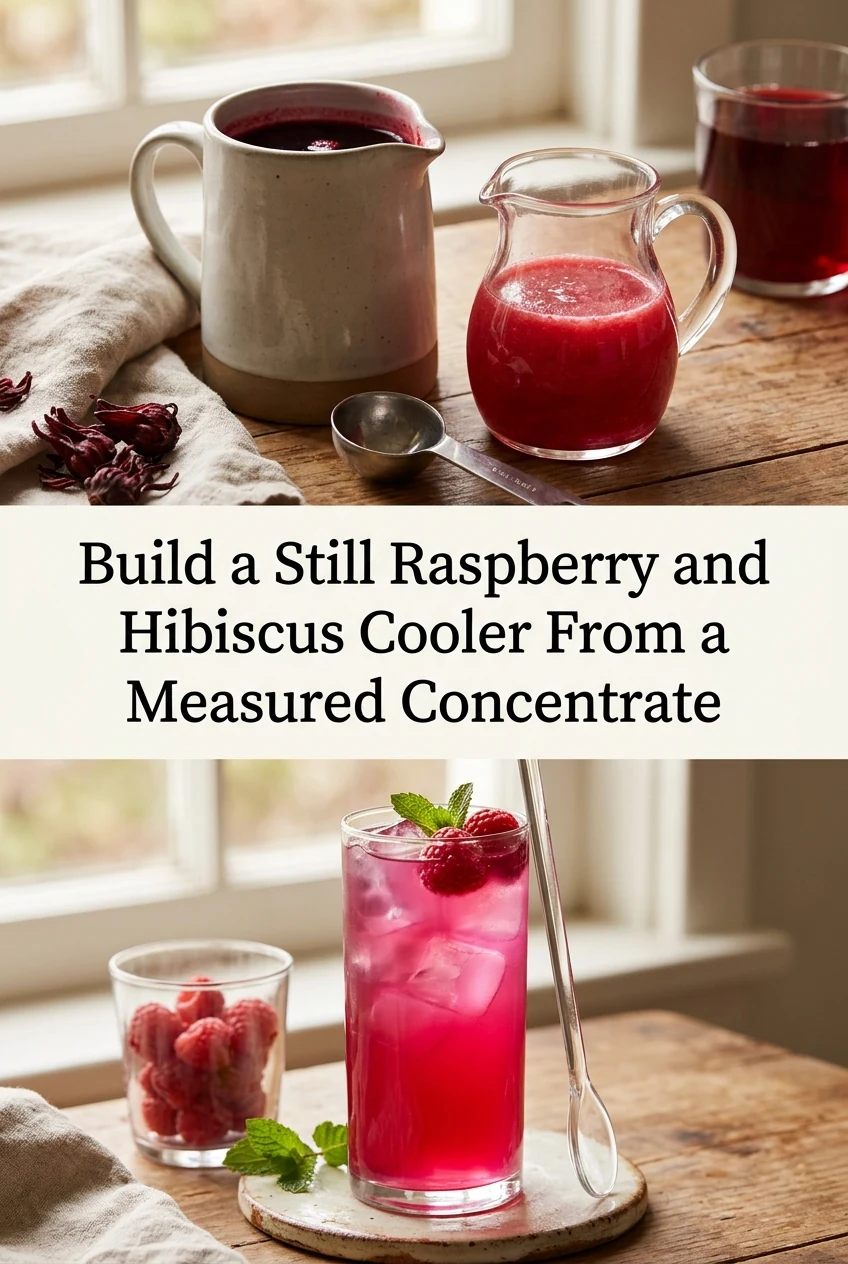
AI-generated editorial concept created for this article. The image is not a technical diagram or a tested result.
Brew the Hibiscus Concentrate at a Fixed Strength
Steep 10 g of dried hibiscus petals in 250 ml of water just off the boil for eight minutes, then strain through a fine mesh strainer into a heatproof jug. This produces a deep concentrate, not a ready-to-drink tea. Let it cool to room temperature before measuring so thermal expansion does not distort the volume marking and you avoid adding hot liquid to cold fruit juice. Cover and refrigerate if not using within 30 minutes.
Extract and Measure the Raspberry Juice Separately
Press 200 g of fresh raspberries through a fine strainer or squeeze them through a clean cloth into a second jug. Discard seeds and pulp. You should yield roughly 100 to 120 ml of juice depending on berry ripeness; note the actual volume rather than assuming a fixed yield. Measuring separately means you know the exact juice quantity before it meets the concentrate, which matters when adjusting the ratio below.
Establish a Starting Ratio and Adjust by Taste
A workable starting point is 60 ml of hibiscus concentrate to 100 ml of raspberry juice, topped with 200 ml of cold still water, giving roughly 360 ml before ice. Stir and taste before adding sweetener. If the hibiscus dominates, reduce the concentrate to 40 ml and add 20 ml more water. This is an illustrative example, not a guaranteed outcome, because hibiscus petal strength varies by supplier and harvest.
Sweeten and Chill the Mixture Before Serving
Dissolve sugar in a small amount of warm water first to make a simple syrup rather than adding granulated sugar directly to a cold drink, where it will not fully dissolve. Start with 20 ml of syrup per 360 ml of drink, stir thoroughly, then taste again. Pour over ice in a 500 ml serving jug, leaving room for ice displacement. Refrigerate any unmixed concentrate and juice separately at 4 C or below and use within 24 hours.
Confirm the Final Volume Fits the Serving Jug
Before combining everything, add your ice to the empty serving jug and note how much space it occupies. A standard 1-litre jug filled halfway with ice leaves roughly 500 to 600 ml of liquid space. If you are scaling the recipe for four servings, multiply each component and check the total against that space before pouring. Pouring into an overfull jug causes spills and uneven dilution as ice melts unevenly into a crowded vessel.
A little more
to know.
Can I brew the hibiscus concentrate the night before?
Yes. Store it covered in the refrigerator at 4 C or below and use within 24 hours. Brew and strain fully before refrigerating; do not leave petals sitting in the liquid overnight, as extended steeping deepens bitterness.
Why does the drink sometimes turn a dull brown rather than staying bright red?
Raspberry juice oxidises quickly once pressed and can shift the colour when mixed with hibiscus. Press the raspberries just before combining and avoid leaving the juice exposed to air for more than 20 minutes before mixing.
Original editorial guidance and recipe formulations, not independently kitchen-tested. Times are estimates and depend on equipment and product directions. Cooked bases need additional cooling and refrigeration before cold serving. Images are AI-generated illustrations; appearance and yield may vary. Check actual ingredient labels, allergens, and any certification you require. We do not certify products. Read our approach.
Save to Pinterest ↗ANOTHER IDEA FOR THE COUNTER