Build a Still Kiwi and Mint Cooler From Fresh Fruit in a Measured Jug
Fresh kiwi blends into a vivid green drink, but its seeds and pith create a gritty texture if not strained properly. This guide covers weighing the fruit, blending with mint, straining cleanly through a fine-mesh sieve, and diluting to a fixed volume in a measuring jug so every batch tastes consistent. The method produces approximately 600 ml of finished cooler, enough for two generous 300 ml glasses, and avoids carbonation so no special equipment is needed.
Read the note ↓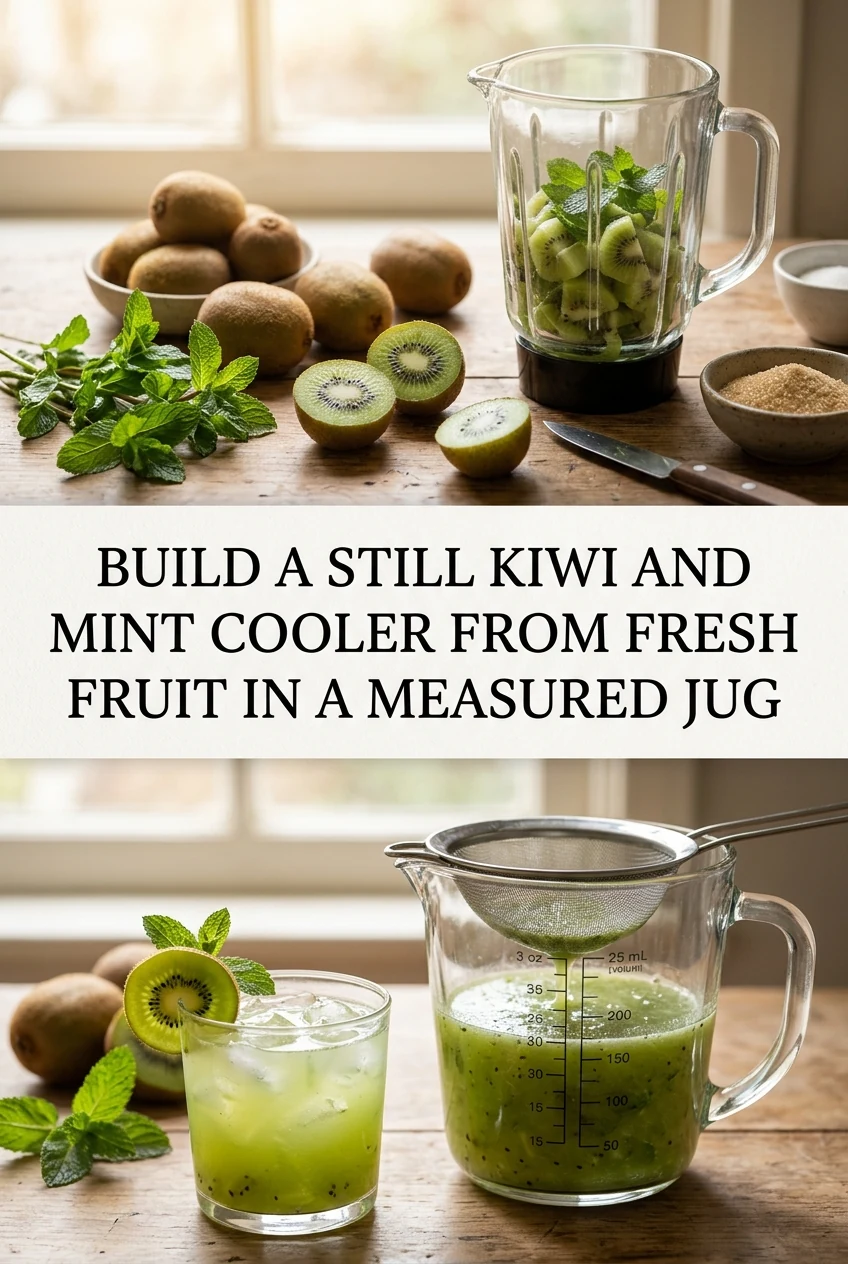
AI-generated editorial concept created for this article. The image is not a technical diagram or a tested result.
Weigh and Prepare the Kiwi
Peel and roughly chop enough kiwi to reach 250 g of prepared fruit, which is typically three medium kiwis depending on size. Weigh after peeling, not before, because skin weight varies. Discard any bruised or translucent flesh, as overripe sections make the drink taste fermented rather than fresh. Place the chopped fruit directly into the blender jug. Cold fruit from the refrigerator blends slightly less smoothly, so allow it to sit at room temperature for ten minutes first.
Add Mint and Blend
Add eight to ten fresh spearmint leaves to the blender jug along with 100 ml of cold water. Blend on high for 45 to 60 seconds. Mint releases its flavor quickly, so longer blending is unnecessary and can make the color muddy. Add one tablespoon of caster sugar or plain sugar syrup at this stage if you want sweetness built into the base rather than added at the glass. Taste the blended mixture before straining to judge sweetness and mint intensity.
Strain Seeds and Pith Cleanly
Set a fine-mesh sieve over a large bowl or directly over your measuring jug. Pour the blended mixture in batches and press firmly with the back of a spoon in circular motions. Kiwi seeds are small and numerous; a coarse strainer will not catch them. As an illustrative example, 250 g of blended kiwi with 100 ml of water typically yields 200 to 230 ml of strained juice, though actual yield depends on fruit ripeness and pressing effort. Discard the seed and pith residue.
Dilute to a Consistent Volume
Check the strained juice volume in your measuring jug. Add cold water to bring the total to 600 ml, then stir to combine. This dilution step is what makes the drink repeatable across batches. If the kiwis were particularly sweet, add a small squeeze of fresh lime juice, roughly five ml, to balance the flavor. Taste again and adjust sugar or lime in small increments. Avoid adding ice at this stage, as it will dilute the measured volume further when it melts.
Serve and Store Correctly
Pour over ice in chilled glasses immediately before serving. Fresh kiwi juice oxidizes and loses its bright green color within a few hours even when refrigerated. If preparing ahead, store the strained, undiluted juice in a sealed container at 4 C or below and dilute to volume just before serving. Consume within 24 hours. Do not leave the prepared cooler at room temperature for more than two hours, or one hour if the ambient temperature exceeds 32 C.
A little more
to know.
Can I use a nut milk bag instead of a fine-mesh sieve for straining?
A nut milk bag works well and often removes more fine particles than a sieve alone. Squeeze gently rather than twisting hard, which can push pith through the mesh. Rinse the bag immediately after use so kiwi residue does not stain the fabric permanently.
Why does my cooler taste bitter even though the kiwi was ripe?
Bitterness usually comes from blending the mint stems rather than leaves only, or from over-blending, which breaks down chlorophyll. Use leaves only, limit blending to 60 seconds, and add a small measured amount of sugar syrup to balance any remaining bitterness before serving.
Original editorial guidance and recipe formulations, not independently kitchen-tested. Times are estimates and depend on equipment and product directions. Cooked bases need additional cooling and refrigeration before cold serving. Images are AI-generated illustrations; appearance and yield may vary. Check actual ingredient labels, allergens, and any certification you require. We do not certify products. Read our approach.
Save to Pinterest ↗ANOTHER IDEA FOR THE COUNTER