Build a Matcha Latte With Oat Milk Using a Handheld Frother
A handheld frother is a practical tool for a home matcha latte, but the order of operations matters more than most guides acknowledge. Whisking matcha directly into cold oat milk produces clumps that the frother cannot fully break up. Frothing oat milk before the matcha is mixed in flattens the foam. This article explains the correct sequence, the water temperature that helps matcha dissolve without cooking it, and how to combine both components for a smooth, layered result.
Read the note ↓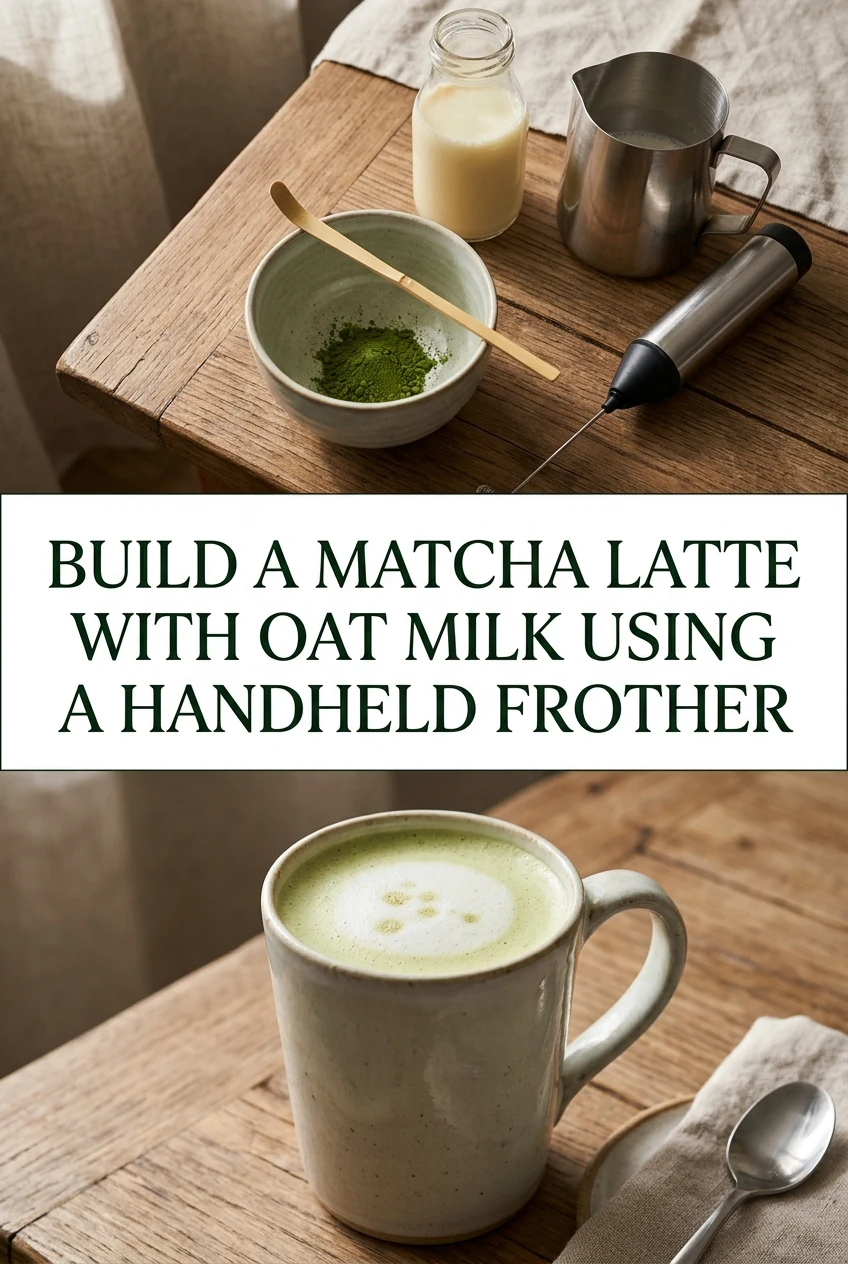
AI-generated editorial concept created for this article. The image is not a technical diagram or a tested result.
Prepare the Matcha Concentrate First
Measure one teaspoon, approximately two grams, of sifted matcha powder into a small cup or bowl. Add 60 ml of water heated to around 70 to 75 degrees Celsius. Water significantly hotter than this can make matcha taste more bitter, though the exact threshold varies by grade and personal sensitivity. Run the handheld frother in the cup for 20 to 30 seconds until the powder is fully dispersed and a thin, even layer of small bubbles sits on the surface. No dry clumps should remain.
Froth the Oat Milk Separately
Pour 180 ml of oat milk into a tall narrow cup or jar. Barista-style oat milk froths more readily than standard oat milk because of its adjusted fat and starch content, though either can work. Position the frother just below the surface and run it for 20 to 30 seconds, then lower it slightly and continue for another 15 seconds to incorporate air throughout the liquid. The result should be visibly thicker with a layer of foam on top, not just surface bubbles.
Combine in the Right Order for a Smooth Result
Pour the matcha concentrate into your serving glass first. Then pour the frothed oat milk slowly over the back of a spoon held just above the matcha layer. This slows the pour and helps the two liquids meet gently rather than the oat milk crashing through the concentrate and disrupting the texture. For a fully blended latte, stir once with a long spoon after pouring. For a layered presentation, skip the stir and serve immediately before the layers merge.
Adjusting Sweetness Without Disrupting Texture
Add sweetener to the matcha concentrate before frothing the oat milk, not after combining. Stirring sweetener into a finished frothed drink collapses the foam. Simple syrup integrates into the warm concentrate easily. Start with 10 ml for a lightly sweet result and add more to the concentrate in the next preparation if needed. Honey also works but requires an extra few seconds of frother time in the concentrate cup to fully disperse before you move to the milk step.
Serving Cold Versus Warm and Timing Considerations
For an iced version, prepare the matcha concentrate the same way, let it cool for two minutes, then pour it over ice in the serving glass before adding cold oat milk. Do not froth cold oat milk with the expectation of stable foam; it will be thinner than the warm version. For a warm latte, heat the oat milk to around 60 degrees Celsius before frothing. Serve both versions promptly. If oat milk has been sitting at room temperature for more than two hours, discard it and use fresh.
A little more
to know.
Why does my matcha still look grainy after frothing it in water?
Grainy texture usually means the water was too cool, the powder was not sifted, or the frother ran for too short a time. Try sifting first, confirm water temperature is around 70 to 75 degrees Celsius, and extend frothing to a full 30 seconds.
Can I make the matcha concentrate ahead and refrigerate it?
Yes. Store the prepared concentrate in a sealed container at 4 degrees Celsius or below and use it within 24 hours. Stir or briefly re-froth before using, as the matcha may settle slightly at the bottom during storage.
Original editorial guidance and recipe formulations, not independently kitchen-tested. Times are estimates and depend on equipment and product directions. Cooked bases need additional cooling and refrigeration before cold serving. Images are AI-generated illustrations; appearance and yield may vary. Check actual ingredient labels, allergens, and any certification you require. We do not certify products. Read our approach.
Save to Pinterest ↗ANOTHER IDEA FOR THE COUNTER