Baked Plain Oat and Date Bars for a Coffee Plate
A coffee plate benefits from something small and not overly sweet sitting alongside the cup. These baked oat and date bars use blended pitted dates as the sole sweetener, bound with rolled oats and a measured pour of neutral oil. The result is a dense, chewy bar that holds its shape when sliced and sits neatly on a small plate. What follows is an illustrative working plan rather than a record of tested results, offered as a practical starting point for a café kitchen exploring refined-sugar-free baked accompaniments.
Read the note ↓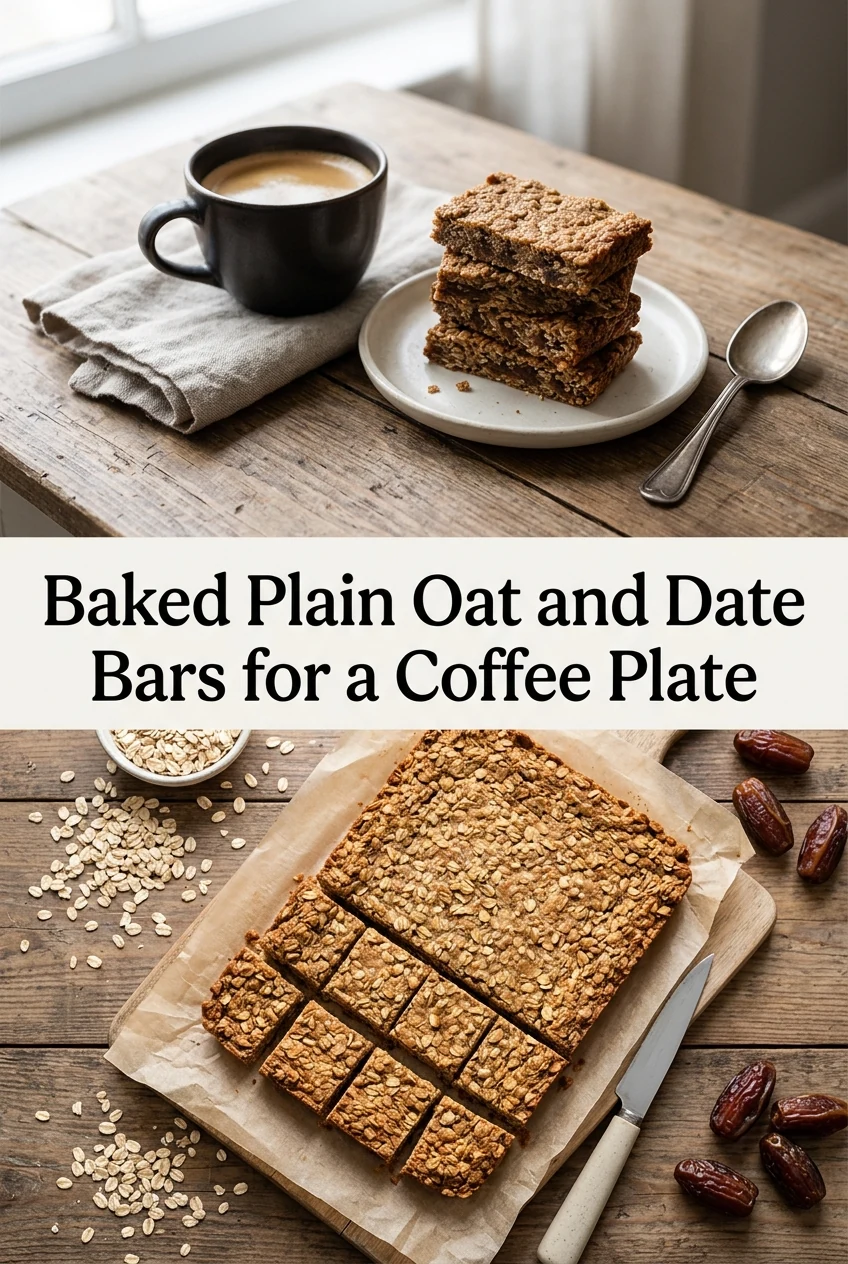
AI-generated editorial concept created for this article. The image is not a technical diagram or a tested result.
Choosing and Preparing the Dates
Medjool dates work well here because their flesh is soft and moist, which makes blending straightforward and reduces the need for added liquid. Deglet Noor dates are a drier variety and can be used, but they benefit from a short soak in warm water for around ten minutes before draining thoroughly. For a batch intended to fill a standard 20 cm by 20 cm square tin, 300 grams of pitted dates is a reasonable starting quantity. Check each date carefully after pitting to confirm no stone fragments remain. Place the pitted dates in a food processor and blend until a smooth, cohesive paste forms. If the paste clings in uneven clumps rather than coming together, add warm water one teaspoon at a time and pulse again. The finished paste should be thick enough to hold a shape when pressed between two fingers.
Measuring the Oats and Oil
Rolled oats rather than instant oats give the bars more texture and help them hold together after baking. For the same 20 cm by 20 cm tin, 250 grams of rolled oats provides a workable ratio against the date paste. A neutral oil such as sunflower or light olive oil contributes moisture and helps the mixture press into the tin without crumbling. Four tablespoons, approximately 60 millilitres, is a reasonable measure for this batch size. Combine the date paste, rolled oats, and oil in a large mixing bowl. Stir firmly with a wooden spoon or silicone spatula until the oats are fully coated and the mixture looks uniform. The combined mixture should feel slightly tacky and hold together when a small amount is squeezed in the palm. If it feels dry and falls apart, add oil half a tablespoon at a time and mix again before testing.
Lining the Tin and Pressing the Mixture
Line the tin with baking parchment, pressing it into the corners and allowing a short overhang on two opposite sides. This overhang acts as a handle for lifting the slab out cleanly once it has cooled. Transfer the oat and date mixture into the lined tin and distribute it roughly with a spatula. Lay a second sheet of baking parchment over the top and use the flat base of a measuring cup or a small offset spatula to press the mixture firmly and evenly across the entire surface. Pay particular attention to the corners, which tend to be thinner if left unattended. The pressed layer in a 20 cm by 20 cm tin will sit at approximately 1.5 to 2 centimetres in depth, which is a practical thickness for slicing into finger bars after baking.
Baking and Cooling
Preheat the oven according to the manufacturer's instructions for your specific model. A commonly used range for this style of baked oat bar is 170 to 180 degrees Celsius on a conventional setting, though individual ovens vary and the actual setting should be guided by the oven's own calibration and any previous experience with similar bakes. Place the tin on the middle shelf and bake for approximately 20 to 25 minutes, checking from around the 18-minute mark. The surface should appear set and lightly golden at the edges. Remove the tin from the oven and place it on a wire rack. Allow the slab to cool completely inside the tin before attempting to slice. Cutting into a warm slab is likely to cause it to crumble at the edges. Full cooling, which may take an hour or more depending on kitchen temperature, allows the structure to firm up sufficiently.
Slicing and Presenting on a Coffee Plate
Once fully cooled, lift the slab from the tin using the parchment overhang and place it on a clean cutting board. Use a sharp knife and a single downward press rather than a sawing motion to produce clean edges. For a coffee plate portion, slicing the 20 cm by 20 cm slab into thirty-two equal pieces gives bars of approximately 5 cm by 2.5 cm each, a size that sits comfortably alongside a small cup without overwhelming the plate. A batch of this size yields thirty-two such pieces as an illustrative example, though actual yield depends on how evenly the mixture was pressed and the precision of the cuts. Arrange one or two bars on a small ceramic plate beside the coffee service. The bars are dense enough to pick up without breaking and do not leave oily residue on the fingers, which suits a café setting.
A little more
to know.
Can a flavoring be added to vary the taste without using alcohol-based extracts?
Yes. A small amount of ground cinnamon or cardamom stirred into the dry oats before combining with the date paste adds warmth without requiring any extract. If vanilla flavor is wanted, use only a product explicitly labeled as alcohol-free vanilla flavoring, and follow the quantity guidance on that specific product's label.
What is a practical way to keep cut bars in a café context?
Once fully cooled and sliced, the bars can be stored in an airtight container at room temperature or refrigerated, depending on the ambient conditions of the kitchen. No specific storage lifespan is stated here, as this depends on the ingredients used, kitchen environment, and local food safety requirements. A café kitchen should follow its own food safety guidelines when determining appropriate holding times.
Original editorial guidance and recipe formulations, not independently kitchen-tested. Times are estimates and depend on equipment and product directions. Cooked bases need additional cooling and refrigeration before cold serving. Images are AI-generated illustrations; appearance and yield may vary. Check actual ingredient labels, allergens, and any certification you require. We do not certify products. Read our approach.
Save to Pinterest ↗ANOTHER IDEA FOR THE COUNTER